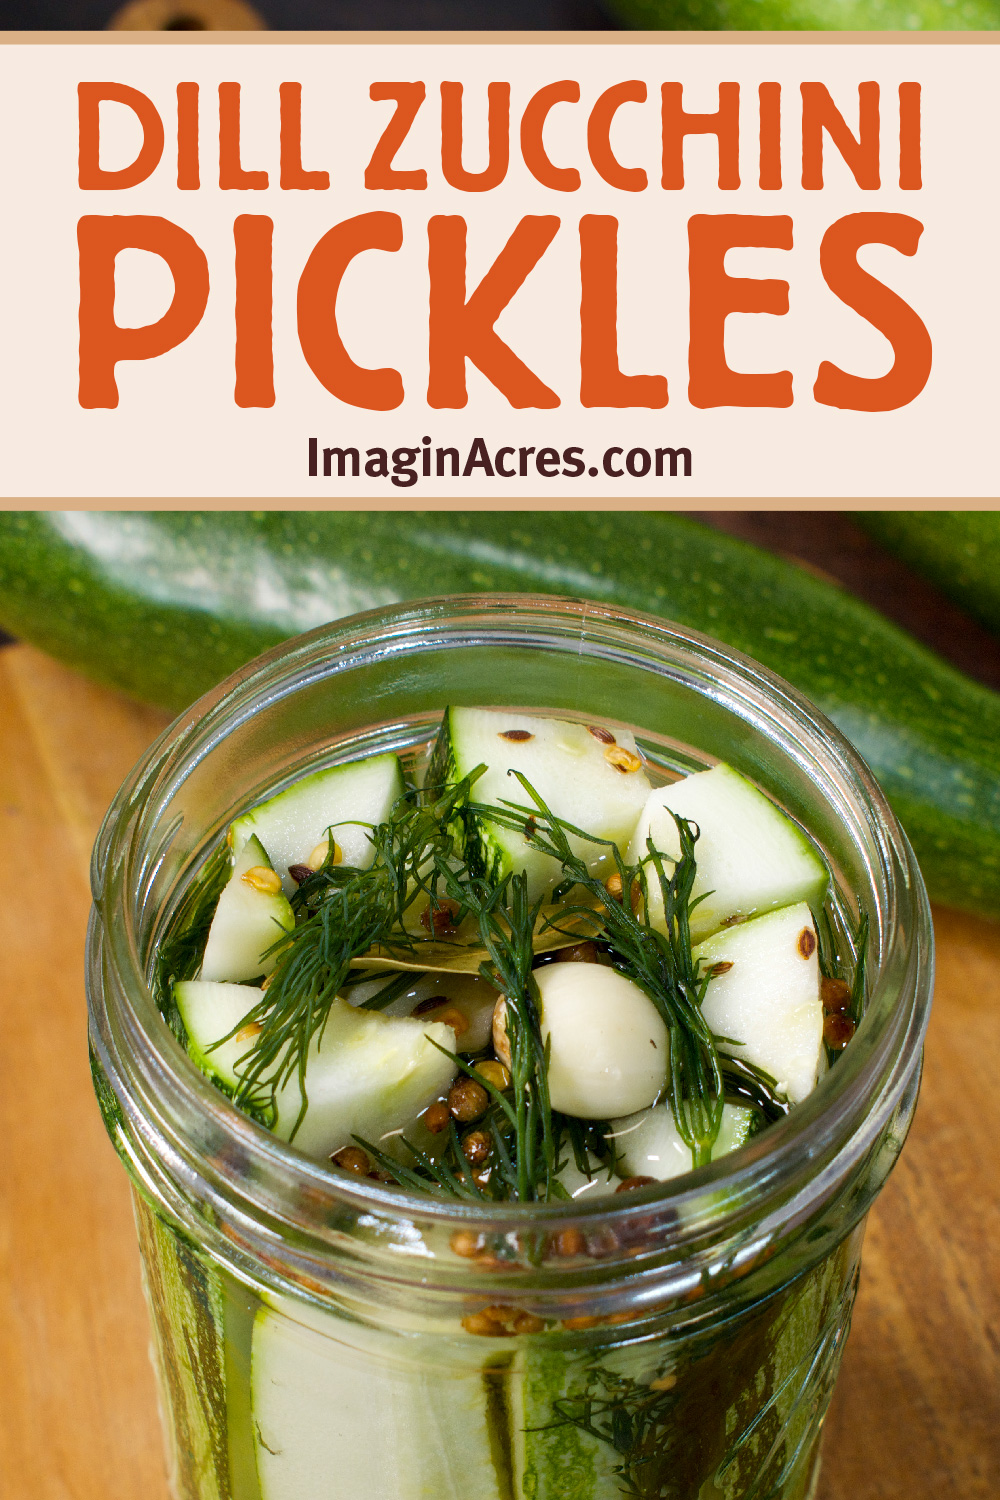
Refrigerator Dill Zucchini Pickles
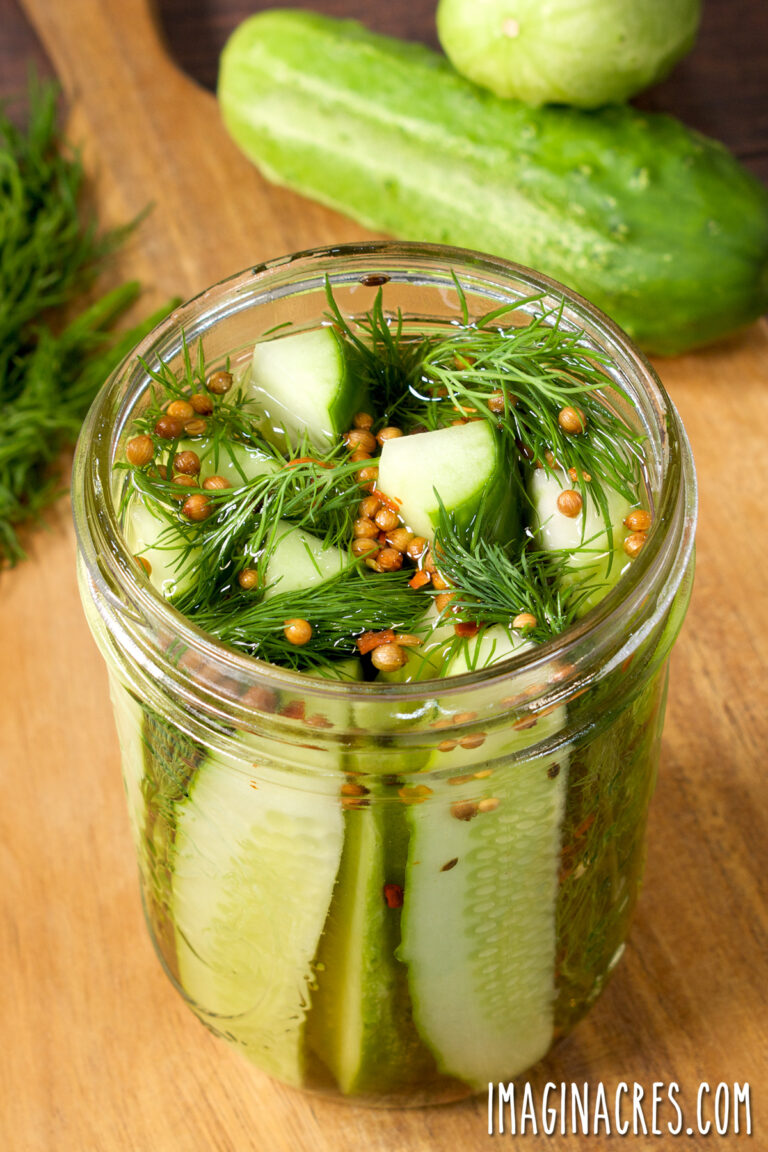
Crisp, tangy, and loaded with garlicky dill flavor, these quick zucchini pickles are a refreshing twist on the classic cucumber version. No canning required!
Zucchini may not be the first vegetable that comes to mind when you think of pickles, but it’s surprisingly delicious in a crisp, garlicky dill brine. These quick refrigerator dill zucchini pickles are easy to make and ready to enjoy in just a few days, and keep in the refrigerator for months!
Once you taste your first spear, don’t be surprised if you start dreaming up new veggie combinations to pickle next! If you’re feeling inspired to branch out, head over to Quick Pickling 101: A Beginner’s Guide to Refrigerator Pickles to explore the basics of brine, tasty flavor combinations, and tips for storing your homemade pickles safely in the fridge.
About the Ingredients
Here’s what you’ll need to make your own batch of refrigerator dill zucchini pickles, and how each ingredient contributes to the flavor and texture:
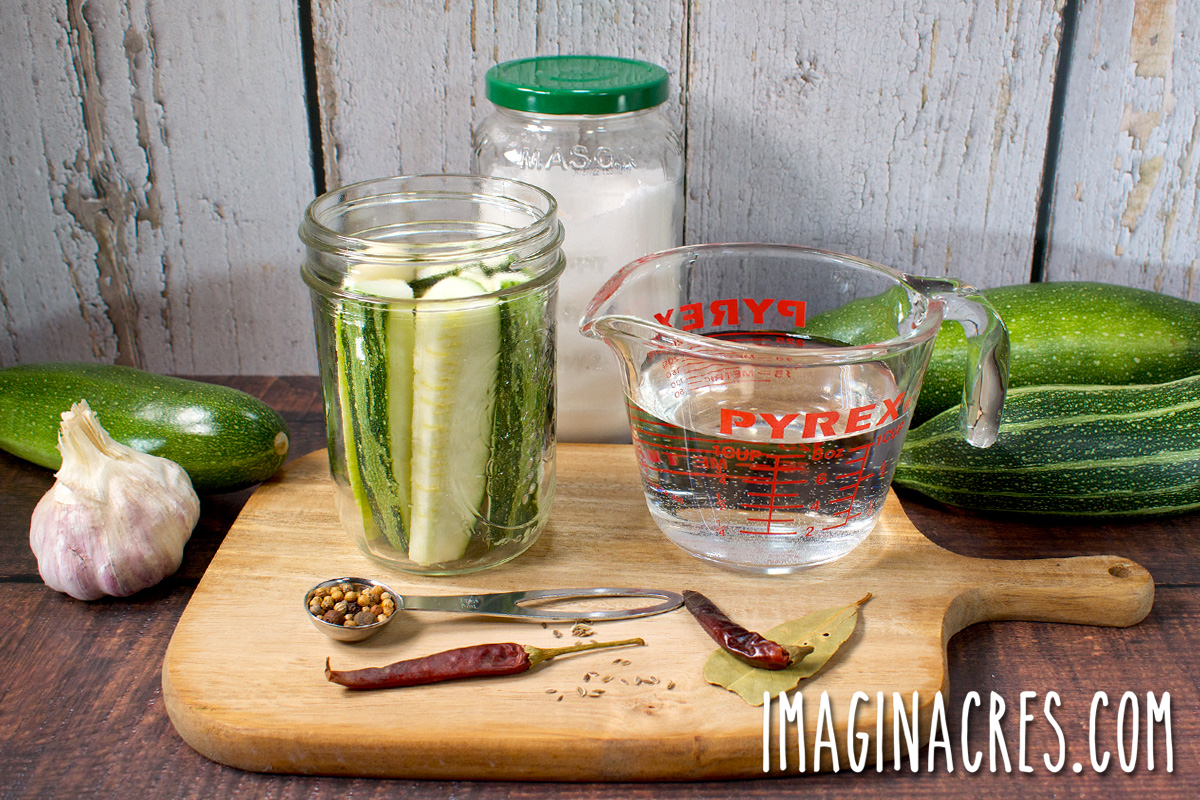
- Zucchini: Choose small to medium-sized zucchini that are firm and free of blemishes. Smaller zucchini have fewer seeds and hold their shape better in the brine, resulting in crisper pickles. You’ll need about 2 to 3 medium zucchini (roughly 1 pound). Slice them into spears for snacking or rounds or ribbons for sandwich toppers.
- Vinegar: White vinegar (5% acidity) is the go-to choice for a clean, sharp, and traditional dill pickle flavor. It also helps preserve the bright color of the zucchini.
- Salt: Use pickling salt or kosher salt, both of which dissolve cleanly and won’t cloud the brine. Avoid iodized table salt, which can leave your brine cloudy and sometimes impart a metallic or bitter taste.
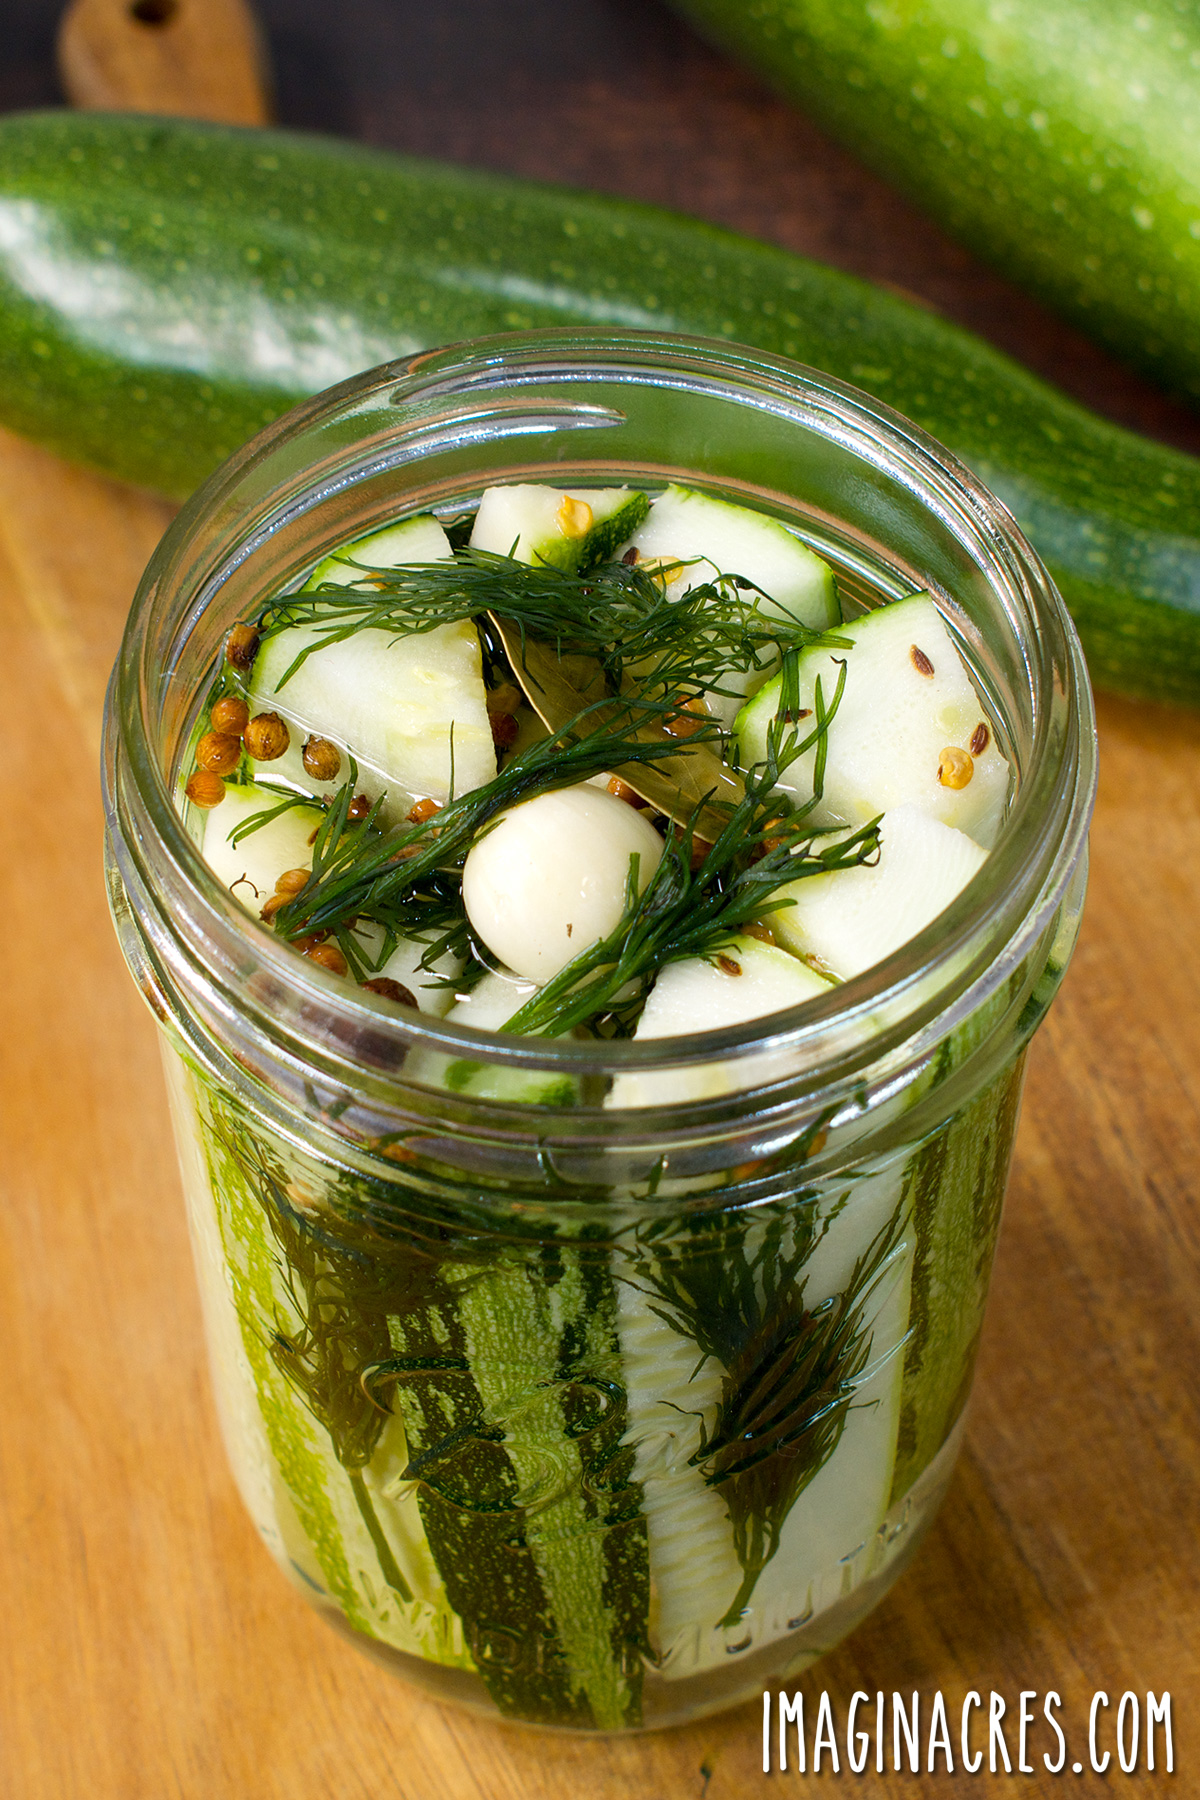
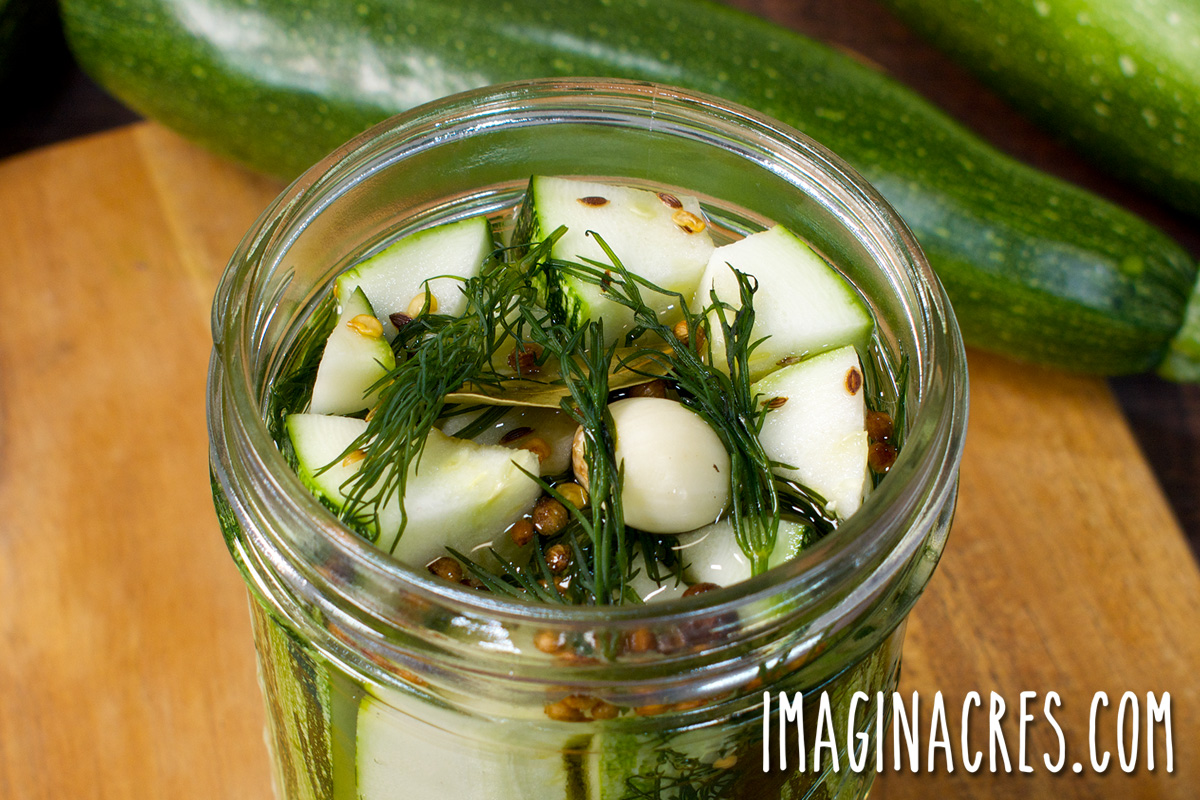
- Garlic and Dill: These two are essential for that classic dill pickle flavor. Fresh garlic adds a zesty bite, while dill seed gives the brine its signature herby aroma. You can also include a few sprigs of fresh dill or a dill flower head for added depth and visual appeal.
- Spices: Bay leaves lend subtle earthy undertones, mustard seeds add a pop of mild spice, and black peppercorns bring a hint of warmth. A pinch of red pepper flakes adds a gentle heat. Feel free to adjust this to your spice preference or omit it entirely for a milder pickle.
Dill Pickled Zucchini Recipe Variations
There are plenty of ways to customize this pickled zucchini recipe to suit your taste. Here are some ways you can adjust flavorings:
- Swap the vinegar: You can substitute apple cider vinegar or white wine vinegar for a slightly different flavor profile. Try half white and half apple cider vinegar for a mellower, slightly fruity flavor.
- Spicy dills: Add more garlic, extra red pepper flakes, or a whole chili pepper for heat.
- Garlic lovers: Toss in more crushed garlic for a bold, garlicky bite.
- Optional sweetener: While traditional dill pickles are not sweet, you can add a small amount of sugar to balance the acidity if desired.
- Low-sodium tip: You can reduce the salt slightly if needed, but keep in mind that salt helps with flavor and texture. When making a low-sodium batch, plan to eat the pickles sooner, as the reduced salt may cause them to lose their crispness more quickly
How to Make Refrigerator Zucchini Pickles
You’ll find exact measurements and instructions in the printable recipe card at the bottom of this post, but here’s a quick overview of the steps to make zucchini dill pickles:
Step 1: Gather Your Kitchen Equipment
You’ll Need:
- 1 quart-sized jar or two pint-sized jars with lids
- A small saucepan to heat the brine
- A knife and a cutting board
- Measuring cups and spoons
Wash the jars with hot, soapy water and rinse well. No need to sterilize for refrigerator pickles, but make sure they’re clean.
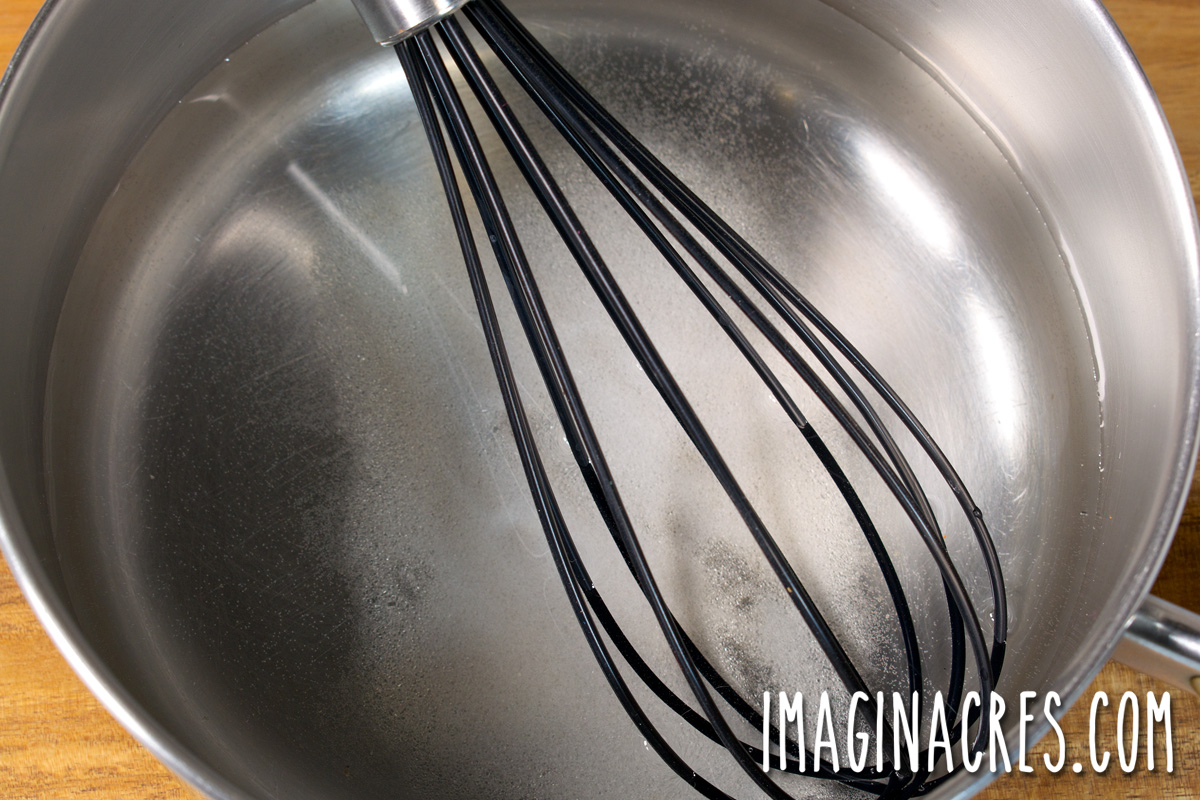
Step 2: Make the Brine
In a small saucepan, combine the vinegar, water, and salt. Bring to a gentle simmer, stirring to dissolve the salt. Remove the pan from the heat and let the vinegar mixture cool slightly while you prepare your zucchini.
Step 3: Prepare the Zucchini
Wash the zucchini well, then slice into spears or rounds, depending on your preference.
Step 4: Pack the Jars
Divide the garlic, dill, bay leaves, dill seed, mustard seeds, peppercorns, and red pepper flakes between your clean jars. Then pack the prepared zucchini slices snugly into the jars, leaving a little room at the top.
Step 5: Pour the Brine
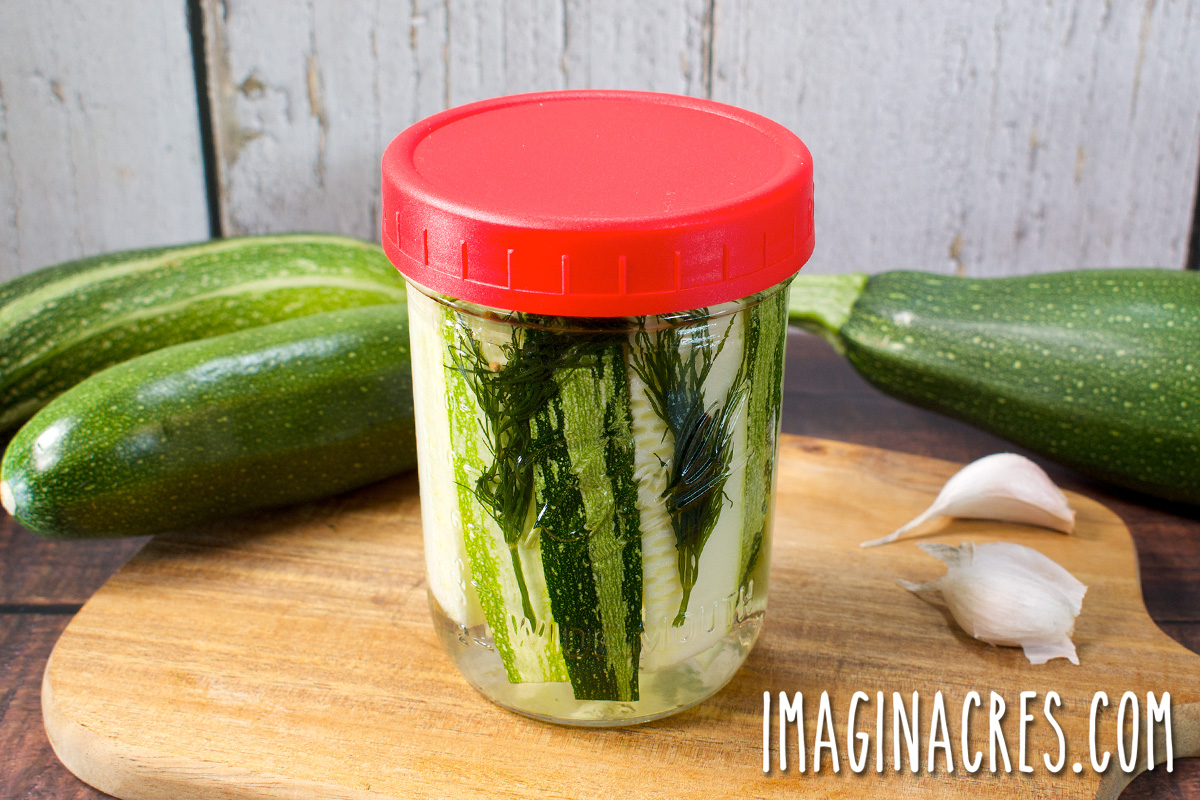
Carefully pour the warm brine over the zucchini in the jars, making sure the veggies are fully submerged. Add the cover and shake the jars to combine the ingredients.
Step 6: Cool and Refrigerate
Let the jars cool to room temperature for about 1 hour, then place them in the refrigerator.
Your pickles will be ready to enjoy after 24 hours and will continue to develop flavor over the next few weeks.
How Long Do Refrigerator Pickles Last?
These refrigerator dill zucchini pickles will keep well in the fridge for up to 3 months. Always use clean utensils to remove pickles from the jar, and keep them submerged in brine for best results.
Discard the pickles if you notice:
- Cloudy or slimy brine
- Mold growing on the surface
- Unpleasant odor or taste
- Soft or mushy texture that seems off
When in doubt, throw them out.
Ways to Enjoy Zucchini Pickles
Zucchini pickles are a tasty way to add crunch and tang to meals. Try them:
- On burgers, sandwiches, or wraps
- Chopped into potato or pasta salads
- As a quick side for grilled meats or BBQ
- On a cheese board or pickle tray
- Straight from the jar!
Refrigerator Dill Zucchini Pickles Recipe
Ingredients
- 1 pound zucchini about 2 to 3 medium, trimmed and sliced into spears or rounds
- 1 cup white vinegar 5% acidity
- 1 cup water
- 1 tablespoon pickling salt or kosher salt
- 4 cloves garlic peeled and smashed
- 4 sprigs fresh dill or 2 dill heads
- 2 bay leaves
- 1 teaspoon dill seed
- 1/2 teaspoon mustard seeds
- 1/2 teaspoon whole black peppercorns
- pinch red pepper flakes optional
Instructions
- Make the brine: In a small saucepan, combine vinegar, water, and salt. Bring to a simmer, stirring to dissolve the salt. Remove from the heat.
- Prepare the zucchini: Cut zucchini into spears or 1/4-inch thick rounds.
- Add flavorings to the jars: Divide the garlic, dill, bay leaves, dill seeds, mustard seeds, peppercorns, and red pepper flakes evenly between the jars.
- Add the zucchini: Pack the zucchini tightly into the jars, leaving a little headspace at the top for the brine to cover.
- Fill the jars: Carefully pour warm brine over the zucchini, making sure everything is submerged. Cover the jar and then shake it to mix the ingredients.
- Refrigerate: Let the jars cool to room temperature for about 1 hour, then place them in the fridge. Pickles will develop flavor within 24 hours, but they will improve the longer they sit in the refrigerator.
- Storage: Keep refrigerated and use within 3 months. Always use clean utensils and keep the pickles submerged in the pickling liquid.
Nutrition
Easy Refrigerator Pickles with Garden Zucchini
Refrigerator dill zucchini pickles are a crisp and flavorful way to enjoy your summer harvest. They’re easy to make, full of garlicky dill goodness, and a fun twist on traditional cucumber pickles.
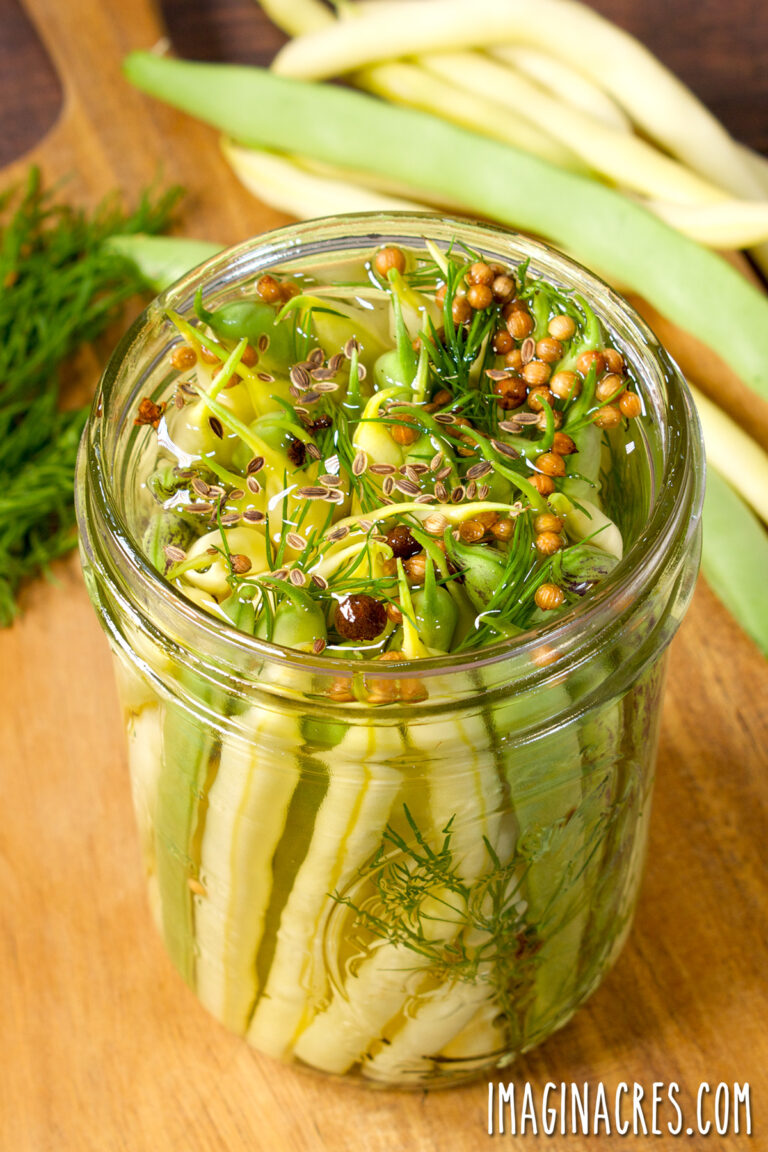
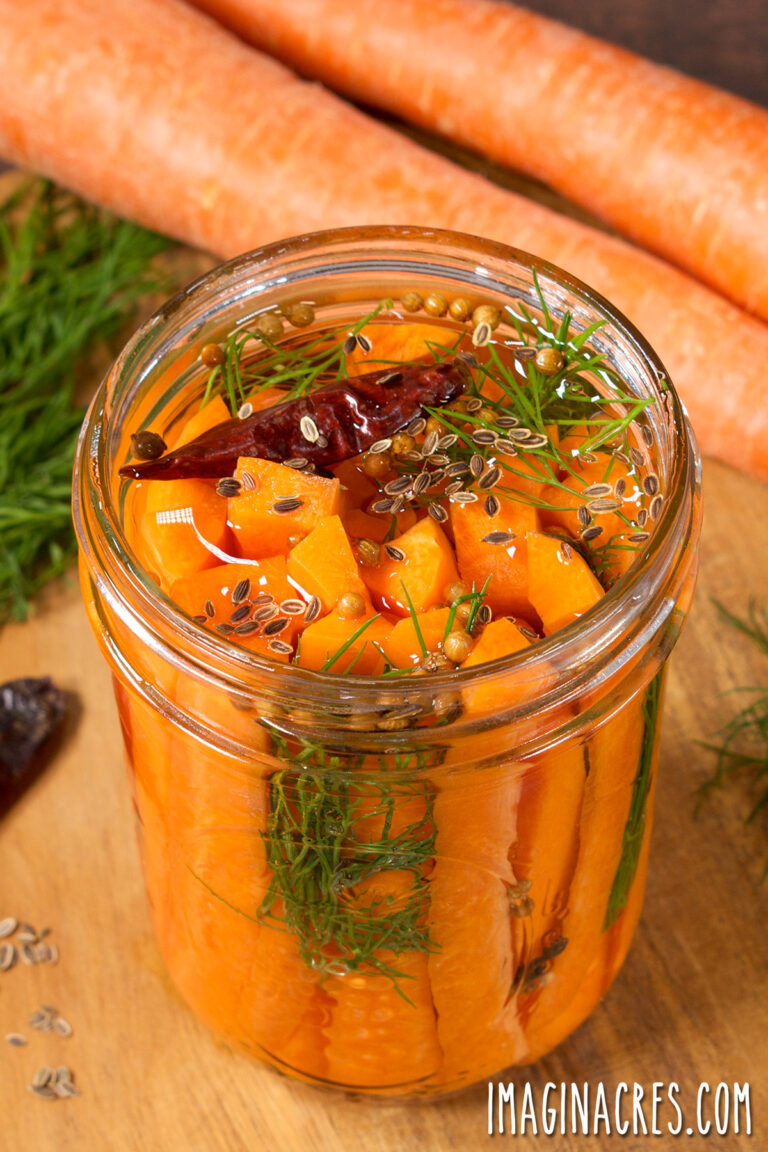
Want to try something a little sweeter? Check out my Bread and Butter Zucchini Pickles. Or explore more quick pickle favorites like Refrigerator Dilly Beans, Easy Refrigerator Pickled Carrots, and Quick Pickled Red Onions.
If you’re new to pickling, don’t miss Quick Pickling 101 for brine basics and flavor ideas.