Troubleshooting: Why Aren’t Eggs Hatching?
Wondering why your eggs aren’t hatching? Learn the most common causes of failed hatches, including infertility, humidity, and temperature issues. Get practical tips to improve hatch rates under a broody hen or in an incubator.
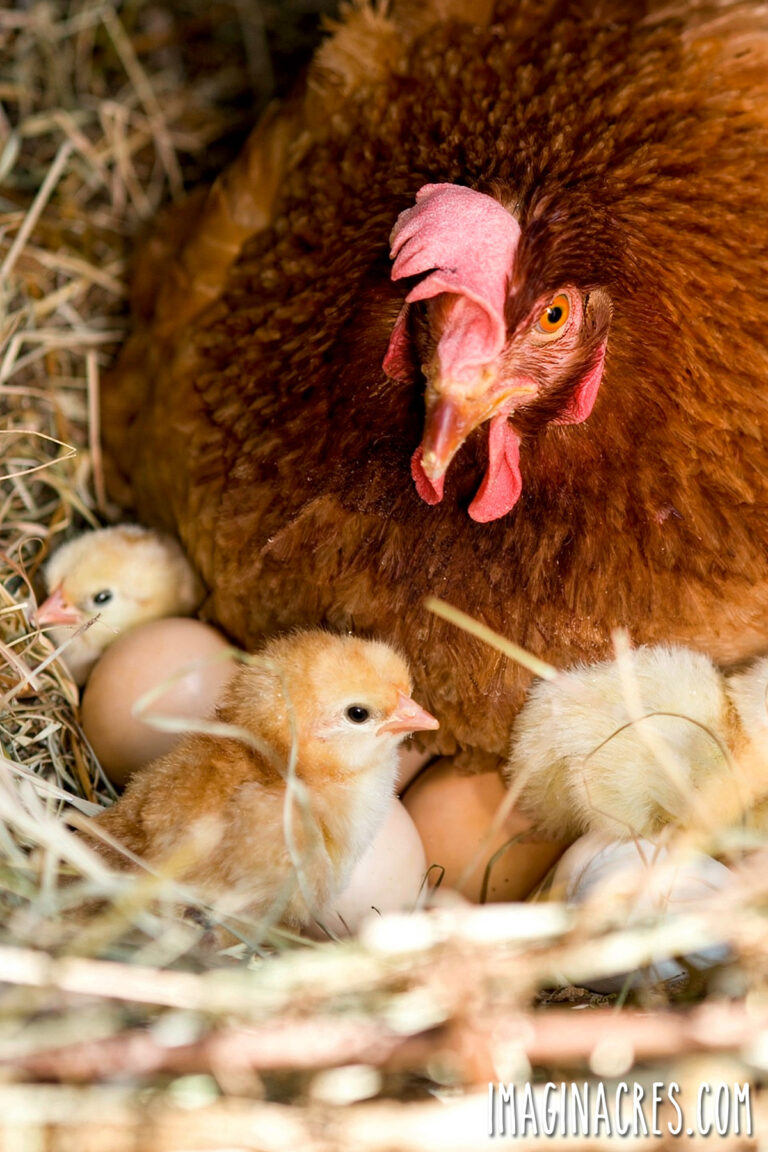
Hatch day is supposed to be thrilling! Tiny peeps, soft feathers, and wobbly legs emerging from shells. But when day 21 arrives, and nothing happens, it’s completely normal to wonder: Why aren’t my eggs hatching?
You’re definitely not alone. Even seasoned breeders and long-time chicken keepers deal with disappointing hatches from time to time. I’ve been there myself. After a few early hatch failures, I fell into a deep dive of research, including studying poultry books, reading university extension and 4-H guides, digging through blogs, and comparing notes with other backyard chicken-keepers.
The more I learned, the more I understood how many pieces have to fall into place for a successful hatch: Fertility, temperature, humidity, ventilation, genetics, and sometimes a little luck.
This guide brings together everything I’ve learned to help you figure out what went wrong, recognize common patterns, and improve your hatch rate next time.
If you’re actively learning about hatching chicken eggs, these guides offer additional info:
- How to Hatch Eggs with a Broody Hen
- How to Hatch Chicken Eggs Using an Incubator
- How to Candle Chicken Eggs: What to Look for on Day 5 and Day 7
- Incubator vs Broody Hen: Chick Hatching Pros and Cons
Understanding When Hatching Can Fail
Hatching eggs feels a bit like watching a tiny miracle unfold, but it’s also a surprisingly complex biological process. A lot has to go right for an embryo to grow, thrive, and eventually break out of its shell. Even small changes in temperature, humidity, handling, or ventilation can influence how an egg develops. That’s why hatching problems can happen even when you feel like you did everything right.
Before you can pinpoint why something went wrong, it helps to understand when in the process the trouble began. Each stage of incubation comes with its own set of potential issues and recognizable signs. Sometimes the problem begins well before the egg ever reaches the incubator or broody hen. Other times, the embryo starts developing normally but stops partway through. And in some cases, a chick makes it all the way to the end of incubation with fully formed feathers, yolk sac nearly absorbed, only to struggle or fail to hatch.
By breaking the incubation journey into clear stages, you can more easily identify where things veered off track. This approach also gives you actionable information to improve your hatch rate the next time you try.
Here are the main stages where things can go wrong:
- Before incubation: Issues like infertility, improper storage, rough handling, or washed eggs can prevent development before it even begins.
- Early development (days 0–7): The most fragile stage, when temperature swings, low-quality eggs, or early humidity issues can cause early embryo death.
- Mid-development (days 8–17): Growth is rapid and oxygen demand increases. Problems like inadequate ventilation, broody hens leaving the nest, or unstable conditions often show up here.
- Late term death (days 18–21): As the chick prepares to hatch, humidity, air cell size, turning, and positioning become critical. Small errors at this stage can mean a fully developed chick that never pips.
- Fully developed chicks that never hatch: Humidity mistakes (too high or too low), malposition, weak chicks, or temperature stress earlier in the process often appear here.
Understanding which of these stages failed gives you the clearest picture of what happened and offers the best clues for improving your next hatch.
1. Before Incubation: Fertility Problems
Many hatching issues start long before the eggs reach the incubator or broody hen. If an egg wasn’t fertile to begin with, no amount of perfect temperature or humidity will make it hatch. Understanding fertility helps you improve overall hatchability right from the start.
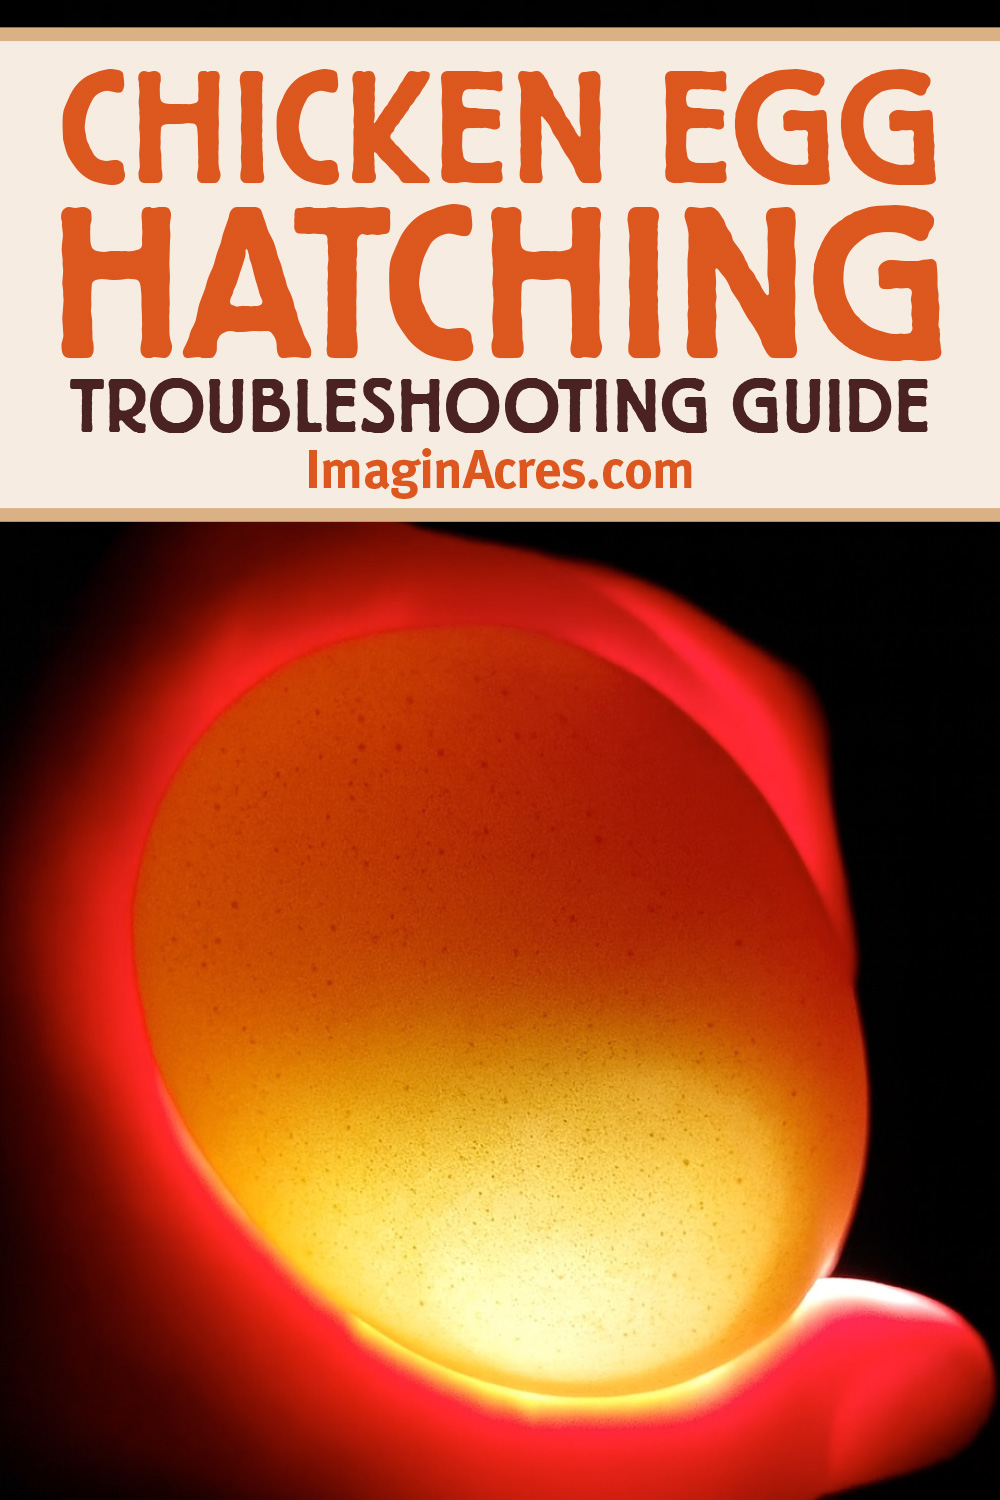
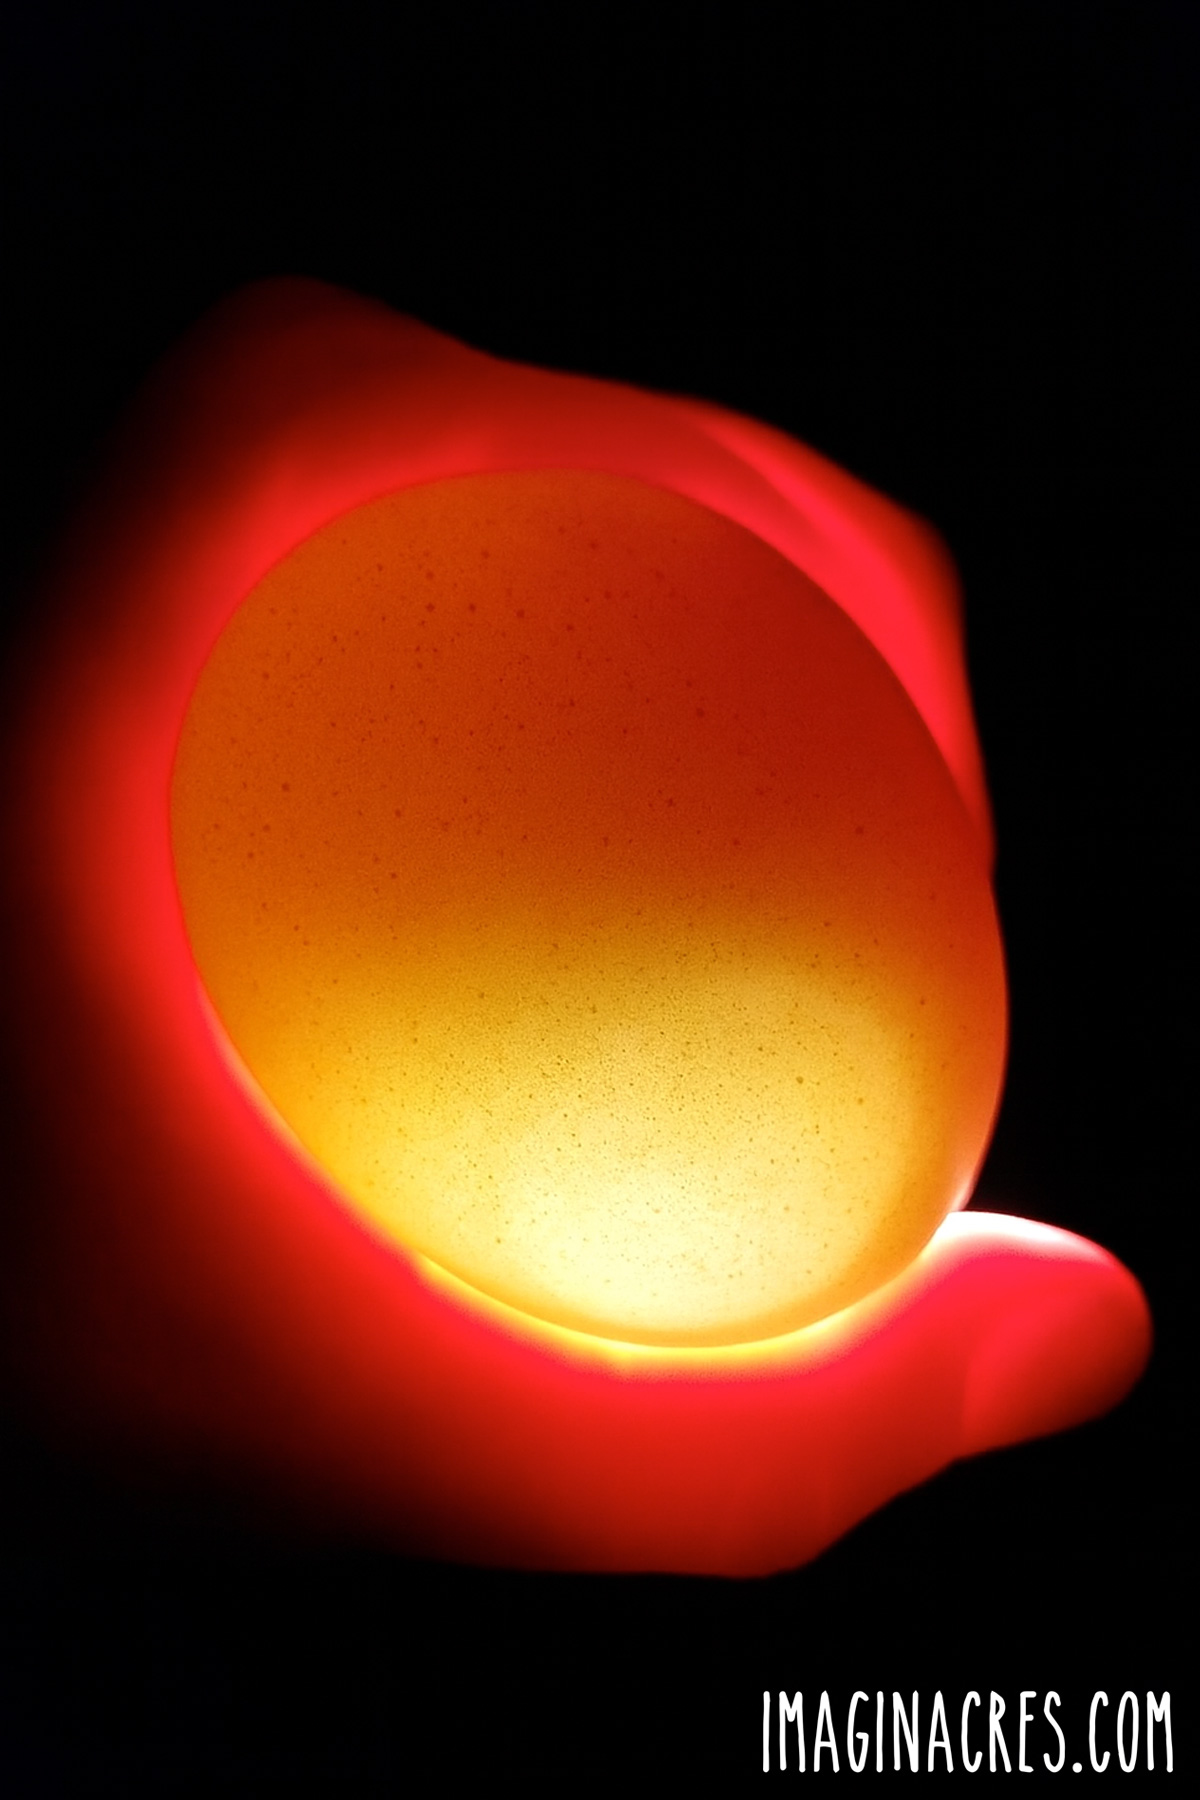
How to Tell if an Egg Was Fertile
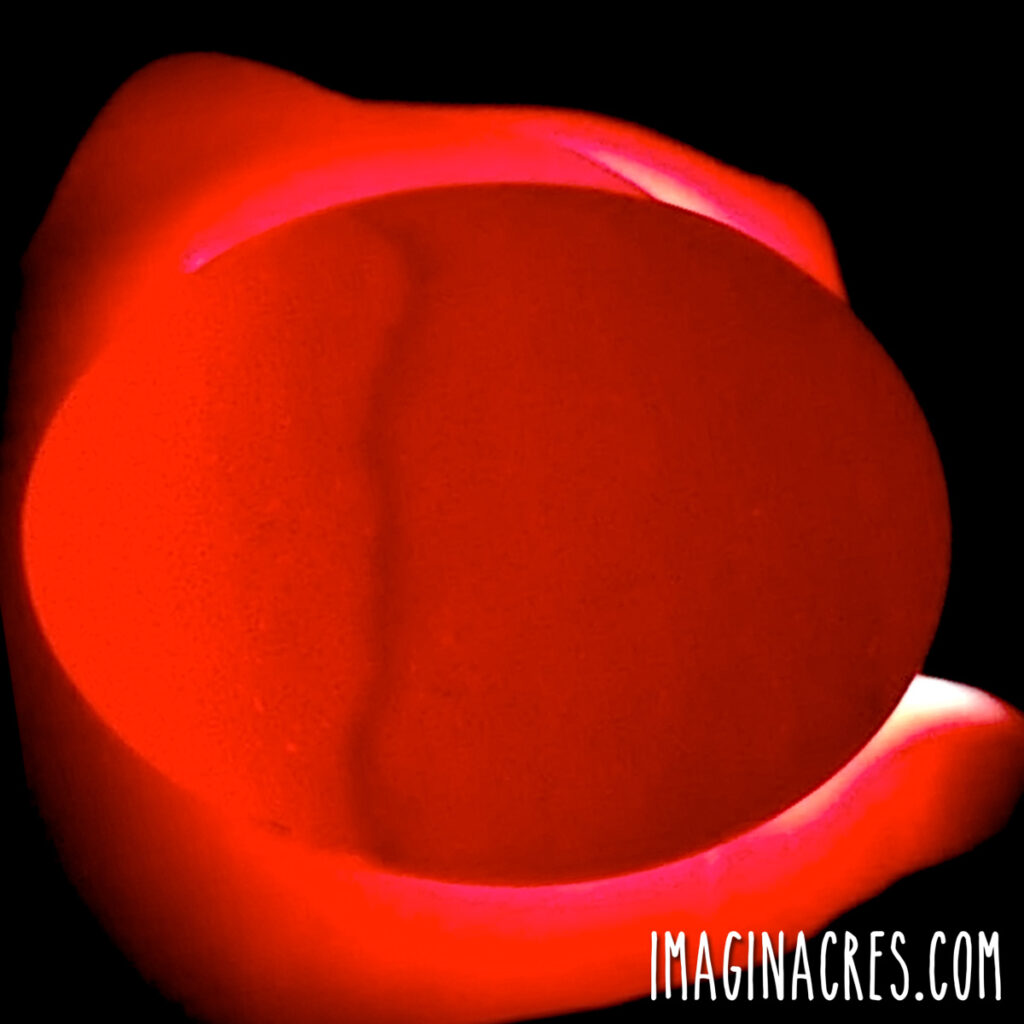
A fertile egg has a small bullseye on the yolk, the spot where an embryo could begin developing. During candling (around day 7), fertile eggs should show branching veins and a growing embryo.
Infertile eggs typically show no veins, a clear interior, and no movement or embryo shadow. If all the eggs look like this, the issue occurred before incubation began.

Why Fertility Problems Happen
Fertility depends on a healthy flock, balanced mating, and proper handling long before eggs reach the incubator or broody hen. Here are the most common causes of infertile eggs:
Possible Causes:
- Improper rooster-to-hen ratio: Too many hens and not enough active males leads to low fertility.
- Rooster age or condition: Immature, aging, molting, or stressed roosters often have reduced fertility.
- Inadequate nutrition: Poor diet in the parent flock can weaken fertility and early embryo survival.
- Egg handling issues: Storing eggs too long, keeping them too warm or too cold, washing them, or jostling them before setting reduces viability.
- Breed tendencies: Some breeders note lower fertility in certain breeds or during seasonal changes.
How to Improve Next Time:
- Ensure a balanced flock and a healthy rooster.
- Provide nutrient-rich feed for both hens and roosters.
- Collect eggs daily and store them point end down in clean trays.
- Avoid washing eggs before incubation.
- Set eggs within 5–7 days for best results.
Small improvements at this early stage can make a noticeable difference in your future hatch rate.
2. Early Embryo Death (Days 0–7)
Early loss is common and often unnoticed until candling. The first week of incubation is the most fragile stage. If conditions aren’t just right, embryos may stop developing soon after they begin. These losses are common, but understanding the signs helps you make improvements for next time.
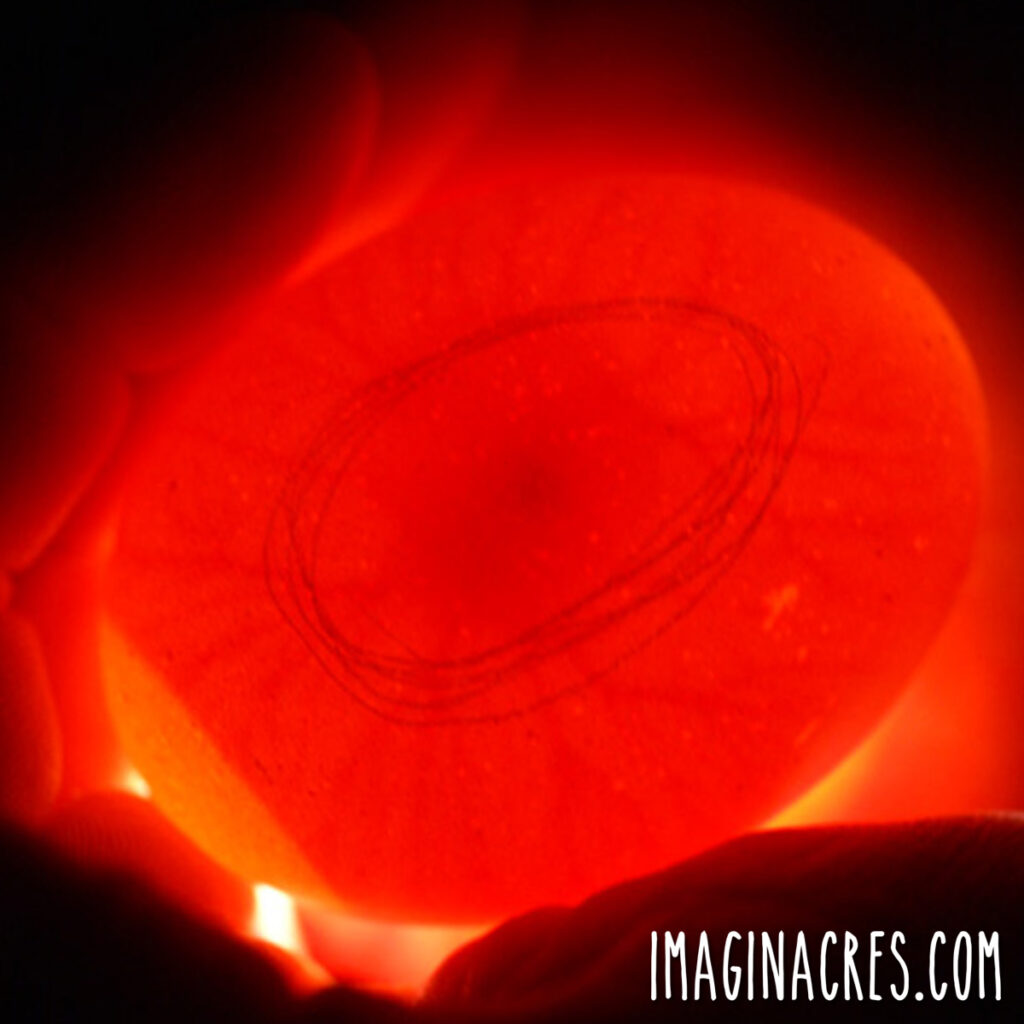
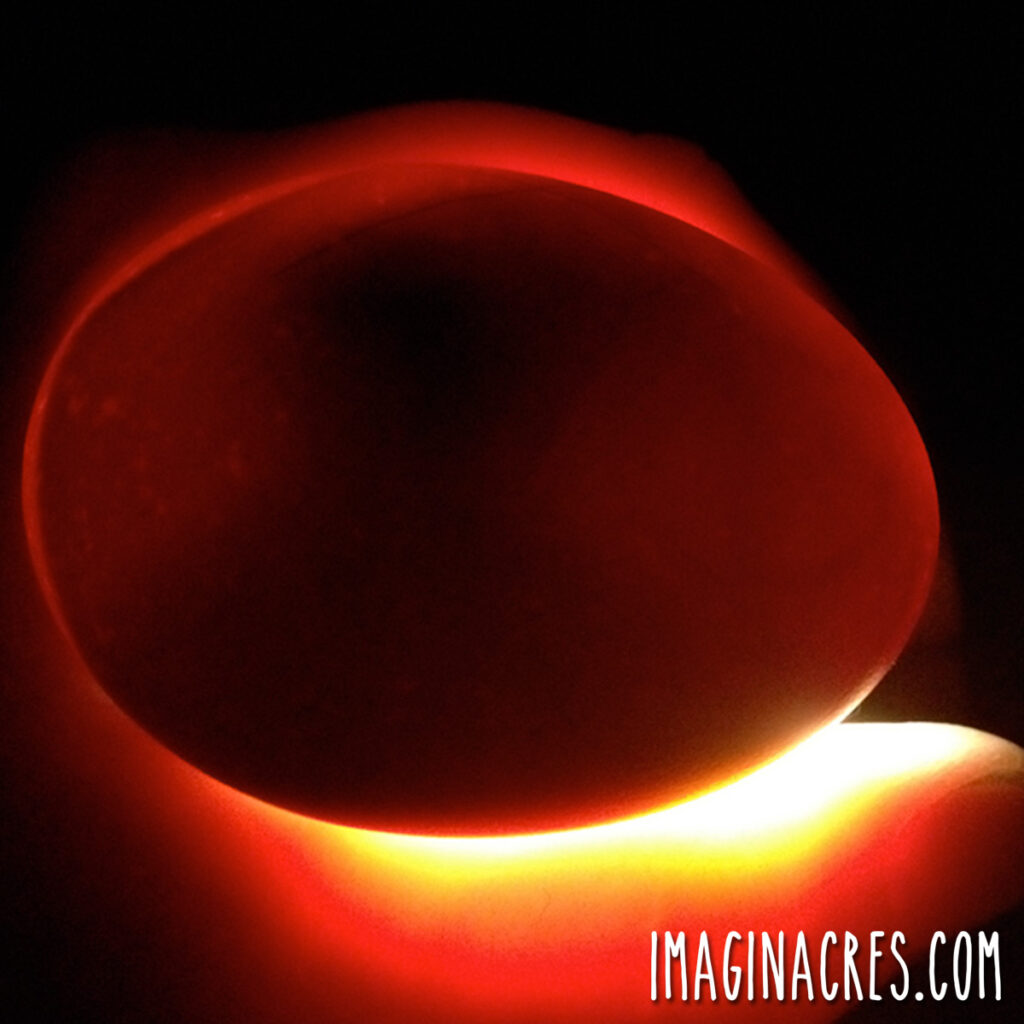
Candling Around Days 5–7 typically Reveals:
- A faint blood ring (a sign of early embryo death).
- No visible veining.
- A small or irregular embryo.
- Cloudiness indicates dead embryos.
If several eggs show these issues, something in the early environment likely went wrong.
Common Causes of Early Embryo Death:
- Temperature issues: Low incubation temperatures or temperature swings can stop development quickly.
- Improper turning schedule: Not turning eggs enough, or inconsistent turning, can prevent early growth.
- Incorrect incubation humidity early in development
- Contamination: Dirty eggshells or an unclean incubator introduce bacteria that can lead to dead embryos.
- Rough handling: Shipped eggs, jostling, or improper storage cause internal damage before incubation begins.
- Inadequate nutrition in the parent flock: Embryos from poorly nourished hens often fail early.
A blood ring is the clearest indicator that development began but soon stopped. Clear eggs with no change at all were likely infertile, while eggs that appear cloudy or irregular often reflect early bacterial issues.
How to Improve Early-Hatch Success:
- Verify temperature with an independent thermometer.
- Monitor humidity carefully and keep levels stable.
- Ensure eggs are turned at least 3–5 times per day (or confirm your turner is working).
- Clean and disinfect the incubator between hatches.
- Let shipped eggs rest upright before setting.
- Support the parent flock with a balanced diet to improve embryo strength.
Making small adjustments during this critical first stage can significantly boost your overall hatch rate.
3. Mid-Development Failure (Days 8–17)
If embryos begin developing normally but stop partway through incubation, the issue likely occurred during the middle stage of growth. This is when the chick’s organs, bones, and tiny feathers begin to form, and its need for oxygen increases. Because development is so rapid, even small disruptions in temperature, ventilation, or handling can cause mid-stage failure.
Candling Around Days 10–14 May Reveal:
- Strong veins early on that later disappear.
- Embryo movement that suddenly stops.
- A dark mass with no defined shape.
- Air cells developing abnormally.
These signs often point to environmental stress during this period.
Common Causes of Mid-Development Death:
- Temperature instability: Repeated dips or spikes (including brief high temperature episodes) can cause embryos to stall.
- Inadequate ventilation: As chicks grow, they require more oxygen. Closed vents or poor airflow limit gas exchange and slow development.
- Humidity inconsistencies: Both high humidity and low humidity can affect air cell development and embryo respiration.
- Broody hen interruptions: Hens leaving the nest too long, getting startled, or being bothered by flock members can chill eggs enough to stop development.
- Physical disturbance: Excessive jostling, rotating eggs too vigorously, or turning failure can interrupt growth.
- Weakened embryos: Issues linked to genetics or inadequate nutrition in the parent flock often appear at this stage.
What These Symptoms Mean
Mid-stage death often appears as an embryo that developed normally at first but then stopped moving and growing. If many eggs fail at the same time, check ventilation, humidity, and temperature stability.
How to Improve Mid-Stage Success:
- Keep your incubator in a room with steady temperatures.
- Open vents as recommended to improve airflow and oxygen exchange.
- Monitor humidity so air cells grow at a consistent rate.
- Avoid unnecessary handling or shaking of the incubator.
- For broody hens, provide a quiet, separate nesting area away from the flock.
- Support the parent flock with balanced nutrition to reduce the number of weak embryos.
Improving stability during this period can greatly increase your overall hatchability, especially for larger or more delicate breeds.
4. Late Embryo Death (Days 18–21)
When a fully formed chick dies before hatching, it’s known as late term death. Losing chicks late in incubation is especially discouraging. At this point, embryos are nearly fully formed with feathers, a developed beak, and an almost-absorbed yolk sac.
Because the chick is preparing to pip into the air cell and breathe for the first time, conditions in these final days must be very stable. When something goes wrong, it often results in what hatchers call late term death.
What You’ll See When Candling or During an Eggtopsy:
Late failure may show:
- A fully developed chick with no internal pip.
- An abnormally small or large air cell.
- No movement during candling.
- A chick is positioned incorrectly in the shell.
- Signs of unabsorbed yolk or incomplete development.
An eggtopsy (carefully opening unhatched eggs) can help determine whether humidity, position, or weakness played a role.
Common Causes of Late Term Death:
- Humidity errors during lockdown: Too low leads to shrink-wrapping; too high humidity can cause drowning when the chick tries to breathe.
- Temperature instability: A brief high temperature spike can accelerate development too quickly; a dip can weaken the chick before hatch.
- Turning problems earlier in incubation: Improper turning can cause malpositioning that only becomes obvious at hatch time.
- Inadequate ventilation: Restricted airflow limits oxygen as chicks prepare to breathe.
- Weak chicks or genetics: Embryos affected earlier by inadequate nutrition, parent health, or inherited issues may struggle during this critical stage.
- Contamination or shell problems: Bacteria entering through porous, cracked, or dirty shells can cause fully developed chicks to stop late in the process.
Understanding What These Symptoms Mean
Late losses with a small air cell often suggest high humidity; shrink-wrapped chicks point to low humidity. Malposition, such as the beak not being in the air cell, is often related to turning problems or early developmental stress.
If the chick is fully formed but appears weak or unable to complete hatching, the underlying issue may have begun earlier, even if it only becomes visible now.
How to Improve Late-Stage Success
- Maintain recommended humidity levels during lockdown and avoid opening the incubator.
- Confirm ventilation holes are open for proper airflow.
- Check that your incubator or broody environment doesn’t experience temperature spikes.
- Ensure eggs were turned correctly throughout incubation to reduce malposition.
- Start with clean, intact eggs to reduce bacterial contamination.
Even small improvements in humidity stability and airflow can dramatically reduce losses during this final, sensitive stage.
5. Fully Developed Chicks That Never Hatch
Few things are more heartbreaking than candling on hatch day and discovering fully formed chicks that never pip or emerge. At this stage, embryos have completed nearly all development. They have feathers, a beak ready for pipping, and a nearly absorbed yolk sac, yet something prevented them from taking those final steps. These losses can be discouraging, but they’re also some of the easiest to learn from.
What You’ll See
Signs of late failure in fully developed chicks may include:
- No internal or external pip.
- A large or oddly shaped air cell.
- A chick positioned incorrectly in the shell.
- Shrink-wrapped membranes.
- Chicks with unabsorbed yolks.
- Weak or motionless chicks on eggtopsy.
Because the chick is so complete at this stage, these clues often point directly to humidity, positioning, or weakness issues.
Common Reasons Fully Developed Chicks Don’t Hatch
- Shrink-Wrapping (Low Humidity): If humidity drops too low, especially during lockdown, the membrane dries out and tightens around the chick. A shrink-wrapped chick cannot rotate or break through the shell. This is one of the most common late-hatch failures.
- Drowning (High Humidity): Excessively high humidity prevents the air cell from growing properly. When the chick internally pips, it may lack enough air to complete hatching, resulting in drowning before external pip.
- Malpositioned Chicks: Sometimes the chick is fully formed but oriented incorrectly, such as the head tucked the wrong way, the beak pointing away from the air cell, or the body positioned too high or low in the egg. Malposition is often linked to earlier issues with turning or improper egg handling.
- Weak Chicks: Some chicks reach full development but lack the strength needed to hatch. Even though the chick looks complete, internal development may not have been optimal.
- Temperature Problems: Late-stage chicks are sensitive to high-temperature spikes, which speed development too quickly, and to slightly low temperatures, which produce sluggish or weak chicks. These issues may not kill the embryo outright, but can impair its ability to hatch.
- Airflow Issues: Restricted ventilation or poor airflow limits the oxygen chicks need for those final hours before hatch. Inadequate ventilation can prevent otherwise healthy chicks from completing the process.
Should You Help a Chick Hatch?
Assisting a chick is a sensitive and advanced practice. Most unhatched chicks failed to pip for one of three reasons: weakness, malposition, or internal developmental problems. Intervening prematurely can cause bleeding, infection, or injury.
For backyard chicken-keepers, the safest approach is:
- Observe without opening the incubator during hatch.
- Only consider assistance if the chick has pipped and made no progress for many hours.
- Never help a chick that hasn’t internally pipped (high risk of harm).
When in doubt, it’s best to let nature take the lead.
Improving Outcomes for Next Time
If you’re seeing multiple fully formed chicks failing to hatch, consider adjusting:
- Lockdown humidity levels.
- Ventilation and airflow.
- Temperature calibration.
- Turning schedule.
- Parent flock nutrition.
These small refinements can dramatically improve your late-stage hatch rate.
It’s Day 21, and Nothing Has Hatched: Now What?
Reaching day 21 with no pips, peeps, or action in the incubator or under your broody hen can feel stressful. But don’t panic. Day 21 is an average, not a guarantee. Many perfectly healthy chicks hatch a little earlier or later, depending on temperature, humidity, breed, and even small variations in shell thickness.
Before assuming something went wrong, it helps to understand what can delay hatch and what you should (and shouldn’t) do next.
Why Hatching May Be Delayed
- Slightly Low Incubation Temperature: Even a minor drop in incubation temperature (e.g., running at 98–99°F instead of 99.5°F) slows development. This is one of the most common reasons chicks hatch on day 22–23 instead of day 21.
- Breed Differences: Some breeds, especially large or heritage varieties,naturally take a little longer to hatch.
- High Humidity During Early Incubation: Consistently high humidity early on results in smaller air cells, meaning chicks need extra time before they’re ready to internally pip.
- Variations with Broody Hens: Even the best broody hens sometimes get up for brief breaks, causing subtle cooling. This usually doesn’t harm the eggs, but it may delay hatch by a day.
Do not open the incubator: Opening the incubator during hatch can cause shrink-wrapping, especially if humidity drops suddenly. Keep the incubator closed as much as possible once lockdown begins.
Signs to Look for Before Taking Action
Before giving up, watch for subtle indicators of progress:
- Internal pipping (tiny beak silhouette in air cell).
- Quiet tapping or peeping.
- Active rocking of the egg.
If you see any of these signs, hatching is underway just slowly. Wait if:
- Temperature ran slightly low at any point.
- You’re on day 21 but see movement or internal pips.
- You’re incubating shipped eggs (they often hatch late).
- The air cells look normal and you hear occasional peeps.
Most delayed hatches complete successfully by day 22–23.
When It’s Time to Assess the Eggs
On day 23–24, if no chicks have hatched and there are no signs of internal pip, carefully candle the eggs:
- No movement: Development likely stopped earlier.
- Fully developed chick but no pip: Late-stage failure.
- Smaller air cell: Humidity too high.
- Abnormal air cell: Temperature or ventilation issues.
If you choose to investigate further, an eggtopsy outside and away from the coop can help identify recurring problems like malposition, weakness, or humidity issues. Handle cautiously, old eggs may be rotten eggs and could rupture.
How to Prevent Late Hatching Problems Next Time
- Double-check the accuracy of your thermometer and hygrometer.
- Keep incubator temperatures steady and avoid drafty rooms.
- Maintain recommended humidity levels throughout incubation.
- Allow broody hens to sit in a quiet, undisturbed location.
- Track air cell growth to ensure proper moisture loss.
- Avoid opening the incubator during lockdown unless absolutely necessary.
Even small improvements in temperature stability, humidity control, and airflow can prevent delayed hatches and increase the hatch rate.
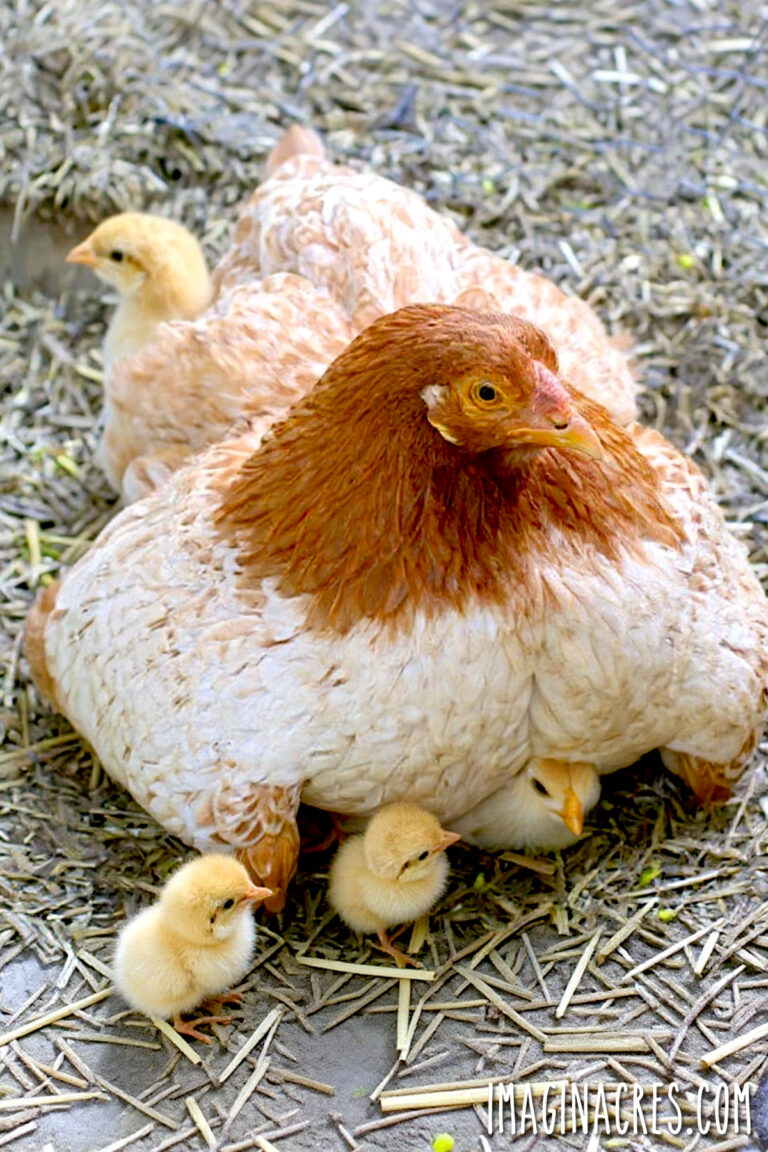
Broody Hen Troubleshooting
Broody hens can hatch eggs beautifully, but their natural instincts aren’t always perfectly consistent. When eggs fail under a hen, the cause is often due to interruptions, environmental factors, or flock dynamics rather than the eggs themselves.
Common Issues with Broody Hens:
- Leaving the Nest Too Long: Broodies occasionally take long breaks due to stress, flock pressure, or distractions. Even brief cooling can delay development, and extended cooling may stop it completely.
- Other Hens Interfering: In a shared coop, flockmates may lay new eggs in the broody’s nest, push her off the nest, or crack or soil existing eggs. This leads to staggered development and increases the risk of dead embryos.
- Nest Problems: Drafts, damp bedding, mites, or high-traffic areas near the nest can cause inconsistent warmth and poor hatch results.
How to Improve Broody Hen Success:
- Give the broody a private, quiet nesting area away from flock traffic.
- Mark the eggs so you can remove newly laid extras.
- Keep bedding clean and dry to prevent contamination.
- Place food and water nearby so she doesn’t wander far.
- Choose hens known for strong brooding instincts for the best results.
With a protected space and minimal distractions, broody hens often deliver excellent hatch rates, sometimes better than incubators.
Incubator Troubleshooting
Incubators offer control and consistency, but small equipment issues can quickly affect development. When multiple eggs quit at the same stage, or chicks fail to complete the hatch, the cause often traces back to temperature, humidity, turning, or airflow.
Common Incubator Problems:
- Temperature Issues: Many incubators run slightly hotter or cooler than their displays, so using a secondary thermometer is essential.
- Humidity Problems: Turning issues often lead to malpositioned or weak chicks.
Inadequate Ventilation: Closed vents, weak fans, or overcrowding reduce airflow and contribute to mid- or late-stage deaths. - Contamination: Dirty incubators, unwashed hands, or soiled eggs introduce bacteria that can cause early embryo death or rotten eggs by hatch day.
Improving Incubator Success:
- Verify temperature accuracy with a trusted thermometer.
- Use a separate hygrometer to track humidity.
- Open vents as recommended to ensure proper airflow.
- Place the incubator in a stable environment away from drafts or direct sunlight.
- Avoid opening the incubator during hatch unless absolutely necessary.
- Clean the incubator thoroughly between hatches.
A few small adjustments can dramatically improve stability and your overall hatch rate.
How to Improve Hatch Rates Next Time
Small changes make a big difference in hatchability and overall hatch rate:
- Use an independent thermometer and hygrometer.
- Candle at days 5–7 and day 14.
- Follow a consistent turning schedule.
- Keep the incubator closed during lockdown.
- Store eggs properly and use fresh ones.
- Provide excellent nutrition for breeders.
- Mark eggs and track progress in a hatch log.
- Give broody hens quiet, private nesting areas.
Frequently Asked Questions About Unhatched Eggs
Still wondering what went wrong or what to do next time? These are the most common questions when hatching doesn’t go as planned.
Why didn’t any of my eggs hatch? If none of the eggs developed, the most likely cause is infertility, either due to an inactive rooster or poor storage and handling before incubation. If embryos started developing and then died, temperature, humidity, turning, or contamination may be to blame.
How do I know if an egg is non-viable? Candle the egg around day 7. A viable egg shows dark veins and an active embryo. If the interior is completely clear or shows a blood ring, it’s likely a dead embryo or an infertile egg.
Should I break open unhatched eggs? Opening unhatched eggs (a process called an eggtopsy) can help you understand what went wrong. Unhatched eggs may contain partially developed chicks or be rotten, and they can burst if handled roughly.
Why do chicks die late in development? Late term death is often caused by humidity or positioning problems. Too high humidity can cause drowning; too low can lead to shrink-wrapping. Weak chicks, malposition, or temperature issues earlier in incubation can also contribute.
How long should I wait past day 21? Some hatches are delayed by low temperatures or breed differences. Most chicks will hatch by day 22–23. If there are no signs of movement or pip by day 24, candle the eggs to check for life before discarding.
Do shipped eggs have lower hatch rates? Yes. Shipped eggs are more prone to damaged air cells, jostling, and stress from transit. Even if they’re fertile, hatchability is often reduced compared to fresh eggs collected from your own flock.
Every Hatch Is a Lesson in the Making
Hatching eggs is one of the most magical experiences in keeping backyard chickens, but it also comes with a fair share of mystery. Even when you follow every guideline, nature doesn’t always unfold the way we hope. If your hatch didn’t go as planned, know this: you’re not alone, and you didn’t fail. Every hatch, whether wildly successful or a little disappointing, teaches you something new.
With each attempt, you learn more about temperature, humidity, timing, and how your flock’s nutrition affects hatchability. You get better at spotting fertile eggs, troubleshooting equipment quirks, and supporting broody hens. And before long, all these small insights start to add up to higher hatch rates and more confident hatches.
When your next batch does pip and peep its way into the world, you’ll have the knowledge to greet them with confidence.
For what comes after hatch day, continue with:
- What Do Baby Chicks Need? How to Prepare for New Chicks
- How to Raise Baby Chicks in a Brooder: The First 6 Weeks
- When Can Chicks Go Outside? How to Transition Chicks to the Coop
Resources and Further Reading:
- The New Incubation Book: The Essential Reference Guide by A. F. Anderson Brown and G. E. S. Robbins
- Storey’s Guide to Raising Chickens by Gail Damerow
- The Chicken Health Handbook by Gail Damerow