Incubating Eggs: How to Hatch Chicken Eggs Using an Incubator
Learn how to incubate chicken eggs at home using an incubator. This beginner-friendly guide covers storing eggs, temperature and humidity, candling, lockdown, hatch day, and moving chicks to a brooder.
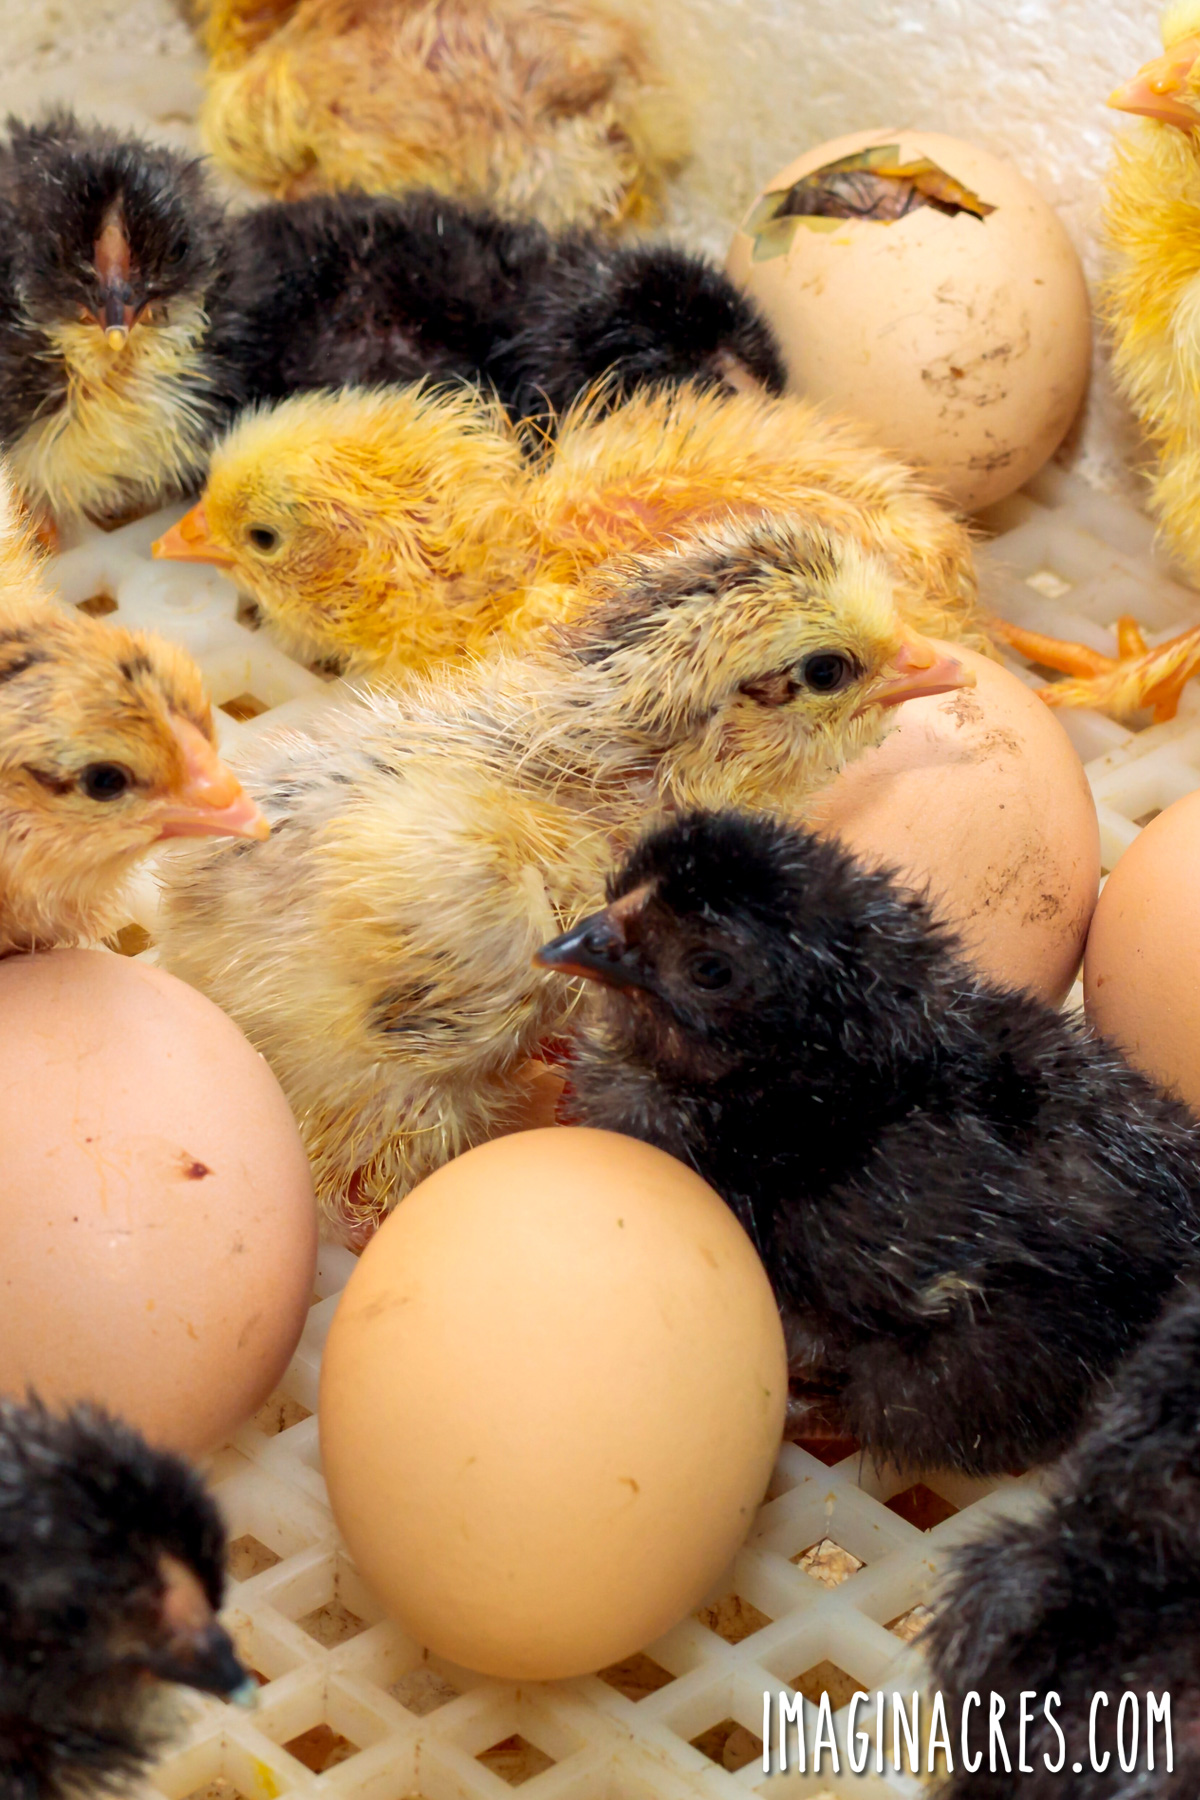
If you’ve ever dreamed of hatching your own baby chicks, but none of your hens feel like going broody, an incubator is the next best thing. Using an incubator lets you control the temperature, humidity, and turning schedule so fertilized eggs can develop safely. It’s a fun family project and a great way to expand your backyard flock without investing in new adult birds.
As our flock aged and egg production slowed, we hoped one of our hens would take on broody duties. No luck. So we borrowed an incubator from friends and hatched our very first batch of chicks right in the living room. It was both nerve-wracking and magical, especially when we heard the first little peep from inside a shell.
If you’re ready to try it yourself, here’s everything beginners need to know to hatch healthy chicks at home.
What You Need to Hatch Eggs in an Incubator
An incubator is a device that artificially hatches eggs without the need for a broody hen. It is a sealed box designed to securely hold the eggs while maintaining proper humidity and a steady temperature. This is achieved using a heater and a fan to circulate warm air.
A fertilized egg typically takes 21 days to hatch. During this time, the eggs must be kept warm and turned regularly. An incubator provides the necessary conditions for the eggs to develop and successfully hatch.
You don’t need a fancy setup to begin incubating eggs, just a few essentials:
- An incubator with reliable temperature and humidity controls.
- Fertilized eggs from your flock or a trusted source.
- Thermometer and hygrometer (even if built in, backups help).
- An egg candler or a bright flashlight for checking embryo development.
- Gloves for handling eggs.
- Notebook or calendar to record candling dates, turning schedule, and expected hatch day.
These basic tools will help you keep consistent conditions throughout the incubation process, which is the secret to a successful hatch.
Choosing an Incubator
We borrowed an incubator from friends, but if you plan on hatching chicks regularly, investing in a quality incubator is a wise choice. Not all incubators are created equal. Here’s what to look for, especially when you’re just starting out:
Start Small if You’re New
A compact incubator designed for 6–12 eggs is perfect for beginners. It heats quickly, uses fewer resources, and is easier to monitor.
- Look for Automatic Turning: Auto-turners keep the eggs rotating gently throughout the day. This prevents embryos from sticking to the shell, making the whole process far less stressful for you.
- Forced-Air Is Beginner-Friendly: Models with a built-in fan distribute heat evenly, making it easier to maintain the ideal temperature of 99.5°F.
- Highly Recommended Brands: Brinsea incubators remain a top choice for their consistency, durability, and ease of cleaning. Their small models are fantastic for hobby hatching, while larger units work well when you’re ready for bigger batches.
Whatever model you choose, always read and follow the manufacturer’s instructions.
Preparing the Incubator (Before You Get Eggs)
Whether it’s a new or used incubator, it will need to be prepared before the eggs are ready to hatch.
Clean and Disinfect
- Wash all removable parts with warm, soapy water.
- Rinse thoroughly.
- Sanitize using a mild bleach solution (1/2 cup bleach per 4 cups warm water) or a manufacturer-approved disinfectant.
- Allow everything to dry completely.
Choose a Stable Location
Place the incubator in a room that:
- Stays above 60°F.
- Is free of drafts and direct sunlight.
- Maintains a steady temperature.
Even small environmental changes can affect hatch success.
Test the Incubator
Test the machine to make sure you understand how everything works and all components are operating correctly.
Follow the instructions for your unit and check:
- Temperature: If you are using a forced air incubator, the temperature should hold steady at 99.5°F. If you are using a still-air incubator, the temperature should remain between 99-102˚F at all times.
- Humidity: The humidity level should be at 50% for the first 17 days, then it will need to be raised to 70% relative humidity for the last 4 days before eggs hatch. Test the water channel and hygrometer to ensure they are working properly.
- Heater and Fan: Consistent heat and air circulation are needed to hatch chicken eggs.
- Egg Turner: Ensure the automatic egg turner is working gently and efficiently. If you are turning the eggs yourself, place a few test eggs in the incubator and practice turning the eggs a few times.
This testing period helps you spot issues before eggs are involved.
Find Fertilized Chicken Eggs
Sourcing quality fertilized chicken eggs is crucial for a successful hatch. The best way to get fertilized eggs is through a local source, such as a friend, a local farmer, or your own flock.
Keep in mind, not all the eggs are guaranteed to hatch. Some may not be fertilized, be damaged in transit, or have other developmental issues. In general, home incubators achieve a 75% hatch rate under ideal conditions. If your eggs are shipped, expect that rate to go down even further. So plan for duds and get a few extras just in case.
Here are some places where you can find fertilized eggs for hatching:
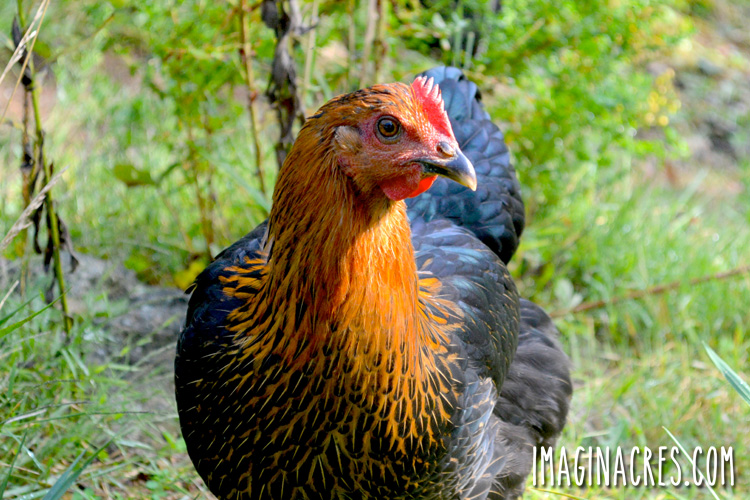
- Backyard Flock (If You Have a Rooster): This is the easiest and most reliable option. We used eggs from our flock and loved watching their barnyard genetics shine through.
- Local Breeder: If you are looking for purebred chickens, a local breeder is a great place to source fertilized eggs. Ask around at poultry shows or your farm and feed stores.
- Local Poultry Farmer: A local poultry farmer with a rooster in the flock may be willing to sell some fertilized eggs.
- Shipped Eggs From Hatcheries: Convenient, but risky. Shipped eggs experience temperature fluctuations and rough handling, often resulting in hatch rates of 40–50%.
Also consider contacting your local county Extension office, farm and feed store, or 4-H club for ideas on where you can find fertilized eggs.
How to Store Fertilized Eggs Before Incubation
Fertile eggs can be stored for a short period of time until you have enough to fill your incubator.
If you’re gathering eggs over several days, here’s how to store them:
- Keep eggs between 50–60°F.
- Store with the pointy end down in a clean egg carton.
- Tilt or turn them twice daily to keep the yolk centered. Instead of turning the eggs individually, tilt the entire egg carton by elevating one end and then the opposite end the next time.
- Hatch within 5–7 days for best results.
- Let eggs warm slowly to room temperature before setting.
Never wash fertilized eggs. Washing removes the protective bloom, increasing the risk of bacterial contamination.
Steps to Hatching Eggs with an Incubator
Once you have your incubator set up and sourced your fertilized eggs, it is time to set your eggs and begin incubating.
Step 1: Warm the Incubator
Turn on the incubator and review the instructions again to make sure everything is set up properly. Let the incubator run until the temperature and humidity stabilize.
Step 2: Examine and Candle Eggs Before Setting
While the incubator is warming up, bring your fertilized eggs out of the cool storage area so they can warm slowly to room temperature before setting them in the incubator.
Take this opportunity to examine each egg carefully for flaws. Always wash your hands before and after handling the eggs to avoid contaminating them with bacteria. Handle the eggs gently and try not to jostle them around.
- Eliminate Bad Eggs: Take a good look at your fertilized eggs. Cracked, thin-shelled, weirdly shaped, or very dirty eggs should not be used for hatching. Also, avoid hatching small pullet eggs and excessively large eggs.
- Candle the Eggs: Candling eggs allows you to spot hairline cracks in the shells that may not be visible on the surface. Cracked eggs are susceptible to bacteria and should not be used. This process also helps identify eggs with two yolks, which should be rejected as they rarely hatch successfully. For more information, refer to our guide on How to Candle Chicken Eggs.
- Wipe Down if Dirty: If the eggs are slightly soiled, you can brush off the dirt with a clean, dry cloth. Avoid washing the eggs if possible. Washing the eggs will remove the outer bloom, leaving the egg at greater risk from bacterial contamination.
- Mark Each Egg: If you are turning the eggs manually, use a pencil to mark one side of the egg with an “X” and the opposite side with an “O” before placing them into the incubator. You may also want to number the eggs to keep track.
Step 3: Set the Eggs (Day 1)
Place the eggs in the incubator’s egg tray, with the larger end facing up and the narrow end facing down. This is called “setting the eggs.”
Follow the directions of your incubator. Some require you to place the eggs on the welded wire platform horizontally, with the large end slightly elevated, while others have small notches to hold the eggs. Either way, the pointed end should be down, and the large end up so the embryo remains in the proper position to develop and hatch.
If you are manually turning the eggs, make sure all the Xs face the same direction, either up or down.
Make sure there is good airflow around each egg. Note that the expected hatch date is Day 21.
Step 4: Turn the Eggs (Days 1–18)
Eggs must be turned 2–3 times per day. This prevents the developing embryos from sticking to the inside of the shell.
If your incubator has an automatic turner: The eggs will be turned for you.
If turning eggs manually:
- Wash your hands before turning eggs or wear gloves to prevent germs and oils from being transferred to the eggs.
- Carefully open the incubator and turn the eggs from the X side to the O side, or the O side to the X side. Be careful, but try to do this quickly so the eggs don’t get too cold.
Step 5: Candle the Eggs (Days 5–7 and Again on Day 14)
Candling is the process of shining a bright light through the eggshell so you can check the embryo’s development. It’s one of the most exciting parts of incubation! Learn more: How to Candle Eggs.
You’ll want to candle at least twice:
- First candling: Day 5–7
- Second candling: Around Day 14, before lockdown preparations.
Here’s what you should look for during each stage:
What Healthy Eggs Look Like When Candled (Day 5–7)
By Days 5–7, a fertile, developing egg should show:
- A visible network of red veins spreading outward from the embryo.
- A small dark spot (the embryo) located slightly below the air cell.
- A pulsing or flickering movement when the embryo shifts.
- A well-defined air cell at the large end of the egg.
- Overall contents look organized, not cloudy or empty.
Don’t worry if you don’t see much wiggle yet. At this stage, movement may be subtle.
What Healthy Eggs Look Like When Candled (Day 14)
By Day 14, the embryo should be significantly larger and more active.
- Most of the egg appears dark, filled with the growing chick.
- Clear, distinct air cell that may be slightly larger than before.
- Noticeable movement! The chick may shift, kick, or wiggle as you turn the egg.
- Veins are still visible, though they are often pushed toward the edges as the chick grows.
- Embryo shape is more defined, and sometimes you can see the outline of the beak or body.
- Development looks consistent across all healthy eggs in the batch.
By Day 14, a healthy embryo will often move in response to gentle turning or to light shining through.
Signs an Egg Is Not Developing
Candling helps you identify eggs that won’t hatch, so you can remove them before they spoil or contaminate the incubator. Look for:
- Clear or Cloudy Eggs (Infertile or Early Embryo Loss): An egg that looks empty, with no veins or embryo, is usually infertile. Cloudiness often indicates early death.
- Blood Ring (Non-viable Embryo): A distinct red ring circling the inside of the egg is a sign the embryo has stopped developing. These eggs must be removed.
- Dark, Smelly, or Weeping Eggs: These may contain bacteria or have ruptured internally. If an egg smells bad, leaks fluid, or sweats, remove it immediately because it can explode and contaminate the others.
Non-viable eggs should be taken out as soon as they’re identified. Leaving them in the incubator increases the risk of bacterial contamination and can harm healthy eggs. If something goes wrong during incubation, this troubleshooting guide may help diagnose the problem.
Step 6: Prepare for Lockdown (Day 17)
Day 17 is your prep day before lockdown begins. Today you’ll make sure everything is ready for the final stretch of incubation. Lockdown is critical for hatch success, so preparing ahead makes things much smoother.
Here’s what to do on Day 17:
Candle the Eggs One Last Time
This final candling lets you check that all embryos are developing normally before lockdown. Healthy eggs should appear mostly dark with a clearly defined air cell.
Remove any eggs that show:
- No movement.
- A small embryo that floats freely.
- Bad odors or leaking.
- Blood rings.
- Signs of bacterial contamination.
Removing non-viable eggs protects the remaining chicks from contamination during hatch.
Check Your Humidity Setup
You’ll raise the humidity tomorrow (Day 18), so make sure:
- Water channels are clean.
- Extra reservoirs or sponges are ready.
- Your hygrometer is accurate.
- You know how your incubator increases humidity.
You want everything in place so the changeover happens quickly on Day 18.
Check and Clean the Hatching Tray
If your incubator has a separate tray or area for hatch day, set it up now. This may involve:
- Removing debris or dust.
- Adding a liner, such as a non-slip mat.
- Ensuring chicks won’t fall into water channels.
Make Sure Your Brooder Is Ready
Chicks will need a warm, safe place immediately after they fluff up.
Prepare the brooder today by:
- Adding bedding, then covering with paper towels.
- Filling feeders and waterers.
- Setting up and testing the heat source to make sure the temperature is stable.
Related: What do Chicks Need? How to Prepare for New Chicks.
Double-Check Temperature Stability
Before lockdown, make sure your incubator maintains a consistent temperature of 99.5°F for forced-air or 99-102˚F for still air. Any fluctuations should be corrected now.
Step 7: Lockdown (Day 18)
Lockdown begins on Day 18, marking the start of the final, crucial stage of incubation. From this point on, chicks are getting ready to hatch, and your main job is to maintain stable conditions inside the incubator.
Here’s what to do on Day 18:
Remove Eggs From the Automatic Turner
If you’re using an automatic turner, remove the eggs from the turner now and place them flat on the hatching tray or directly on the incubator floor (depending on the model).
Placing the eggs on their sides helps chicks settle into the correct hatching position, prevents injuries from moving the turner parts, and gives chicks room to “zip” properly around the shell.
Stop Turning the Eggs Completely
Whether you’ve been using a turner or turning by hand, all turning stops now. Why?
- The chick needs to orient its beak toward the air cell.
- Turning can disrupt the chick’s positioning.
- The yolk is being fully absorbed during this stage.
This stillness is essential for proper development.
Increase Humidity to 65–70%
Lockdown requires higher humidity to keep the inner membrane soft so chicks can break through the shell.
Depending on your incubator, this may involve filling additional water channels, adding warm water, or using sponges or paper towels (only if recommended by the manufacturer).
Monitor humidity closely: Too low can shrink-wrap chicks, making it difficult for them to hatch.
Minimize Opening the Incubator
Once lockdown begins, opening the incubator can cause humidity drops, chilling, and difficulty for chicks to pip and hatch. Avoid opening unless you absolutely must to refill water channels.
Maintain Steady Temperature
Keep the temperature around:
- 99.5°F in a forced-air incubator.
- 101–102°F in a still-air incubator.
Even small fluctuations can affect hatch success, so keep an eye on readings.
Watch and Wait
Inside the eggs, chicks are now:
- Absorbing the yolk
- Stretching into hatching position
- Positioning their beaks toward the air cell
The final hatch process usually begins between Day 19 and Day 21.
Step 8: Chick Hatching Days (Days 18–21)
Once lockdown begins, the actual hatching process can start any time over the next several days. This is the most exciting (and nerve-wracking!) part of incubation.
Chicken eggs typically hatch around day 21. Chicks are ready to hatch when they are fully developed and have absorbed the yolk into their bodies. While most will hatch on time, some may emerge earlier or later. The hatching process isn’t instantaneous; it can take up to 24 hours from the first pip until the chick completely hatches.
Also, don’t be alarmed if your chicks don’t hatch all at once. Keep the incubator on until day 24, just in case you have some late hatchers.
Here’s what to expect from pipping to hatch:
The First Internal Pip (Often Day 19–20)
When a chick begins to hatch, it uses its egg tooth to break through the shell membrane into the air chamber and begins to breathe air for the first time.
Sometimes you can hear the chick peeping inside the egg. This is referred to as “internal pipping.” The chick may rest for a while before breaking through the shell.
External Pipping
When the chick is ready, it begins to break out of the shell. You should start to see tiny cracks in the shell as the chick uses its egg tooth to peck a hole to breathe fresh air.
This first hole in the shell is called the “first external pip.” The act of breaking through the shell is called “pipping.” This can take time, and the chick may stop to rest frequently before going back to work.

Zipping
The chick will continue to peck a circle around the egg. This is called “zipping” because it looks like a little zipper. Hatching is exhausting work, and the chick may peep and take naps throughout the process.

Hatching
Eventually, the chick breaks the shell open by pushing with its feet and sprawls to the incubator floor. When chicks first emerge from their shell, they are wet and don’t look very cute. They often flop to the floor, exhausted, and sleep for a little while.

Within a few hours, the chick will dry out and begin exploring its new world. Baby chicks are perfectly safe to stay in the incubator for up to 24 hours while they wait for their siblings to hatch.
Keep the incubator running until at least until day 24 before assuming remaining eggs won’t hatch.
Leave Chicks in the Incubator to Dry
Newly hatched chicks can stay inside the incubator for up to 24 hours while they finish drying, gather strength, and recover from the hatch.
If other eggs are still pipping or zipping, keep the incubator closed as long as possible to maintain humidity. A loss of moisture can cause the egg membrane to dry out, making it more difficult for the chicks to break free.
If you’re curious what hatch day actually looks like in real life, including the pipping, the waiting, and the chaos, read our first real incubator hatch day story here.
Step 9: Moving Chicks to a Brooder
Once your chicks have fully hatched and dried, and you have determined the remaining eggs are duds, it’s time to move the chicks from the incubator into a warm, safe brooder.
Your brooder should be warm, draft-free, and ready before hatch day.
When to Move Chicks
Move each chick when:
- Its feathers are soft, dry, and fluffy.
- It is standing and walking steadily.
- The incubator can be opened without interrupting other chicks that are still hatching.
Use gentle hands when transferring chicks and place them directly under the heat source so they can warm up quickly.

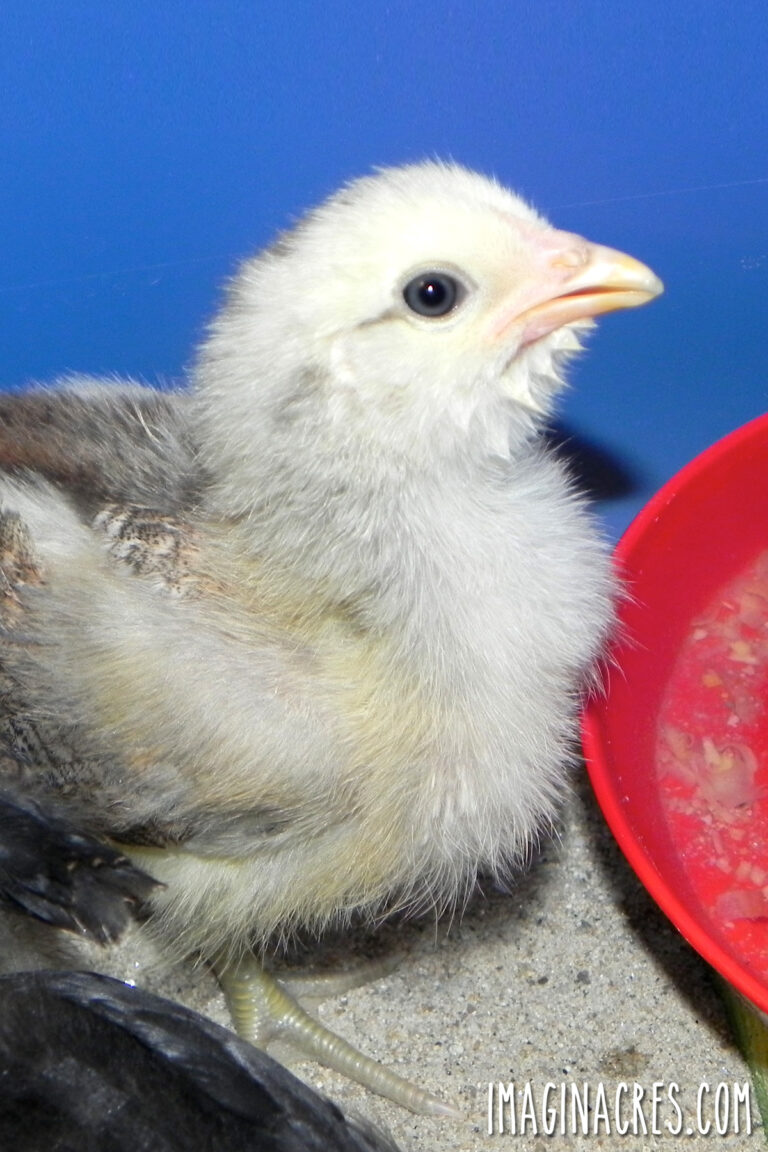
What to Expect After Moving Chicks
Once in the brooder, each chick needs a moment to get oriented. Then, gently dip the tip of each chick’s beak into the waterer so they learn where to drink. This helps prevent dehydration and teaches them to return to the water on their own.
After settling in, chicks typically:
- Take their first drink.
- Eat shortly afterward as they regain energy.
- Nap frequently. Hatching is exhausting.
- Explore their new environment, peeping and stretching.
- Begin bonding with you, especially if they hear your voice and gentle movements.
For a full guide to caring for baby chicks, continue with: How to Raise Baby Chicks in a Brooder: The First 6 Weeks.
Step 10: Cleaning and Storing Your Incubator After Hatch
After all the chicks have hatched and been transferred to the brooder:
- Turn off and unplug the incubator.
- Remove shells and debris.
- Wash with warm soapy water.
- Disinfect using a safe cleaner.
- Rinse well and allow to dry completely before storing.
This prevents bacteria buildup and keeps your incubator in good shape for next time.
Final Thoughts on Hatching Chicks in an Incubator
Hatching chicks with an incubator is a rewarding way to grow your backyard flock, especially when no broody hen volunteers for the job. It’s incredible to watch life unfold from the first candling to hatch day, and even more magical once those fluffy little troublemakers start exploring the brooder.
Chickens are wonderfully addictive, and if we had room for a hundred, you can bet they’d be scratching around the yard right now. For now, we enjoy adding a few new faces each year, and every hatch feels just as exciting as the first.
Ready for the next step? Raising Chicks: What to Expect the First Six Weeks.
Related Posts:
- Incubator versus Broody Hen: Chick Hatching Pros and Cons
- Tips for Introducing Chicks to a Broody Hen
- When Can Chicks Go Outside? How to Transition Chicks to the Coop
Sources and Further Reading:
- Hatching & Brooding Your Own Chicks by Gail Damerow
- Raising Chickens for Dummies by Kimberly Willis
- Storey’s Guice to Raising Chickens by Gail Damerow


I just love your writing. Never thought I would be so excited to read about chickens. You make it a really fun read. 🙂
Thanks Erin!! 🙂
I am looking forward to pictures of your baby chicks.