Introducing Chicks to a Broody Hen: A Safe, Step-by-Step Guide
Learn how to introduce day-old chicks to a broody hen, including how to pick the right hen, choose the right age chicks, set up a safe broody space, and make nighttime introductions that actually work. A beginner-friendly guide for smooth adoption.
Introducing chicks to a broody hen is one of those magical homestead moments that feels part science, part instinct, and part “please let this work.” When everything clicks, it’s incredible. The hen tucks those babies under her wings, murmurs her little clucking lullabies, and raises them far better than we ever could with a heat lamp and constant worrying.
But when it doesn’t work?
Well, my flock has made it very clear over the years that chickens do not politely accept surprise babies like they do in heartwarming movies.
I’ve had broody hens instantly adopt day-old chicks, giving me the kind of success that makes you feel like the chicken whisperer. And I’ve had hens look at perfectly adorable fluffballs with confusion, mild disgust, and in one memorable case, a swift peck to the face, as if I’d offered her a frog instead of a baby.
Those early experiences taught me an important lesson: introducing chicks to a broody hen can work beautifully, but only when done the right way.
This guide blends real-world flock stories (the good and the chaotic) with clear steps to help you introduce chicks safely, confidently, and with far fewer pecked noses than my flock has provided over the years.
Why Give Chicks to a Broody Hen?
Letting a broody hen raise chicks is a natural, low-stress way to grow your flock. And once you’ve seen it done, you’ll understand why many keepers swear they’ll never brood chicks under a heat lamp again.
The Benefits
- A broody hen keeps chicks warm without electricity.
- Teaches them to forage, scratch, dust-bathe, and avoid danger.
- Socializes them better than humans ever could.
- Integrates them into the flock earlier and more naturally.
- She protects them from the flock’s bullying.
Chicks raised by hens often grow into confident, resilient adults with great flock manners.
The Risks
- Not every broody hen will accept chicks.
- Introducing chicks the wrong way can result in pecking or injury.
- Hens who have been broody too long sometimes lose their instinct.
- Trying to introduce chicks during the day almost always fails.
With the right preparation, you can dramatically increase the chances of success.
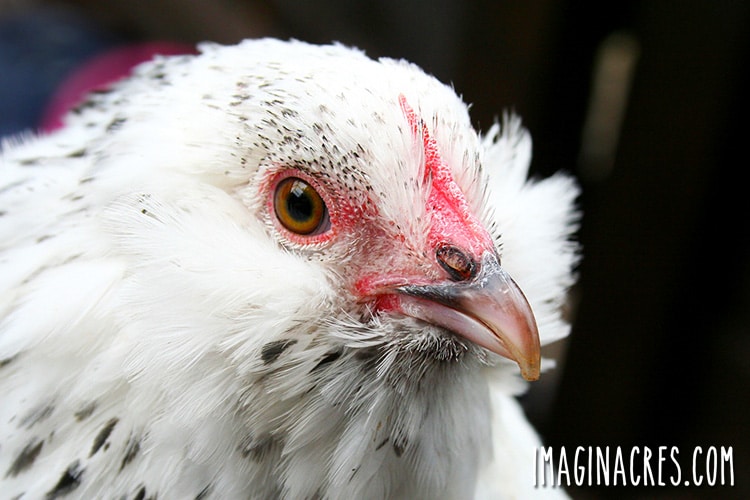
What Makes a Good Candidate Broody Hen?
A successful adoption starts long before you slip a chick under a hen’s wing. Not all broodies are created equal. Some slide effortlessly into motherhood, while others look at a chick like it’s a mysterious creature sent to ruin their nap.
Look for a hen who is:
- Truly broody: Stays on the nest, fluffs up, and growls when disturbed.
- Calm and steady: Not flighty or reactive.
- Healthy: No mites, weakness, or respiratory issues.
- Committed: Has stayed broody for at least 2 weeks or longer.
- Experienced: A bonus, but not required.
Why Temperament Matters
Some hens transition effortlessly into motherhood. Others… do not. Broodiness alone doesn’t guarantee acceptance. Temperament and timing matter far more.
Choose the hen who is committed, calm, and hormonally ready, not the one who has been broody the longest.
If you’d like to read a real-life story about how this lesson was learned the hard way. including a failed daytime introduction and a successful nighttime one, see How Not to Introduce Chicks to a Broody Hen (And What Finally Worked).
How to Safely Introduce Chicks to a Broody Hen
This method works whether you’re introducing hatchery chicks, incubator chicks, orphans, or late additions to a flock, and it dramatically increases the chances of a smooth, safe adoption.
Before you begin slipping babies under a hopeful mama, it helps to understand the overall flow of the process. Introducing chicks to a broody hen isn’t difficult, but it does require the right timing, the right hen, and a little behind-the-scenes preparation to keep everyone safe.
The steps below walk you through exactly what to do, when to do it, and how to avoid the classic mistakes. Once you’re set up, the actual handoff is surprisingly simple and often downright magical.
Step 1: Choose the Right Timing
Introducing chicks to a broody hen is all about timing. It takes about 21 days for eggs to hatch, so wait until she is a week or two into this window before introducing chicks. As a hen approaches the point when eggs should be hatching, her hormones peak and her instincts shift into full-on mother mode.
This hormonal window is what makes an introduction successful. There’s a short period when her body is telling her, “My eggs should be hatching any moment now,” and your goal is to match your timing to that instinct.
A broody hen is most receptive when:
- She has been broody for at least a week, ideally 2+ weeks.
- She is committed. Meaning she growls, puffs up, and stays glued to that nest.
- She settles back down quickly after being lifted.
- She’s at the stage in her cycle where real chicks would be hatching.
Step 2: Prepare a Safe Introduction Space
Before bringing chicks anywhere near your broody hen, set up a quiet, controlled space where she can safely meet her “new arrivals.” This prevents curious flockmates from interfering and gives your hen a calm environment to process what’s happening.
What Your Introduction Area Should Include
Choose a space that is:
- Quiet: Away from the noise and chaos of the main coop.
- Contained: So no other hens intervene (or steal chicks).
- Dimly lit: Soft lighting or evening darkness helps the hen relax.
- Small: Enough room for comfort, but not so big the chicks wander off.
- Secure: Preditor proofed.
You can either create a temporary setup by walling off a section inside your coop, or move the broody hen to a separate area. Some introduce chicks right in the nesting box, but this can be risky if other hens can access the brood. A private space drastically reduces stress and helps your broody focus on bonding.
If you add to your flock often, consider building a small mini coop near (but not inside) your main coop. It’s useful for raising chicks, broody hens, quarantines, and sick-bay situations. Trust me, once you have one, you’ll wonder how you ever lived without it.
What You’ll Need for a Smooth Introduction
Before nighttime rolls around, have everything gathered and set up so you aren’t scrambling later.
You’ll need:
- A small broody introduction area, such as a pen, mini-coop, or crate with good ventilation.
- Clean bedding, such as pine shavings.
- Chick starter feed.
- Chick-sized waterer, shallow enough to prevent drowning.
- Low, shallow feeder that chicks can reach easily.
- A dimmable light or headlamp for quiet nighttime checks.
- A towel or gloves for gently lifting the hen, if needed.
- A backup brooder setup, just in case Mama says, “Absolutely not!”
Having everything in place ahead of time keeps the introduction calm, smooth, and far less stressful for both you and your broody hen.
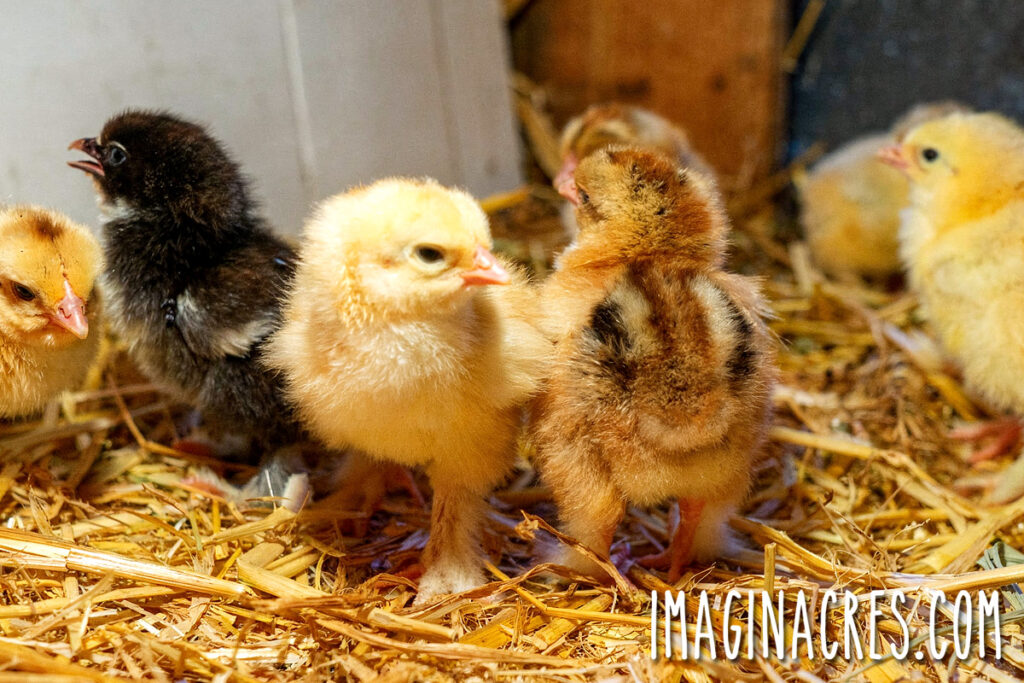
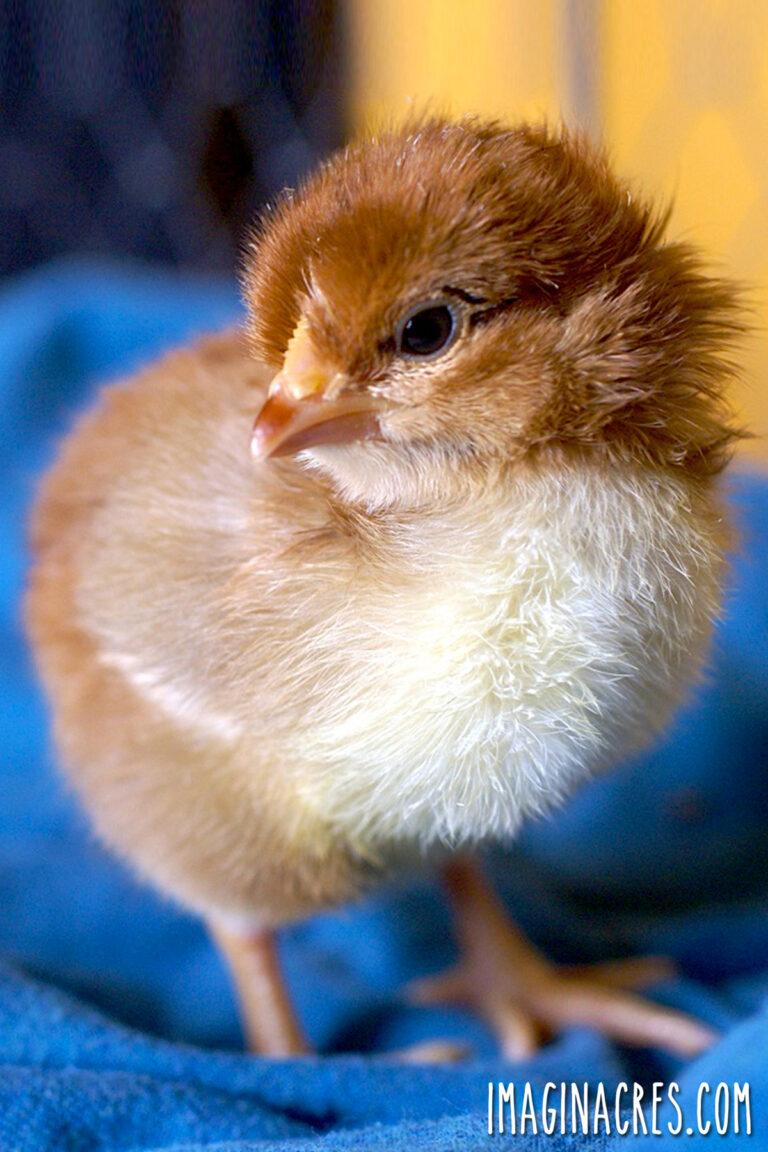
Step 3: Choose Chicks That Are 1–3 Days Old
If you’re purchasing chicks specifically for a broody hen to raise, a little planning goes a long way. Here’s how to choose the right chicks, and how to care for them until it’s time for the nighttime introduction.
Ideal age: 24 hours old is perfect, but anything under 3 days old generally works well.
Broody hens almost always accept day-old or very young chicks because they match what would naturally be hatching under her. If the hatchery ships day olds, they will still be the right age when they arrive.
Choose the Number of Chicks Wisely
A broody hen can comfortably raise:
- 3–6 chicks for bantam hens
- 6–12 chicks for standard-sized hens
How to Care for Purchased Chicks Until Introduction
You won’t need a full brooder setup, but you will need a temporary holding area for a few hours or for the remainder of the day.
Set them up with:
- A small box or tote
- A warm, draft-free space
- A heat source if needed (but only until they’re under the hen)
- Chick starter feed
- A shallow chick waterer
Keep them contained and quiet until nighttime. Avoid handling them too much. They will settle under the hen more easily if they’re calm.
Do NOT Let the Hen Hear or See the Chicks During the Day
Letting the broody hen hear chicks peeping can:
- Agitate her
- Cause premature excitement
- Increase the odds she rejects them later
Quietly store chicks out of earshot until it’s time for the nighttime introduction
When to Introduce Them
Plan to bring the chicks to her the same day you purchase them, ideally that same night.
If needed, you can hold them until the next night, but:
- Keep them warm
- Keep them quiet
- Keep handling minimal
You do not want them growing out of the ideal “hatchling” stage.
Step 4: Introduce the Chicks at Night
Nighttime is the magic window. Hens are calm, instinct-driven, and far more willing to accept chicks as their own.
Why Night Works
- Hens are sleepy and less reactive.
- Their maternal instinct is strongest in the dark.
- Chicks settle under her warmth quickly.
- By morning, they often wake up bonded.
How to Introduce Chicks Safely
- Wait until it is fully dark.
- Move the broody hen to her private space.
- Gently lift her and place the chicks under her breast one at a time.
- Listen for soft clucking: A very good sign.
- Check again in 15–20 minutes to ensure no chicks have been pushed out.
- Check early in the morning to confirm bonding.
Why Timing Matters
Our first attempt failed spectacularly because we handed chicks to three broody hens in broad daylight. Confusion, irritation, and rejection followed.
When we tried again at night after selecting the calmest, most experienced broody, everything changed. She accepted the chicks instantly, tucking them in with soft clucks. By morning, she was proudly mothering the same babies she had completely ignored twelve hours earlier.
Step 5: Monitor Closely for the First 12–24 Hours
These first hours reveal everything. Stay nearby (but not hovering) to ensure the new family is bonding safely.
Signs She Has Accepted the Chicks
- She uses her beak to pull the chicks under her right away.
- Soft, rhythmic “mama clucking.”
- Wing-tenting to shield them with her feathers.
- Allows chicks to climb over her.
- No pecking or kicking.
Signs of Rejection (End the Attempt Immediately)
If she reacts aggressively, remove the chicks right away. A single hard peck can cause serious injury. You can try another broody if available, or switch to a brooder setup.
- Hard pecks, not just warning taps.
- Lunging at chicks.
- Kicking chicks out from under her.
- Loud, distressed squawking instead of calm clucks.
- Ignoring chicks completely (rare, but a sign her hormone cycle is ending).
Some hens will simply not accept chicks, regardless of how well you introduce them. This is not your fault; every hen is wired differently, and broodiness can be unpredictable.
Step 6: Support the New Family for the First Week
Once your broody hen has accepted the chicks, your role shifts to quiet guardian. The first week is when the new family bonds, routines develop, and everyone settles into their roles. Your goal is to give them space to connect while stepping in only when absolutely necessary.
A mother hen who has truly accepted her chicks will handle almost everything, including warmth, protection, teaching them how to scratch for food, and issuing that adorable “tut-tut-tut” call whenever she finds a treat. But even the best mothers need a safe environment to do their job well.
Keep Them in a Separate Mini-Coop or Enclosure
This is where your mini-coop or chicken tractor shines. Keeping the mother hen and chicks separate from the main flock for at least the first week:
- Check food and water twice daily: Chicks are messy, and waterers get fouled quickly.
- Watch their behavior: Chicks should be eating, sleeping under mom, and exploring.
- Listen for distress calls: Loud, sharp chirping often means “I’m stuck,” “I’m cold,” or “Mom, help!”
- Avoid over-handling them: Let the bond between hen and chicks strengthen naturally.
Keep chick starter feed available at chick height. Mom can safely eat chick starter for a few weeks, but chicks should not eat layer feed because it contains higher levels of calcium.
Chicks should spend their time eating, exploring, and napping under mom. She’ll do all the real work.
Step 7: Reintroduce Mom and Chicks to the Flock
After the first several weeks, and once the hen and chicks have bonded well, it’s time to start thinking about integrating them back into the main flock. One of the biggest advantages of broody-raised chicks is how smoothly they integrate into the rest of the flock, usually far earlier than brooder-raised babies.
Timing Matters
Most keepers reintroduce between 7 and 14 days, though broody hens can return sooner if they show strong confidence.
Plan reintegration when:
- Mom’s confidence: The mother hen is showing strong protective behavior.
- Chick energy levels: The chicks are active, alert, and able to keep up.
- Flock temperament: The flock is calm, and routines are normal.
How to Reintegrate Safely
Supervise the first interactions: Expect some curiosity, but intervene only if another hen becomes overly aggressive.
- Let mom lead: She will put any troublemakers in their place.
- Ensure plenty of space: Crowded conditions cause unnecessary conflict.
- Watch nighttime settling: The first night is often the trickiest.
Why Broody-Raised Chicks Integrate Better
Chicks raised under a mother learn flock rules immediately:
- They follow her lead.
- They recognize danger cues.
- They learn where and how to forage.
- Other hens respect mom’s authority.
This prepares them for a smoother long-term flock life. If the mother is confident and the flock provides her space, the transition typically completes itself with minimal human intervention.
Troubleshooting: Common Problems & Quick Solutions
- Hen pecks the chicks: Remove chicks immediately. Try another broody or switch to a brooder.
- Hen ignores the chicks: She may not be hormonally ready. Try again later or choose a different hen.
- Chicks cry loudly under her: They may be cold, hungry, or not fully accepted.
- Flockmates interfere: Move the family to a separate maternity pen with view only access.
A Little Planning Makes a Big Difference
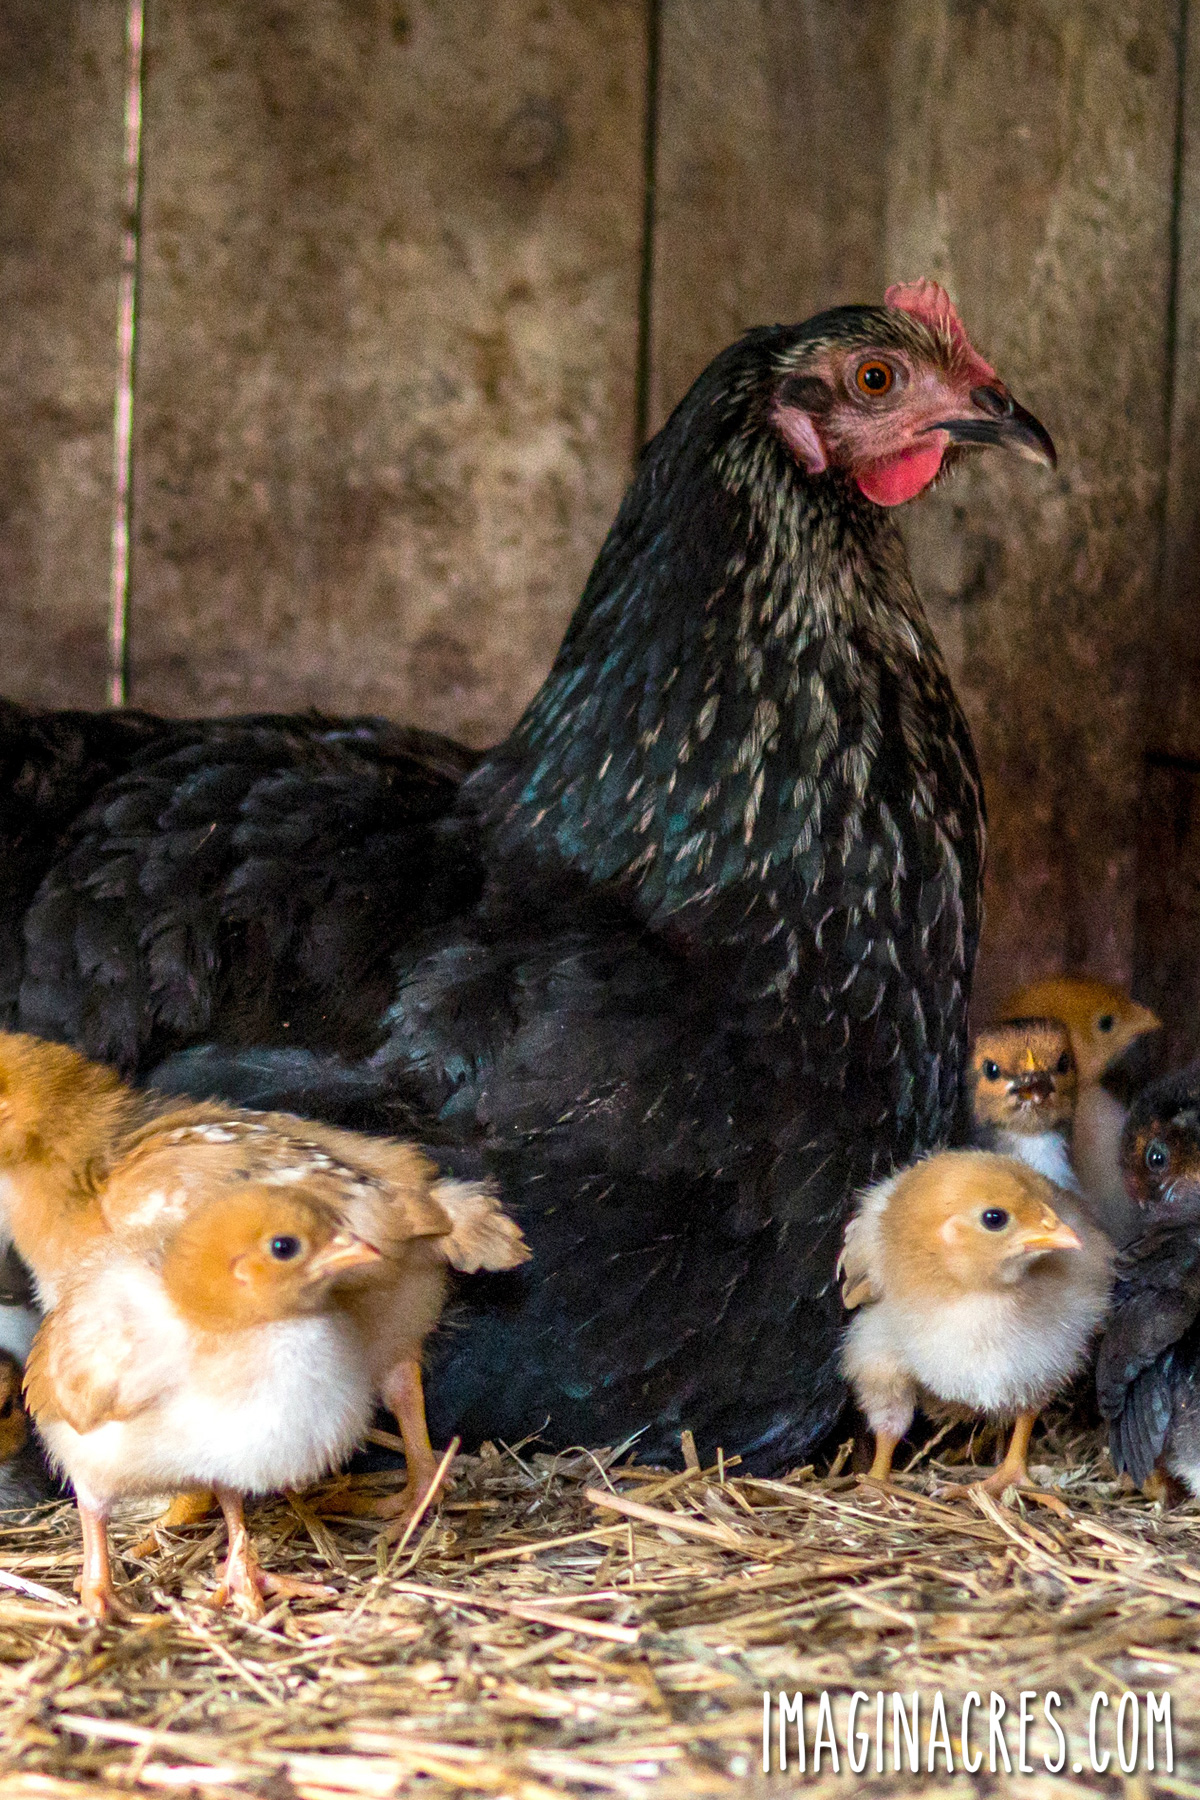
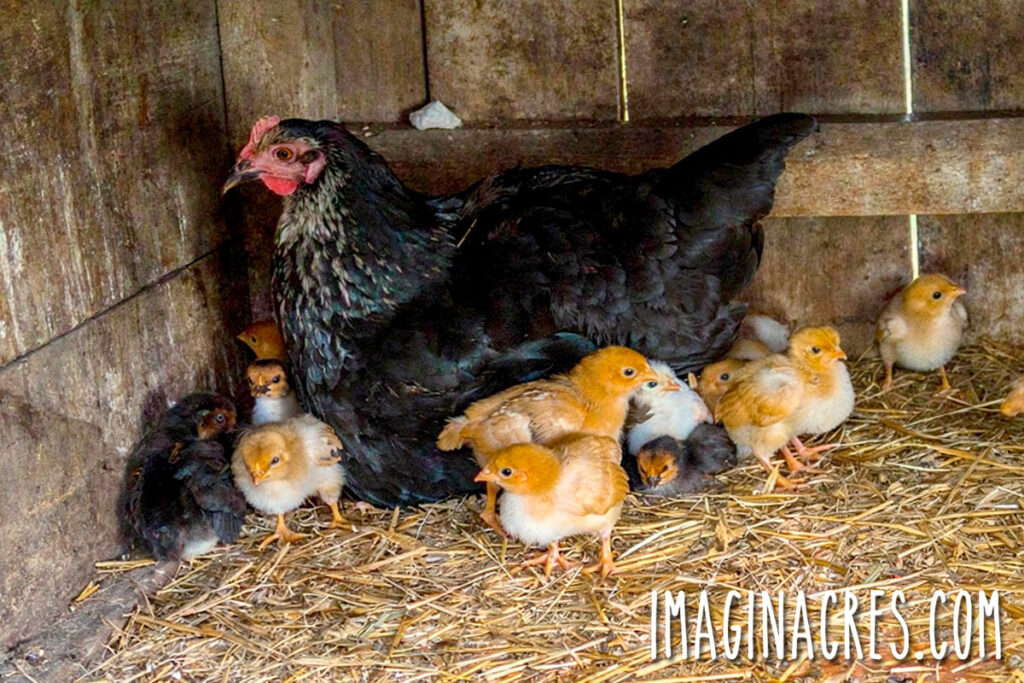
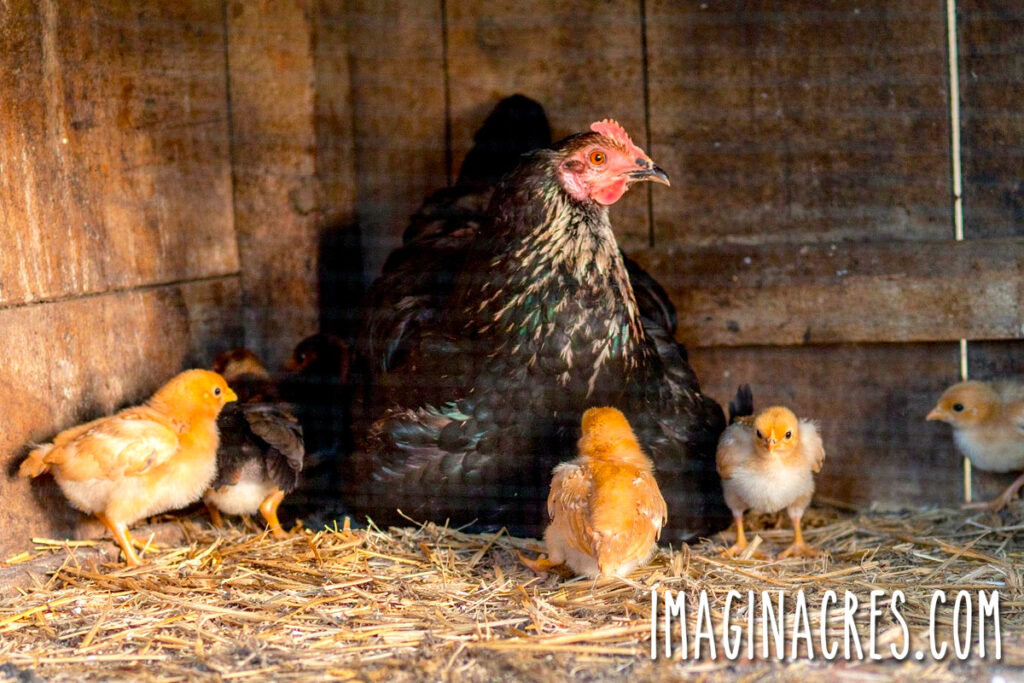
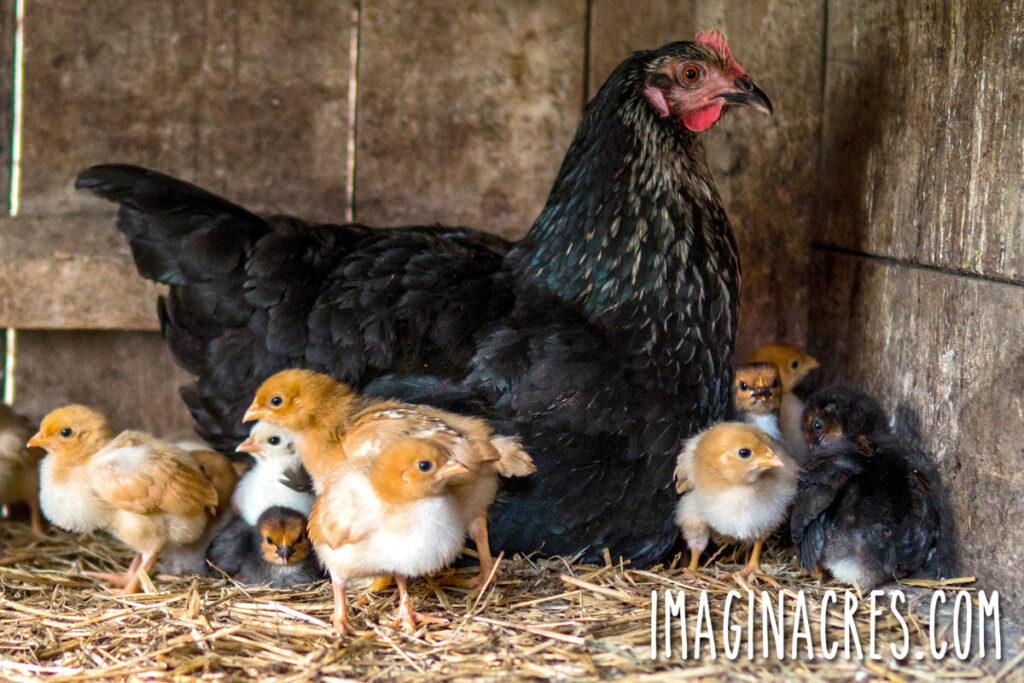
Introducing chicks to a broody hen is one of the most rewarding experiences in chicken keeping. When it works, it’s pure magic: A devoted hen teaching her new babies how to live like real chickens, with you simply supervising the miracle. Here’s a look at a broody hen raising her chicks during their first week together.
With the right hen, the right timing, and a quiet nighttime introduction, you give both the hen and the chicks the best chance at success. And you gain a peaceful, natural way to raise your next generation flock members.
Related Reading for Raising Chicks:
- What Do Baby Chicks Need? How to Prepare for New Chicks
- How to Raise Baby Chicks in a Brooder: The First 6 Weeks
- How NOT to Introduce Chicks to a Broody Hen
- Incubating Eggs: How to Hatch Using an Incubator
- How to Hatch Eggs With a Broody Hen


To be continued…
Sure keep us all hanging…
This is just so sweet! I haven’t tried this yet, but maybe next time I get chicks I’ll have a broody hen. I really enjoy your writing! So descriptive!
This description was priceless. I really needed a good laugh and this was it. You are a wonderful storyteller. I am planning to sneak in two chicks to a new broody mom who has sat on the same two eggs for about 35 days now. Need to get them out and the new babies in.
Loved this article, thank you! You gave me a good laugh and few ideas about baby chicks cause I am about to be first time stepmom to bunch of them.
OMG i love this so much! Part 1 anyway, will need to read on.
I needed this article one week ago! We just hatched our chicks in our incubator and like you, I thought it was supposed to be as simple as bringing in a broody hen and plopping her down with the chicks. Not so much. I definitely had a freaked out hen. Now I have tons of babies and no broody hens right at the moment I need it. I’m keeping your method in mind. Thanks for sharing!