Easy Refrigerator Pickled Carrots with Dill and Garlic
Make this quick pickled carrots recipe with dill and garlic in minutes! Crisp, tangy, and packed with flavor. Perfect for snacks, salads, and charcuterie boards.

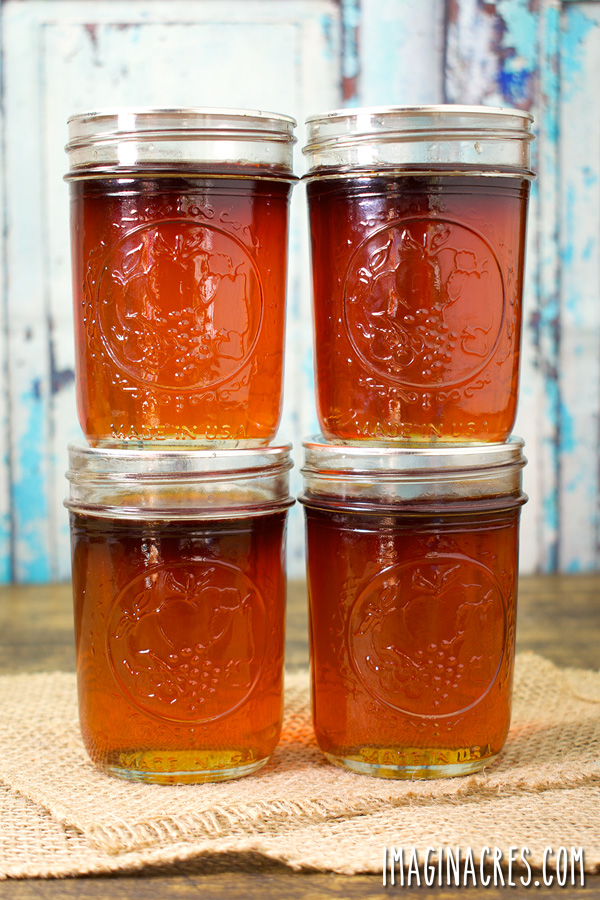
These dill pickled carrots are a vibrant twist on classic refrigerator pickles. They’re quick to make, require no canning, and are ready to enjoy in just a day or two. The combination of fresh dill, coriander seeds, dill seeds, garlic, and a hint of heat from dried red pepper flakes creates a zesty pickle that’s perfect for snacking or adding to your favorite dishes.
If you’ve tried my Refrigerator Dilly Beans recipe, you already know how irresistible the combination of crisp vegetables, tangy brine, fresh dill, and garlic can be. This pickled carrots version delivers that same punchy, savory flavor, but with a sweet, earthy crunch only carrots can bring.
I love keeping a jar of these in the refrigerator year round. There’s nothing better than popping the lid and grabbing a few dilled carrot sticks for an afternoon snack. They’re crisp, flavorful, and satisfying, and they make a welcome addition to lunch plates, cheese boards, or even a picnic basket.
New to quick pickling? My Quick Pickling 101: A Beginner’s Guide to Refrigerator Pickles for more ways to build your own lineup of irresistible fridge pickles.
About the Ingredients
These easy refrigerator pickles are perfect when you want something quick and fresh without hauling out the canning gear. The brine takes minutes to make, and the fridge does the rest of the work, infusing the carrots with zesty dill and a hint of garlic.

Here’s what you’ll need to make your own batch of refrigerator pickled carrots with dill and garlic:
- Carrots: Choose firm, fresh carrots with bright orange color and smooth skin. You’ll need about 1 pound for a quart jar. Thicker carrots can be cut into sticks or chunks, while thinner ones may be left whole.
- Vinegar: Use distilled white vinegar for a classic, clean pickle flavor. Apple cider vinegar can add a slight sweetness.
- Salt: Pickling salt or kosher salt is best. Avoid iodized table salt, which can cloud the brine and affect flavor.
- Sugar: Helps to balance the sharp vinegar flavor. Leave out if you love tangy dill flavor.
- Dill: Both dill seeds and fresh dill foliage or flower heads infuse the brine with that traditional dill pickle flavor.
- Garlic: Adds a savory depth and pairs perfectly with dill.
- Spices: Coriander seeds, dill seeds, bay leaves, black peppercorns, and red pepper flakes give a rounded, slightly spicy flavor. You can adjust the heat and spices to taste.
Recipe Substitutions and Variations
- Vinegar: Swap white vinegar for apple cider vinegar for a slightly fruity flavor or rice vinegar for a milder tang.
- Slightly sweeter brine: Add 1 to 2 teaspoons of sugar when heating the brine to mellow the vinegar’s sharpness and give the carrots a more balanced, rounded flavor.
- Heat level: Omit the red pepper flakes for no spice, or double them for a bolder kick.
- Herbs: Try adding a sprig of fresh rosemary, thyme, or tarragon for a different flavor profile.
- Garlic lovers: Add an extra clove or two for a stronger garlic presence.
Tips for Making Pickled Carrots
The carrots will stay wonderfully crisp and crunchy if you follow the recipe as written. If you prefer a slightly softer bite, blanch the carrots before pickling.
- To blanch: Prepare the carrots as directed in the recipe. Bring a medium pot of water to a boil and fill a large bowl with ice water. Add the carrots to the boiling water, return to a boil, and cook for 2 minutes. Quickly transfer them to the ice water to stop cooking, then drain well before packing into jars.
Here are other tips:
- Cut evenly: Whether you choose sticks or coins, keep the pieces uniform in size so they pickle evenly.
- Pack tightly: Arrange the carrots snugly in the jar to prevent them from floating once the brine is added.
- Let the flavors develop: These carrots are tasty after 24 hours, but they really shine after 2 to 3 days in the fridge.
- For extra crunch: Use the freshest carrots possible.
Steps to Make Pickled Carrots
You’ll find the exact measurements and full instructions in the printable recipe card at the bottom of this post, but here’s a detailed overview of the process:
Step 1: Gather your Kitchen Equipment
You’ll need:
- A clean quart-sized (32-ounce) or two pint-sized (16-ounce) jars with lids
- Measuring cups and spoons
- A small saucepan to heat the pickling liquid
- Vegetable peeler
- Sharp knife
- Cutting board
Step 2: Make the Brine
In a small saucepan, combine the vinegar, water, and salt (plus sugar if using). Place the pan over medium heat and stir occasionally until the salt and sugar dissolve completely. You don’t need to bring the brine to a full boil, just heat it enough to dissolve the solids. Once dissolved, remove the saucepan from the heat and let the brine cool slightly while you prepare the carrots.

Step 3: Prepare the Carrots
Rinse the carrots thoroughly under cool running water, then peel them to remove the outer skin. Trim off both ends. Cut the carrots into uniform pieces, either thin coins, matchstick-style sticks, or lengths that fit upright in your jars. Keeping the sizes consistent ensures they pickle evenly. Measure to allow enough headspace at the top of the jar so the brine can fully cover the carrots without overflowing.
Step 4: Pack the Jars
Add the garlic cloves, fresh dill sprigs, dill seed, coriander seed, and red pepper flakes or dried chilies to the jars. Then, pack the carrot pieces into the jars as snugly as possible without crushing them. Tighter packing prevents floating and helps the carrots stay submerged under the brine.
Step 5: Add the Brine
Carefully pour the warm brine over the carrots until they are completely covered. Use the back of a spoon to gently press the carrots down and release any trapped air bubbles. If needed, top up with extra brine to keep all the vegetables submerged.
Screw on the lids, and give the jars a shake to combine the ingredients.

Step 6: Cool and Refrigerate
Let the jars cool to room temperature for about an hour. Once cool, transfer them to the refrigerator. For the best flavor, let the carrots pickle for at least 24 hours before tasting. The flavor will continue to deepen over the next few days. Store the jars in the fridge and enjoy within 3 months for the best taste and texture.

How to Tell if Pickled Carrots Have Gone Bad
Refrigerator pickles are meant to be stored in the fridge and consumed within 3 months. If you notice any of the following, it’s time to toss the jar:
- Mold on the surface or lid
- Off smells (like rotting or yeasty odors)
- Slimy texture or cloudiness that doesn’t settle
- Bubbling or fizzing after the first few days
Ways to Enjoy Refrigerator Pickled Carrots
- As a crunchy snack straight from the jar
- Chopped into salads for a tangy crunch
- Layered in sandwiches and wraps
- On a charcuterie, cheese, or appetizer board
- As a zesty garnish for grain bowls or tacos

Easy Refrigerator Pickled Carrots with Dill and Garlic
Ingredients
- 1 cup distilled white vinegar
- 1 cup water
- 1 tablespoon pickling salt or kosher salt
- 1 teaspoon sugar optional
- 1 pound fresh carrots peeled and cut into sticks or slices
- 2 teaspoons dill seed
- 2 teaspoons coriander seed
- 4 sprigs fresh dill or 2 for each pint jar
- ½ teaspoon dried red pepper flakes or 1 to 2 small dried red chilies, optional for heat
- 2 cloves garlic peeled and smashed
Instructions
- Make the brine: In a small saucepan, combine vinegar, water, salt, and sugar (if using). Heat over medium, stirring until the salt dissolves. Remove from heat and let cool slightly.
- Prepare the carrots: Wash, peel, and cut carrots into sticks that fit your jars, or slice into 1/4-inch thick coins.
- Pack the jars: Place garlic, dill seed, coriander seed, fresh dill, and red pepper flakes (or whole dried chili) in the bottom of clean jars. Add the carrots, packing them tightly but without crushing.
- Add the brine: Pour the warm brine over the carrots until completely submerged.
- Cool and refrigerate: Seal with lids, shake to distribute the seasoning, and let jars cool at room temperature for about 1 hour. Then transfer to the refrigerator.
- Wait and enjoy: Let the carrots pickle for at least 24 hours for flavor to develop. Best after 2 to 3 days.
Notes
- Keeps up to 3 months in the refrigerator.
- For a spicier kick, add extra red pepper flakes or a sliced fresh chili.
- For a milder flavor, reduce garlic to 1 clove and omit red pepper flakes.
- For a softer bite, blanch the carrots briefly in boiling water for about 2 minutes, transfer to ice water to stop cooking, then drain well before packing into jars.
Nutrition
Easy Pickled Carrots You’ll Make Again and Again
With just a few ingredients and minutes of prep, pickled carrots will quickly become one of your favorite snacks and side dishes. They’re crisp, tangy, versatile, and a perfect condiment alongside sandwiches, as part of a colorful pickle platter, or straight from the jar.
If you’re building a variety of quick pickles for the season, this recipe pairs beautifully with dilly beans, dill cucumber pickles, and other small-batch refrigerator recipes. Before you know it, you’ll have your own colorful pickle lineup ready to enjoy anytime the craving hits.
New to quick pickling? My Quick Pickling 101: A Beginner’s Guide to Refrigerator Pickles for more ways to build your own lineup of irresistible fridge pickles.