How to Raise Baby Chicks in a Brooder: The First 6 Weeks
Learn how to raise chicks in a brooder week by week. Get tips on heat, feeding, brooder setup, training, and health checks during the first 6 weeks.

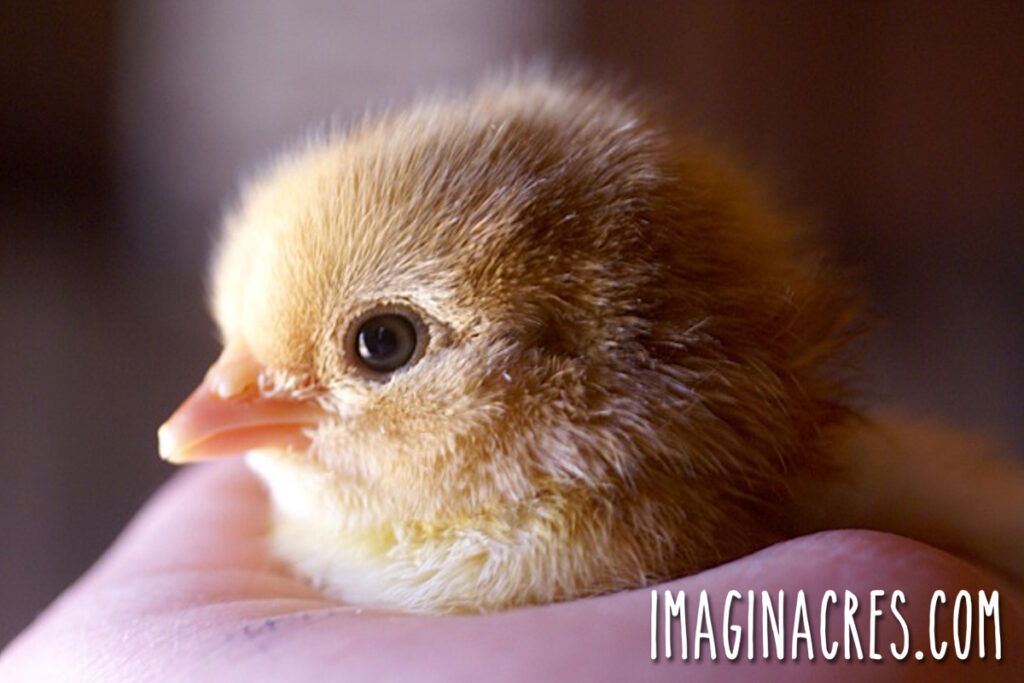
Raising baby chicks is equal parts joy, chaos, and sheer amazement. One minute they’re tiny fuzzballs flopping into naps with their wings sticking out like broken umbrellas, and the next they’re sprouting feathers and figuring out who’s in charge (spoiler: it might be you, it might be the sassy one in the back).
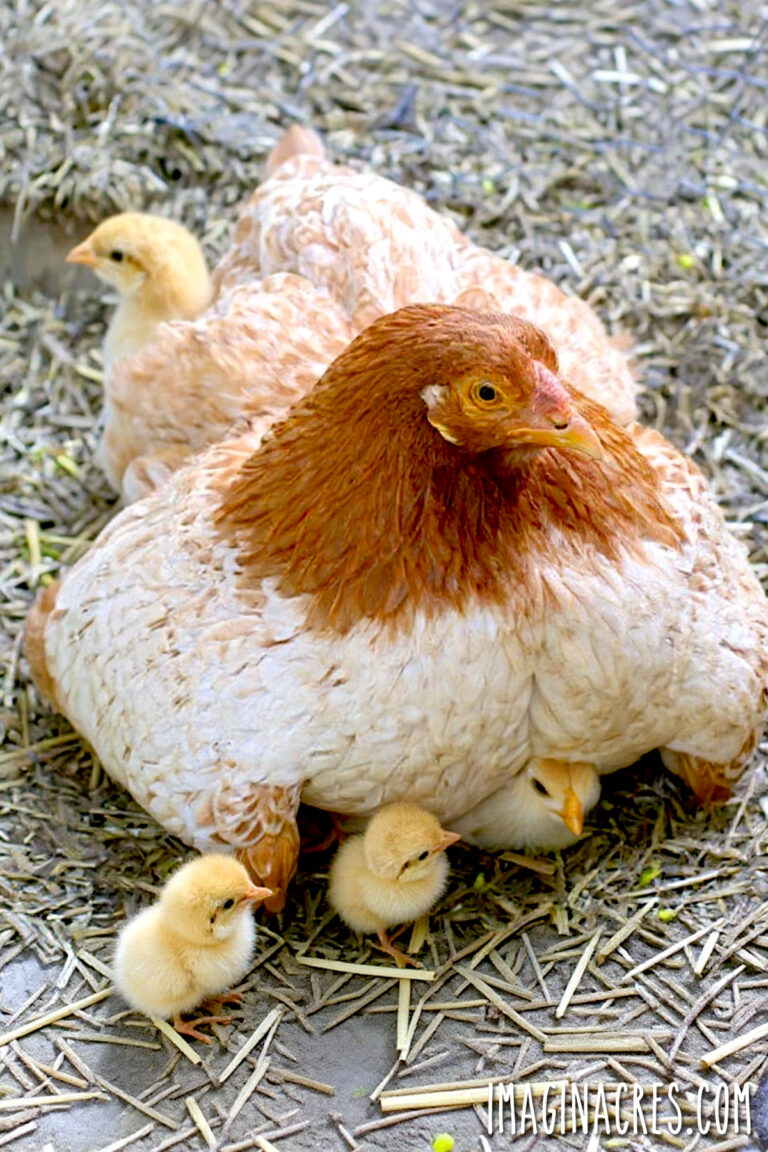
While the easiest way to raise chicks is to let a broody hen do the work, that isn’t always ideal or even possible when first starting your flock. Instead, you will likely hatch eggs in an incubator, purchase day-old chicks for mail delivery, or pick up chicks at your neighborhood farm store.
The first six weeks are the most important part of raising a healthy flock, and they need your care to ensure their survival. This beginners guide walks you through raising chicks week by week, what to expect at each stage, and how to handle the normal (and sometimes not-so-normal) things chicks do.
Ready? Let’s welcome your fuzzy little chaos nuggets.
Baby Chicks’ Arrival Day: Raising Chicks from Day Old
The first step to raising healthy, happy chicks is getting everything set up before they come home. A warm brooder, clean water, chick feed, and the right heat source will make their transition smoother and keep stress to a minimum.
If you haven’t done that part yet, don’t worry, I’ve got you covered. Start here: How to Prepare for Baby Chicks.
Now let’s walk through exactly what to do when those peeping little fluffballs finally arrive.
Warm the Brooder
Chicks are usually less than 3 days old when you get them, and the little peeps will need to be placed in a warm, secure environment immediately. So make sure the brooder is fully preheated before you leave to pick them up.
If the brooder is located outside in an outbuilding, garage, or barn, it’s essential to ensure that the floor is warm as well. Baby chicks cannot survive if their tiny feet are exposed to icy cold floors. To monitor the temperature, place a thermometer at floor level.
Pick Up the Chicks
Most feed stores have chick boxes on hand, but bring a clean cardboard box with you in case you need it. Cut several air holes in the sides and close the top to prevent drafts and little chicks from escaping.
- Warm day? Keep the box closed and place it on the floor, out of direct sunlight.
- Cold day? Try to keep the chicks warm by running the heater in your car.
We have a long trip back home from the feed store, so I once used a small 12-volt heating pad at the bottom of the box for a little extra warmth.
You’ll probably hear nonstop peeping all the way home. Totally normal.
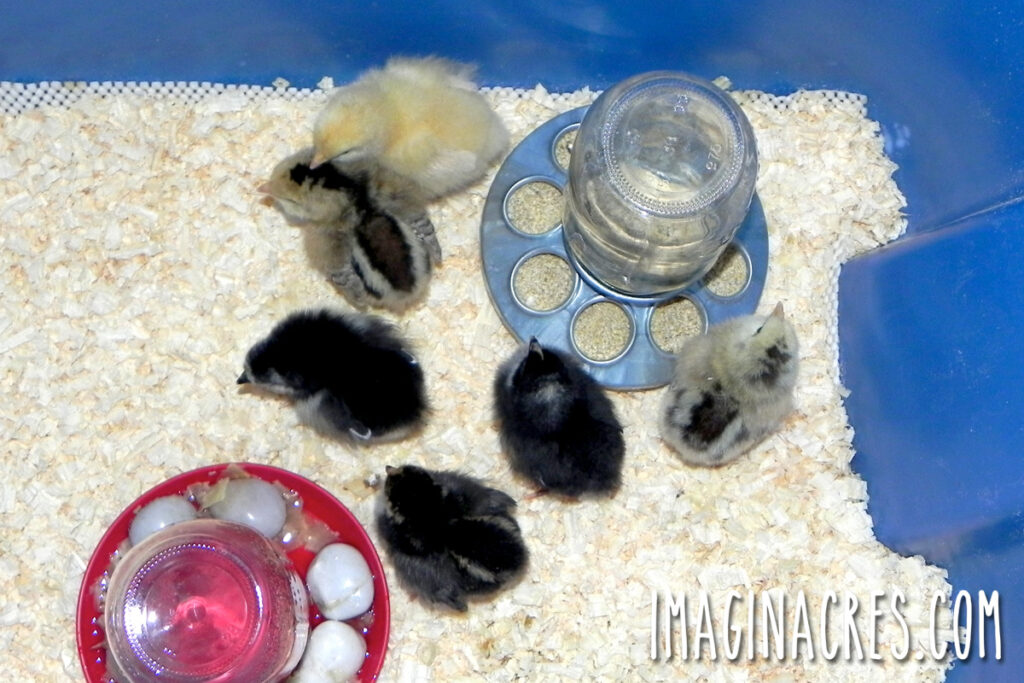
Place Chicks Into the Brooder
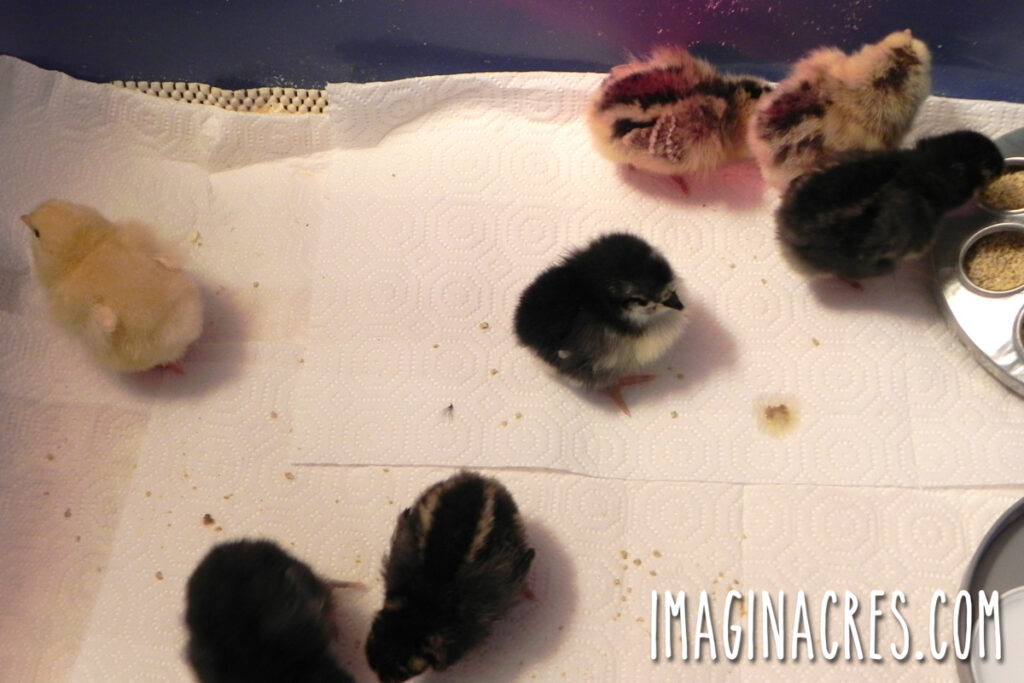
Gently place chicks into the warm brooder box one at a time so they can get their footing. Then observe your little peeps to double-check if the heat is right.
- Huddling loudly under the heat: Too cold
- Panting, spreading out far away: Too hot
- Exploring, eating, sleeping: Just right
Adjust the heat as needed and check again in 10–15 minutes.
Teach Them Where the Water Is
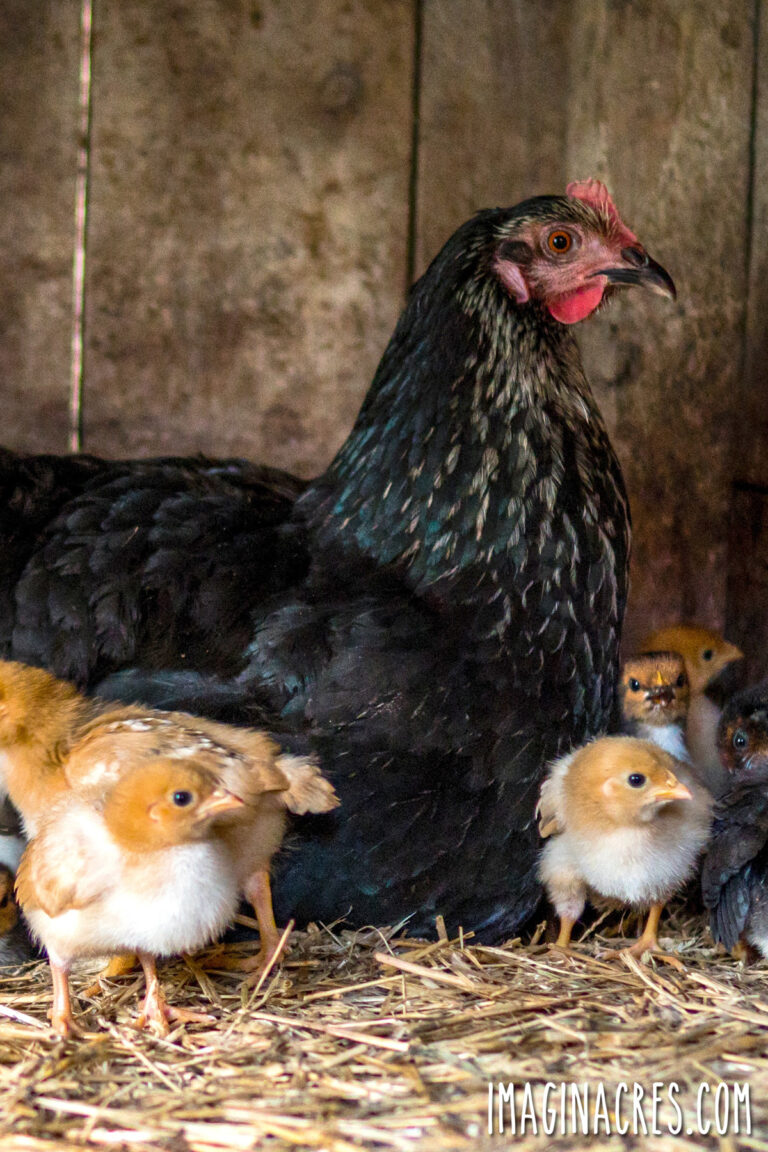
When a hen raises her own chicks, she shows them how to scratch, eat, and drink. Since you are caring for the chicks, you will have to show them the way.
Just before chicks hatch, the egg yolk is absorbed into their bodies. This provides enough nourishment to the chick for about 48 hours after hatching. That is why day-old chicks can be shipped without food or water.
If you are picking up your chicks from a feed or farm supply store, they have probably already been introduced to food and water. If you ordered directly through one of the chick hatcheries and are retrieving your chicks from the post office, or if you hatched your own chicks in an incubator, it is important to be sure they drink right away.
Place the chicks around the waterer and see whether they will drink on their own. If they don’t, pick them up and gently dip their beaks into the water. Chicks should begin drinking once their beaks are wet. Place them back on the floor, and they should drink on their own. If they don’t drink, dip their beaks back into the water.

Electrolytes for Shipped or Stressed Chicks: If your chicks had a rough trip, start them off with electrolyte water for the first 24 hours. After that, return to fresh water.
Introduce Food
After they’re drinking well, wait about an hour, then introduce food. Start chicks out with a chick starter feed placed in a shallow container near the water bowl. Most will dive in immediately once they see one chick eating. Make sure each chick is drinking and eating.
They will eat and drink around the clock for the first few days. Provide continuous light for the initial 48 hours while the chicks adjust to the brooder and learn where to find food and water.
Let Them Rest
Give them some peace and quiet so they can settle in. Your baby chicks have had an eventful 48 hours on their journey to you. It is especially important that they are not overstimulated on their first day home.
Your young flock will be noisy and run around chaotically at first, but should settle down once warmed under the heat lamp. Peek into the brooder to check on the chicks for the first few hours, but try not to disturb them. They need time to rest and adjust to their new home.
Chicks sometimes fall asleep mid-stride. Don’t be alarmed if they just flop down and take a little nap. I was horrified the first time I saw this. I thought for sure my chicks were dying right before my very eyes. Thankfully, all was well….they were just sleepy chickies.
Check for Pasty Butt
During the first 24–72 hours, keep an eye on each chick’s rear end for pasty butt. This happens when droppings dry and stick over the chick’s vent, blocking them from pooping. It’s very common after shipping, due to stress or temperature fluctuations, and can become dangerous if not caught early.
If you see buildup, gently clean the area with warm water and a soft cloth, dry the chick thoroughly, and return it to the brooder. A quick check during the first couple of days can prevent bigger problems.
Week 1: Settling In
This week is mostly about heat, routine, and poop. Lots of poop.
Expect your chicks to sleep, eat, poop, and peep. The most crucial things for a baby chick’s survival are heat, water, food, and cleanliness…in that order. Your job is to make sure they are warm, replenish food and water as needed, and keep everything clean.
Brooder Temperature
Maintain a temperature in the brooder that is around 90-95˚F for the first week. Then lower it by about 5°F each week hereafter.
The chicks will let you know if they are too hot or too cold:
- Too hot: If they are as far away from the heat lamp as they can get, or if their mouths are open and they’re panting, they are too hot. Decrease the temperature in the brooder.
- Too cold: If the little peeps are huddled together under the heat, they are too cold. Increase the brooder temperature.
- Just right: Eating, drinking, exploring, sleeping in a cute little pile.
Eating and Drinking
They should now be eating chick starter and drinking on their own. Keep the feeder full and the water clean. You will be shocked at how good chicks are at dirtying water.
Elevating the waterer on small blocks of wood will help prevent litter from being kicked into the water. Wash the water reservoir every day with hot, soapy water and rinse well.
Lighting
Provide 24 hours of light for the first two days, then transition to regular day/night cycles.
Remove Paper Towels
Once they’re confidently eating and drinking, you can remove the paper towels covering the shavings. Stir the bedding frequently and remove and replace soiled and wet shavings around the waterer. Eventually, you will need to change the bedding as needed to keep the brooder clean and dry.
Training
Now that the basics are handled, start building trust. Talk to them while they are in the brooder so they get accustomed to the sound of your voice.
Use a specific, repetitive phrase or sound as you scatter food on the floor so the chicks will associate it with a tasty treat. It can be anything, just as long as it’s repeated every day.
Teach your chicks to associate you with good things, and they will run to you when they get older as soon as you call for them.
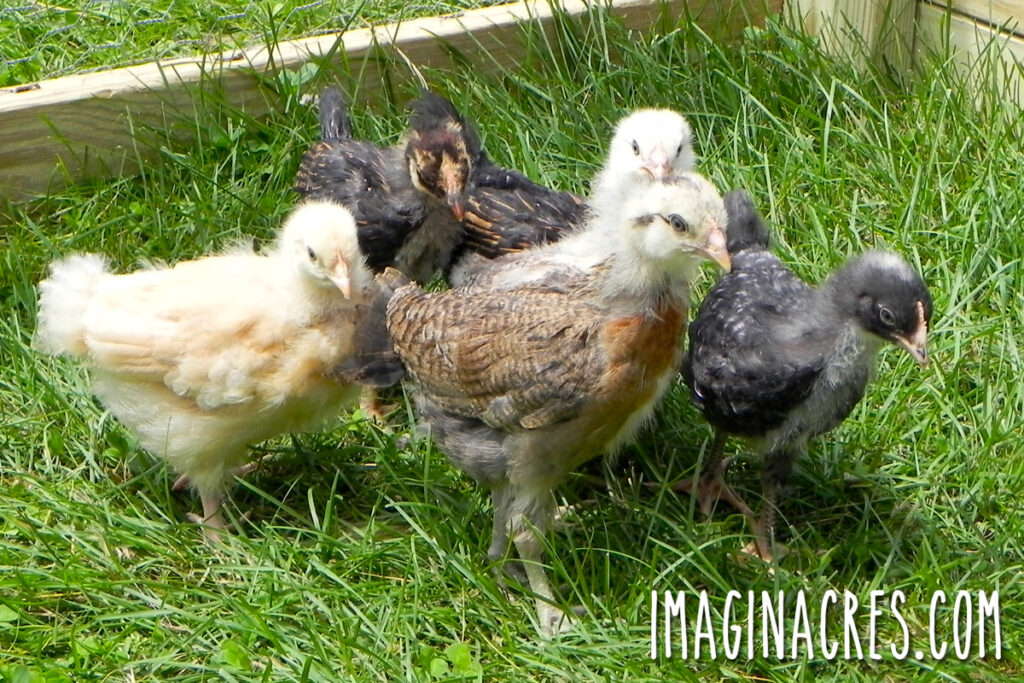
Week 2: Real Feathers Begin
Say hello to the awkward dinosaur-chicken stage.
Tiny feathers begin to grow at the tips of the wings within the first few days! Tail feathers will soon follow. Each day, the chicks will grow feathers in different areas, making them look a bit funny. Their little bodies grow rapidly, too.
This is normal. All chicks go through their teenage mullet phase.
Care This Week
- Keep the heat around 85–90°F.
- Replace dirty bedding often.
- Keep food and water full and clean.
- Watch for pasty butt (still possible but less common now).
Training
Begin handling your chicks for a few minutes a day. Before removing the chicks from the brooder, wash your hands, then rewash them after handling the chicks. This will safeguard the peeps from germs that may be on your hands and protect you from Salmonella.
Start by placing your hand in the brooder so that they can investigate. Add a bit of food, and let them peck and eat from the palm of your hand. Talk with them and repeat the phrase.
Then, pick up a chick by circling its body with your hand, with your fingers around the back of its body and your thumb across the front. Hold them lightly but securely to prevent them from jumping out of your hand and getting injured. Try to handle each chick over the week so they get used to it.
Week 3: Curiosity and Attitude
The week they discover they have wings, sort of.
By week 3, your chicks may:
- Try “micro flights.”
- Hop onto feeders.
- Start a little pecking order.
- Stare at you as if you owe them rent.
What to Do This Week
- Lower the heat to 80–85°F.
- Keep up with clean water and food.
- Keep the bedding dry by swapping out the pine shavings as needed.
Training
Continue to handle each chick frequently, and begin offering tiny amounts of interesting items:
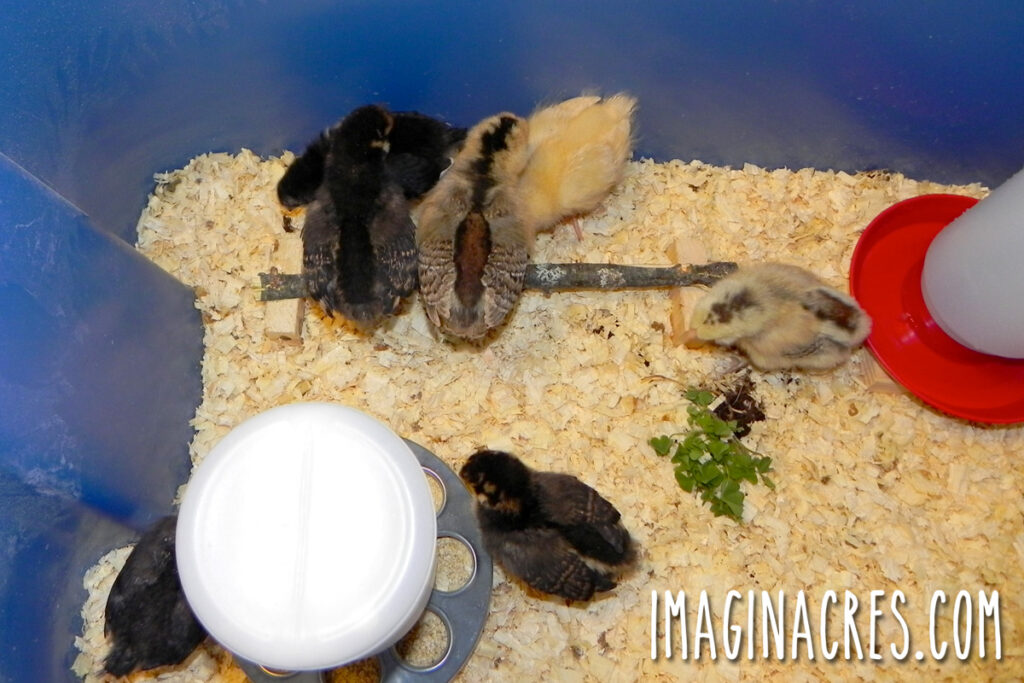
- Add a small roosting bar so they can practice roosting.
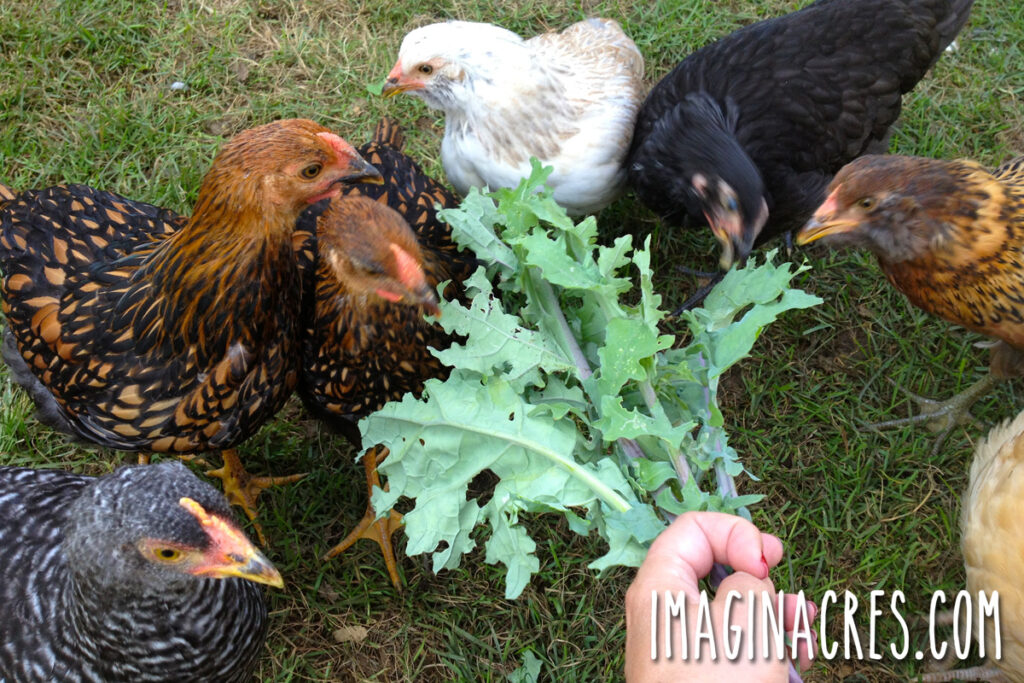
- Place a chunk of grass and sod into the brooder for them to pick at. This will also introduce the young chicks to grit, which is needed to help them digest food.
- Add a tiny amount of vegetable scraps: Once the chicks have been introduced to chick grit, you can give them a small amount of vegetable scraps to keep them entertained. For example, a tiny piece of lettuce allows the chicks to peck at and tear through it.
These enrichments help prevent boredom and reduce picking.
Week 4: The Half-Chicken Stage
Not quite chicks, not quite pullets, but full of opinions.
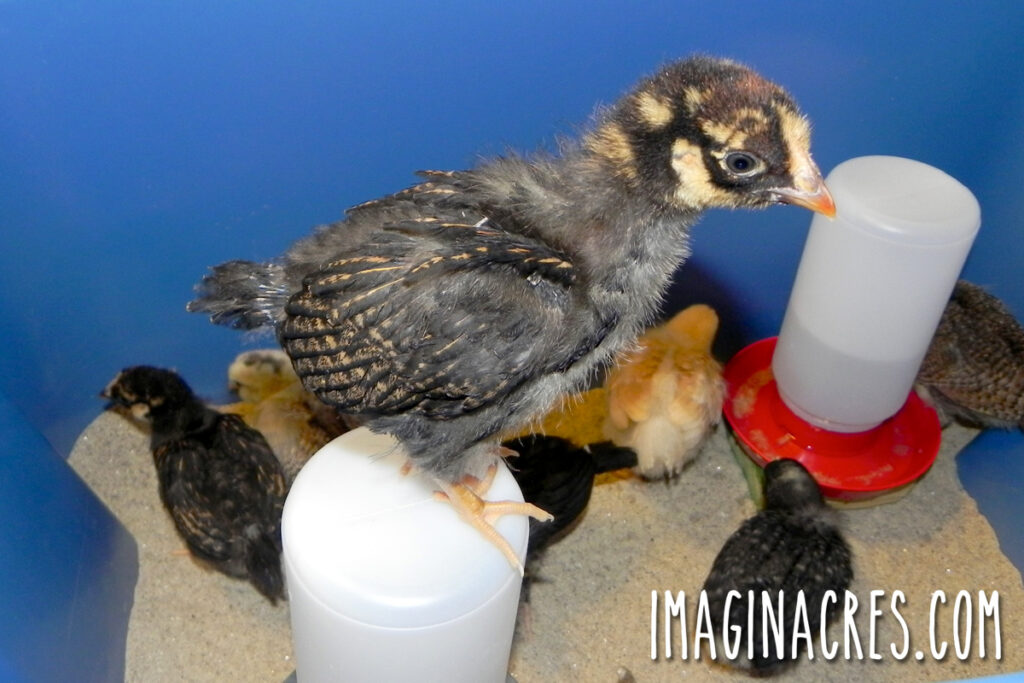
Feathers are coming in quickly now. They look scruffy but are getting stronger and bolder.
This is also the point when personalities really start to shine: Your bold explorers, your chatty drama queens, and your quiet observers.
If you’re starting to think about names, I’ve got a fun list to help you get inspired: Clever Chicken Names: 150+ Funny, Cute & Classic Ideas for Your Backyard Flock.
Care This Week
- Lower the heat to 75–80°F.
- Add a slightly higher roost.
- Continue daily clean water and fresh feed.
- Keep the bedding clean and dry.
Training
This is a good week to begin handling them more often if you want a friendly flock. Chicks held for a few minutes a day will grow into chickens that follow you around like puppies.
Get them used to your hands by gently touching their legs, wings, and belly so they become comfortable with being handled for future health checks. A chicken who grows up used to being examined is much easier to care for later on, especially when you need to trim claws, check for mites, or look under wings. Keep sessions short and calm, and always put them back before they get stressed.
Week 5: Nearly Feathered
You can now see their adult coloring coming through. Many chicks are mostly feathered at this point, though some breeds feather out more slowly.
Care This Week
- Lower the heat to 70–75°F.
- Continue providing fresh, clean water and food.
- Swap out the bedding as needed.
- Provide slightly more space if your brooder is tight.
- Watch for picking. It often starts around now if the brooder is too crowded or boring.
Training
- Let them explore a secure outdoor run for short periods.
- Continue enrichment and short handling sessions.
- Start training them to come when called.
Week 6: Pullets at Last
Goodbye fuzz, hello feathers. At six weeks of age, your babies are officially juvenile pullets or cockerels. You’ll recognize their breeds more clearly now, and their personalities are unmistakable. If you have a rooster in the bunch, he may be trying out his little cock-a-doodle-doo.
The chicks should have a full set of feathers and look like little chickens. Then they will molt, or lose their feathers, and grow in new ones to accommodate their rapidly growing bodies.
This Week You Can:
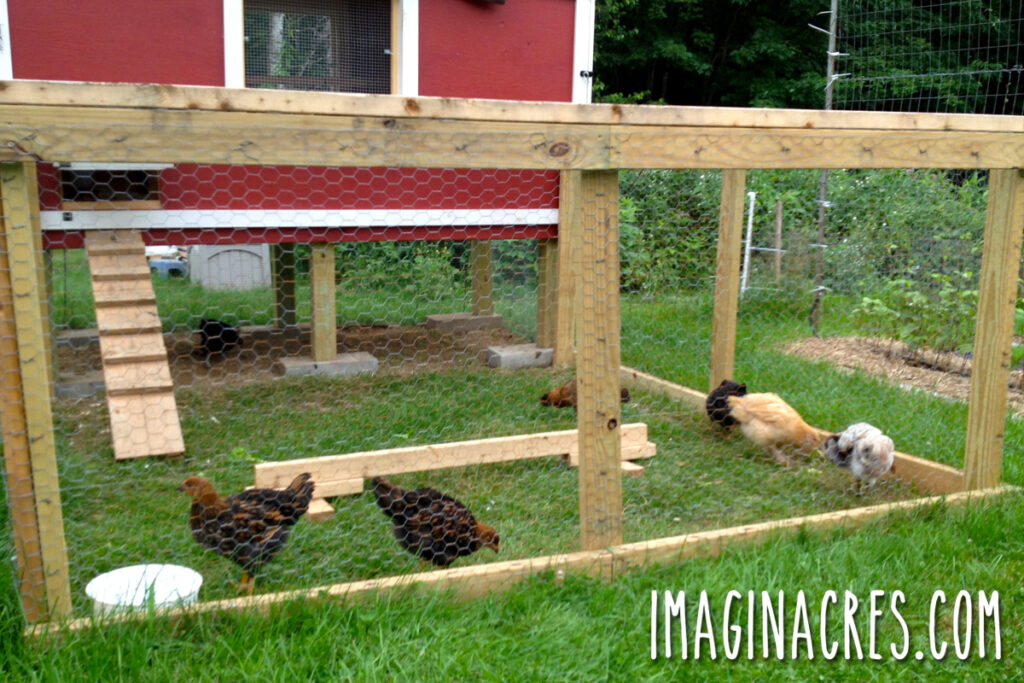
- Transition chicks outside if fully feathered and the weather is warm enough.
- Introduce them to their chicken coop.
A secure outdoor setup is important. Young birds are prime targets for hawks, foxes, neighborhood cats, raccoons, and basically anything that enjoys chicken nuggets. Make sure your chicken coop and run are safe and predator-proof.
Common Problems in the First 6 Weeks
Losing some baby chicks in the first week can be heartbreaking, but it is normal. The amount of loss depends on the stress the chicks experienced during shipping. The mortality rate will be the highest in the first 48 hours. The chicks that survive those crucial first 48 hours typically will reach adulthood.
Even with excellent care, baby chicks can experience a few issues as they grow. Here’s what to keep an eye on and when you’re most likely to see these problems.
Pasty Butt (most common Days 1–5)
Check their fluffy butts. I know it’s a strange thing to say, but baby chicks can suffer from a preventable condition called “pasty butt.” This occurs when the chick’s vent is blocked by dried poop. It’s often a side effect of stress and dehydration. Use a washcloth or cotton swab dipped in warm water to gently clean, dry thoroughly, and return the chick to the brooder.
Dehydration (can happen at any time)
If a chick looks droopy, weak, or uninterested in food, offer electrolyte water.
Picking and Bullying (Weeks 3–6)
Watch for aggressive behavior. Baby chicks may begin picking at each other if they are stressed, bored, too hot, or crowded. Adjust the environment as needed to keep the chicks happy. Add space, reduce heat, or offer enrichment.
Slow Development (varies by chick)
Some chicks develop feathers more slowly. This is normal unless accompanied by lethargy or poor appetite.
Chicks love to keep you guessing, but most hiccups are simple to fix once you know what to look for. A quick daily peek at your little flock helps you stay ahead of trouble and keeps everyone growing, thriving, and peeping happily.
And Just Like That… They’re Little Chickens
Raising chicks is a whirlwind of excitement, learning, and watching tiny feathered dinosaurs grow into confident young birds. The more time you spend observing them, the easier it becomes to spot what they need, and those early weeks fly by faster than you think.
With consistent heat, clean food and water, and plenty of gentle interaction, your new flock will grow into healthy, friendly pullets that follow you around the yard like fluffy, opinionated shadows.
When your chicks reach 6 weeks, the adventure continues:
- When Can Chicks Go Outside? How to Transition Chicks to the Coop (Coming Soon).
- How to Teach Chickens to Come When Called
- How to Introduce New Chickens to the Flock