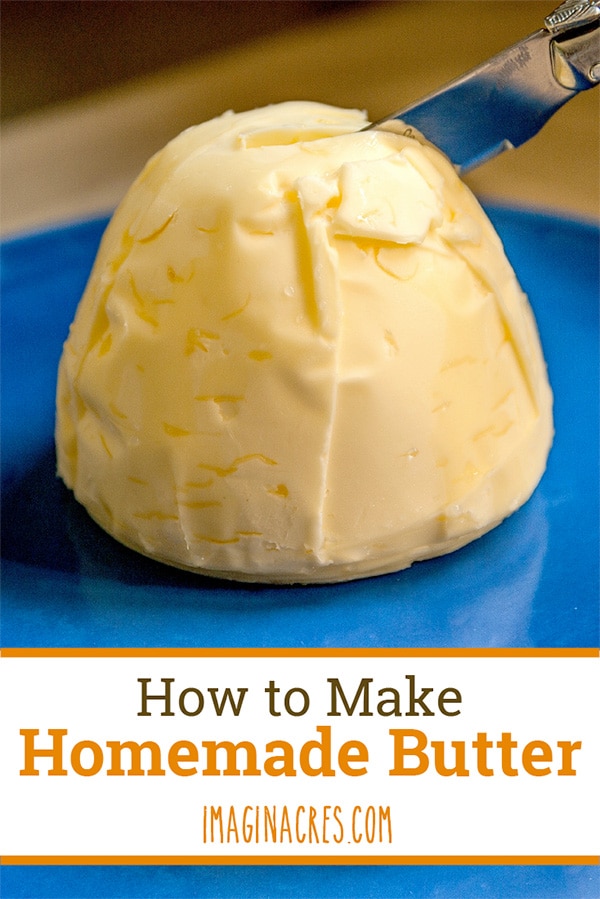
Fresh, homemade butter is easier to make than you may think. See how to make butter and buttermilk from a container of cream.
The very first time I made butter I searched through seemingly endless websites and blogs that all droned on about how to make butter. Many of the posts were confusing and unnecessarily complicated.

Why? I wondered… why doesn’t someone make an easy to read, simple guide on butter making?
After all, making butter is one of the simplest things in the world, why must the instructions be so complicated?
[sc name=”AFFILIATE” ]
Tips for Making Homemade Butter
1. Start with a quality heavy cream or whipping cream for making butter
Heavy cream and whipping cream contain between 35-40% fat. The process of making butter separates the fat from the liquid. The higher the fat content, the creamier your butter will be.
The best choice would be fresh, raw cream from local dairy cows. However, any store bought heavy cream without additives will work. The flavor of the butter will take on the same flavor of the cream, so choose a brand you like.
2. Let the cream warm before churning
Room-temperature cream, about 60˚F (15˚C) will separate faster than cold cream. Let the cream sit out on the counter for about 30 minutes before making butter.
3. Use a stand mixer with the paddle attachment
This recipe uses a stand mixer to make quick work of separating the butter from the buttermilk. If you don’t have a stand mixer, you can also use a blender, food processor, or consider this old-fashioned style butter churner.
Any tool that will agitate the cream will work, even shaking the cream in a covered jar. Expect it to take longer, between 5-30 minutes for the butter to separate, depending on the shaking.
How to Make Butter Step by Step:
Step 1: Gather up your materials!
You’ll need 1 quart of heavy cream or whipping cream and a stand mixer with the paddle attachment. If you’d like to make salted butter, you’ll of course need some salt.

Step 2: Pour the cream into the mixer and turn it on medium high.
You don’t want it up so high that cream is splashing out of the bowl, but turn that baby up as high as it can go before it starts splashing.

Step 3: Watch and wait while the heavy cream is in the mixer.
It will change drastically over the course of a few minutes. You’ll be able to clearly see the change from cream, to whipped cream, to crumbles of butter, to a solid piece of yellow butter with buttermilk in the bottom of the mixer. This will take 3-10 minutes. Drain the buttermilk and save for buttermilk biscuits or pancakes.

Step 4: Wash the butter.
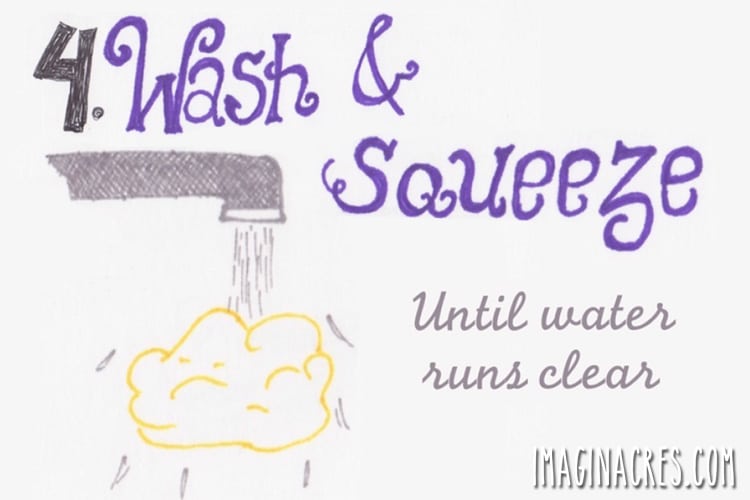
Hold the butter in your hands under cold running water. Gently squeeze it and knead it under the water. This step removes the remaining buttermilk from the butter. If you don’t remove the buttermilk the butter will spoil quickly. When the water is running clear you’ll know all the buttermilk has been removed.

Step 5: Add salt to your butter
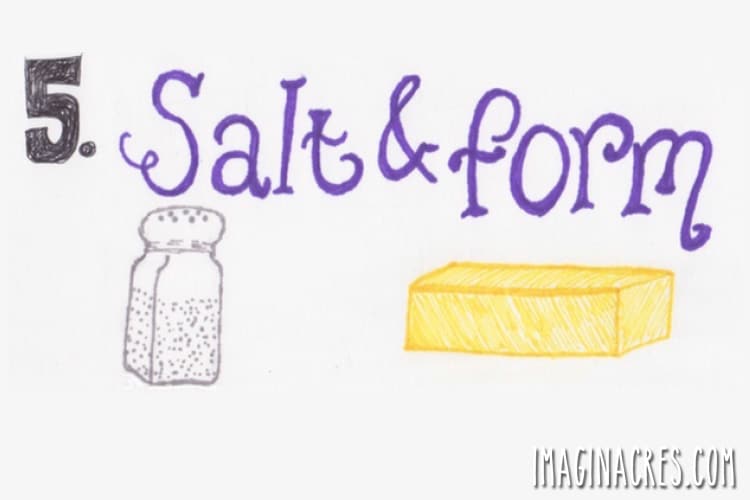
If you’d like salted butter, now is the time to salt it. Start by adding 1 teaspoon of kosher salt to the butter and mix well. Give it a taste, if it’s not salted enough for you, you can always add more.

Form the butter into a ball, or use a spatula to place it into a container for safekeeping. Store the butter in a sealed container in the refrigerator for 2-3 weeks. Butter will last longer if all the buttermilk is removed. For longer storage, freeze for up to three months.
How to Make Butter Visually: If you’d like to download and print this guide for your own personal use, you can download the PDF here: How to make butter: A visual guide
How to Make Butter
Ingredients
- 1 quart heavy cream or whipping cream room temperature
- kosher salt (optional)
Instructions
- Add the cream to the bowl of a stand mixer. Turn to medium high.
- Continue mixing until the butter separates from the buttermilk, about 3-10 minutes.
- Drain the buttermilk and refrigerate for later. Use the buttermilk for buttermilk biscuits or pancakes.
- Wash the butter by squeezing and kneading it under running water to release the remaining buttermilk. Keep washing the butter until the water is clear, about 5 minutes.
- Optional: Add salt to taste. Begin by adding 1 teaspoon of kosher salt to the butter and mix well. Taste and add more if desired.
- Store the butter in a sealed container in the refrigerator for 2-3 weeks. For longer storage, freeze for up to three months.
- This recipe makes about 1 pound of butter and roughly 2 cups of buttermilk.
Nutrition
Related Posts


Making butter is really easy if you own or can get a canning jar or such. Just add room temperature cream and while doing other things in the home just shake the jar, after a while instant butter and you have also done some other chores at the same time. Learned this when we owned our own milk cow, had plenty of milk plus the cream fresh from her.
I love this! Love the hand illustration! Definitely going to be making butter once my goat girls start milking!
I love the illustration, Meredith! It’s a simple process, but as a visual learner, I love good pictures!
Thank you so much Tessa!
About how much butter does a quart of cream yield?
And should I let the cream from the store (I don’t have access to fresh cream or milk right now) set to room temp before using in the kitchen aid?
Thank you for sharing with us the visual. Super easy to follow.
Can the butter be stored in a butter dish on the counter? Will the butter be hard to spread on toast if refrigerated? Thank you!
Deborah, Yes, you can store the butter in a butter dish on the counter, but keep in mind that it might have a shorter shelf life at room temperature. If you prefer it softer for spreading on toast, you can leave a small amount at room temperature and keep the rest refrigerated. This way, you get the best of both worlds – spreadable butter and a longer storage life. Enjoy your homemade butter!
Is there a difference from getting the cream or just plain old milk straight from the cow, unprocessed?
Janelle, Yes, you can make butter from raw cow milk. You will need to separate the cream from the milk. Refrigerate the raw milk for about 24-hours. Skim the cream off the top and use it to make butter.
Fast and easy. My wife and daughter love it.
Jason
This sounds amazing! Can’t wait to try it, I only have sea salt on hand, does it have to be kosher?
Thanks for sharing this recipe and for your help.
Oh yes, you can use sea salt for flavoring.
Curious, can I add the salt while whipping the cream? Or is there a reason to add it at the end?
Btw, your recipe is yummy. I added the salt at the end like you said (1/2tsp, because I only whipped a pint), and it was very good, but a bit salty in spots even though I worked pretty good. I was thinking if I added during whip process it might be more effectively incorporated. Thanks!
I was so excited to try this recipe and make butter for my first time ever! About twenty minutes into mixing my cream I realized the fat content of the cream was too low. I decided to attempt improvising. I added about 4 TBSP of olive oil and voila!! That did the trick. Within ten minutes I had delicious creamy olive oil butter. I can’t wait to add the butter and buttermilk to biscuits! So easy.
Kirstie, What a creative solution! It’s fantastic that you were able to improvise and turn it into a success. Your creamy olive oil butter sounds delicious, and I bet it will add a unique flavor to your biscuits. Cooking is all about experimentation, and you’ve demonstrated that beautifully. Enjoy your homemade butter and biscuits!
When I taught in a private school in the 1970’s and lessons were about the early settlers, I would take baby food jars and show my students (grades 1 – 4), how butter was made. They each had a jar with a little cream from raw milk and made their butter by shaking the jar. Then we would each have a few crackers to eat with it. They were amazed at how much better it tasted and several wanted their mothers to start making it at home!
Now that I live alone I’ve gone back to the “old ways” of doing things, myself! And am much healthier for doing so. Thank you for my trip down memory lane, today!
Kathleen, How wonderful that you incorporated hands-on learning into your lessons! It’s amazing how such simple, traditional practices like making butter can leave a lasting impression. I’m delighted to hear that you’ve returned to those ‘old ways’ for yourself.
Thankyou.i I just made some butter and butter cream. Used them both in mashed potatoes. They tasted great, better than fresh cream in the potato.