How to Make Vanilla Extract
This post may contain affiliate links, which means that I may receive a commission if you make a purchase using these links. As an Amazon Associate I earn from qualifying purchases.
Homemade vanilla extract requires only two ingredients and makes all of your baked goods taste amazing. Learn how to make vanilla extract with this easy tutorial.
A shopping trip to the grocery store a few years back to pick up some baking supplies for the holidays got me to thinking…
I know that imitation vanilla is really just a bunch of gross chemicals, including artificial flavors, caramel coloring, and corn syrup manufactured to taste like actual vanilla. But pure vanilla extract is pricey, and for someone who bakes as much as I do, it’s enough to put me in the poorhouse.
Then it dawned on me…I looked back and forth between the real vanilla extract and the vanilla beans and realized that I could extract that vanilla goodness myself with some type of alcohol.
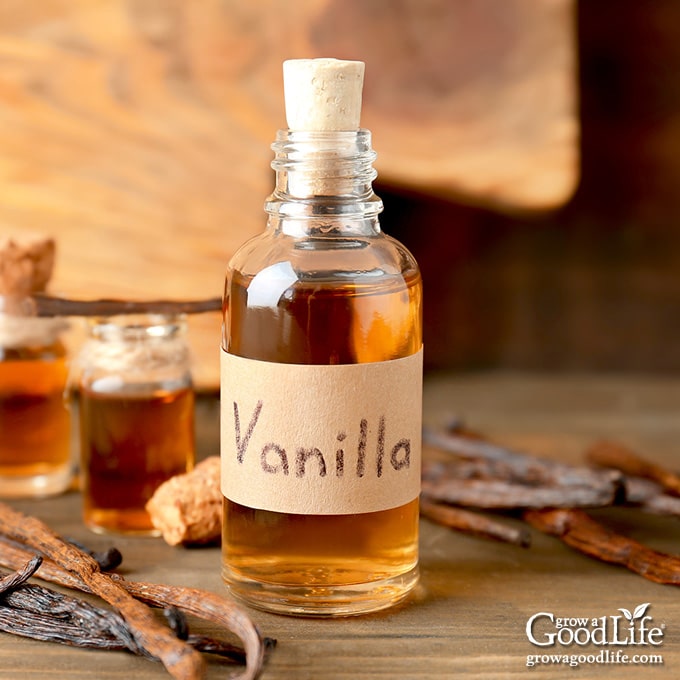
Once I gave homemade vanilla extract a try, I found it so superior to store bought that I have been making it ever since. Not only is it delicious in baked goods, but it can be bottled it up in cute glass containers and given as gifts.
Tips for Making Vanilla Extract
Homemade vanilla extract is simple to make by submerging pure vanilla beans into alcohol, and letting the vanilla flavor infuse into the liquid.
You will get delicious results if you just grab a few vanilla beans and an inexpensive bottle of vodka from the grocery store. However, if you want to explore brewing a better batch, here are tips to help you make a unique and superior vanilla extract:
Type of Vanilla Beans for Infusing
Vanilla beans are the fruit from a climbing orchid that thrives in moist, tropical climates with consistent rainfall. The ripe pods are harvested and cured for several months until they develop their distinctive flavor and aroma.
Your grocery store is likely to have one or two types of vanilla beans to choose from, but you will be offered more variety when you shop online.
Don’t be intimidated by the overwhelming choice of vanilla beans on the market. Each type will work wonderfully as vanilla extract, and each variety has a slightly different flavor. Three common types of vanilla beans you may encounter include:
- Madagascar Vanilla Beans: This is one of the most popular varieties that you will encounter. It is farmed in the Sava region located in the northwest corner of Madagascar, where the humidity, rainfall, and fertile soil create the optimal growing conditions for the vanilla orchid. Madagascar vanilla beans have a rich vanilla flavor that can be described as sweet, earthy, with undertones of floral and oak.
- Mexican Vanilla Beans: Probably the second more popular variety that you will find is the Mexican vanilla pod. Mexico is considered the birthplace of the vanilla bean and the only place where vanilla can be grown using natural pollination. Most Mexican vanilla beans are cultivated along the Gulf Coast in the Veracruz state, where the climate and soil are ideal for growing the vanilla orchid. Mexican vanilla beans can be described as mellow, smooth, with a hint of smoky spice depth.
- Tahitian Vanilla Beans: Tahitian vanilla pods are farmed on Tahiti, a French Polynesian island also called “Vanilla Island.” The flavor of Tahitian vanilla can be described as a delicate blend of floral, fruity, and chocolate notes.
In addition, dried vanilla beans are also graded into two categories: Grade A and grade B. Grade A is more expensive, gourmet type pods that are large, plump, and contains more moisture than Grade B. Grade A vanilla beans are better for cooking, and are often used to make homemade vanilla ice cream, vanilla pudding, and crème brûlée.
Grade B vanilla beans are what you want for making vanilla extract. Grade B beans are left on the vine to ripen fully. Often times the pods will split, but this doesn’t affect their flavor. They are ideal for infusing because they have less moisture and a more concentrated vanilla flavor.
Which Alcohol is Best for Making Vanilla Extract?
Baking extracts rely on alcohol to remove the flavor and infuse it into the liquid. Once extracted, the alcohol serves as a carrier for the flavor and most evaporates during baking leaving the vanilla flavor behind.
Any 80 proof, or 40% alcohol will work to make vanilla extract. There is no need to spend a lot of money either. The type of alcohol you use depends on your preference. You can use vodka, bourbon, rum, or brandy.
- Vodka: Distilled vodka is clear, tasteless, odorless, allowing the flavors and color from the vanilla beans shine. Vodka is inexpensive, and you will get a pure vanilla flavor in your extract.
- Bourbon: Vanilla made from bourbon will have notes of smoky oak and caramel that pairs well with the vanilla bean flavor. Bourbon adds extra flavor that compliments many baked goods.
- Rum: Vanilla made from rum tastes sweeter than other alcohols. Rum is distilled from sugarcane juice or molasses giving it a light sweet flavor that pairs well with the vanilla bean flavor. Vanilla extract made from white rum tastes similar to vodka version, but a little sweeter. Dark rum brings out the greatest levels of sweetness from the vanilla beans.
- Brandy: Vanilla made with brandy has a sweet taste with fruity notes of grapes. The flavors blend well with the vanilla creating a unique flavor that compliments many sweet desserts such as cookies, cakes, and brownies.
How to Make Vanilla Extract Without Alcohol
If you want to create a vanilla extract without alcohol, simply substitute a food grade glycerin for the alcohol. Vegetable glycerin, also known as glycerol or glycerine, is a sweet, clear liquid that is made from vegetable oils.
Vanilla extract made from glycerin is a good substitute if you are looking for an alcohol-free version to flavor your baked goods. Try to use it up within a year though. Glycerin-based extracts have a shorter shelf life than vanilla made with alcohol.
Allow Plenty of Time
The process of making vanilla extract takes only about ten minutes, but you need to let it sit at least 2 months to extract and infuse that delicious vanilla goodness before using in your baking recipes. If you are planning on baking or to give homemade vanilla extract as gifts, you will need to start early.
If you let that vanilla goodness infuse longer than 2 months, your patients will be rewarded with a vanilla extract that is even more flavorful. I like to age my vanilla naturally for 6 months or longer.
How to Store Vanilla Extract
Store the vanilla extract in a cool location away from direct sunlight. Because of the alcohol content, vanilla extract can be stored indefinitely. The flavor may diminish over time. You can infuse another vanilla bean pod to maintain flavor for up to several years.
What to Do with the Beans After Infusing?
You can leave the vanilla beans in the alcohol and top off the bottle with alcohol as you use the vanilla extract. If you are giving vanilla extract as a gift, you can include a few pieces of vanilla bean in the bottles.
How to Make Homemade Vanilla Extract
You will find the full, printable recipe at the bottom of this article, but here are the illustrated steps all laid out for you so learn how to make vanilla extract too!
This is a small, 1-cup batch for baking, but you may want to make extra for homemade gifts. The infusing time will be the same no matter how large or small you batch is. The ratio is 3 vanilla beans to one cup of alcohol of choice, so you can double or triple to fit your container.
Step 1: Gather the Ingredients
You will need 3 vanilla beans, 1 cup of your favorite vodka, rum, bourbon, or brandy, and an 8.5-ounce glass jar or bottle with a tight fitting cover.
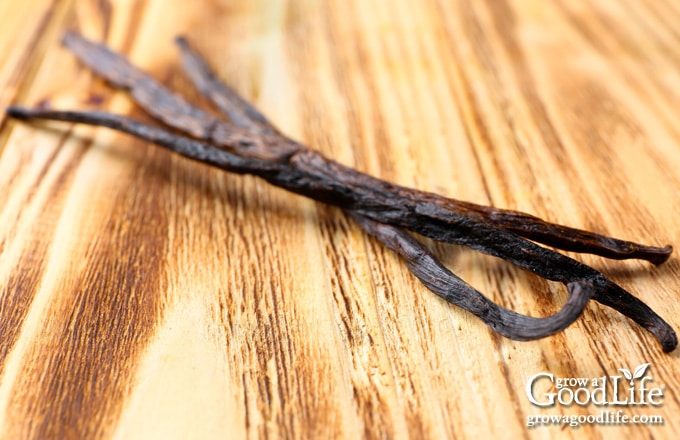
You can use the vanilla beans from the grocery store, or order in bulk online. Store unused pods in an airtight container away from sunlight and they will last for a while.
Step 2: Split the Vanilla Beans
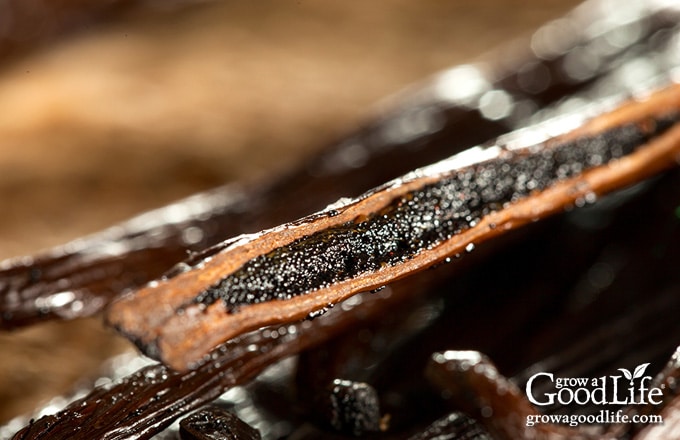
The vanillin that flavors the extract is contained inside of the pod. Cutting open the vanilla bean will release the vanilla seeds and vanillin flavor into the alcohol.
Place the vanilla bean on a cutting board. Use a sharp knife to cut the beans in half lengthwise down from the stem to the end of the pod.
Step 3: Add the Vanilla Pods to a Jar
Place the sliced pods in a jar or bottle that has a tight fitting lid. Cut the vanilla beans into smaller pieces if they don’t fit into your bottle or jar. You want to make sure the entire vanilla pod is submerged beneath the liquid as it infuses.
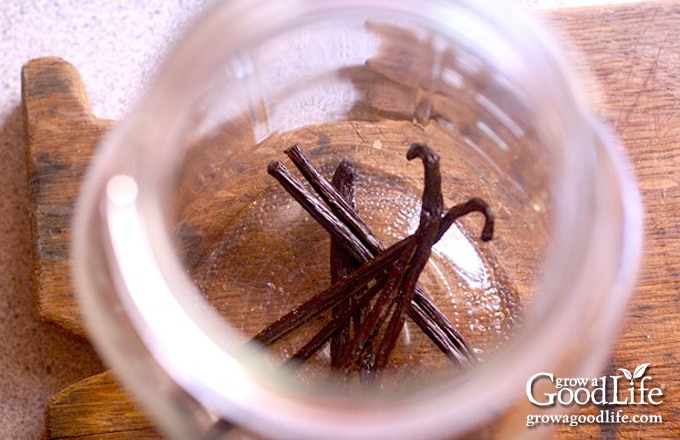
Step 4: Fill the Jar with Alcohol
Open up your alcohol of choice, measure a cup, and pour it in the jar over the vanilla beans.
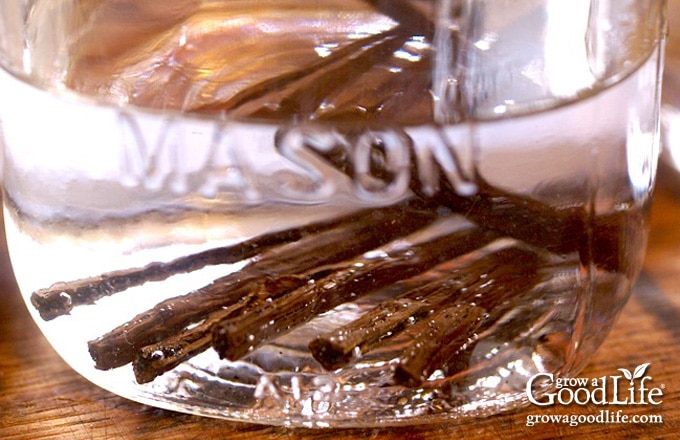
Step 5: Store and Wait
Twist that cap on the top of the jar and stash it in the cupboard, or any cool dark location. Let it sit for at least two months, shaking it up on occasion.
Over time, your vanilla extract will turn a deep shade of brown as the vanilla bean infuses into the vodka. After the vanilla has extracted for at least 8 weeks, use the homemade vanilla in your favorite recipes. Store in glass containers in a cool, dark location. Vanilla extract can be stored indefinitely, but the flavor diminishes over time.
To give vanilla extract as gifts, divide it up into 1 or 2 ounce bottles. Cover tightly and add a label.
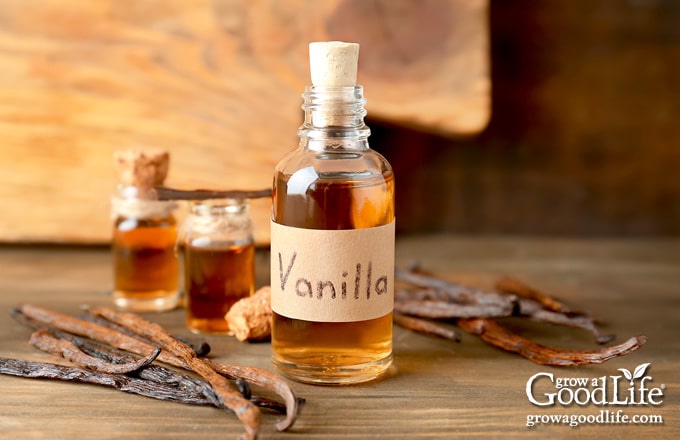
Homemade Vanilla Extract
Ingredients
- 3 vanilla beans
- 1 cup vodka 80 proof or alcohol of choice
Instructions
- Use a sharp knife or scissors to cut the vanilla beans in half lengthwise.
- Place the vanilla beans in a clean jar.
- Pour the vodka into the jar and shake.
- Cover, label, and place the jar in a dark, cool location for at least 2 months.
- Shake the jar occasionally during this time to distribute the vanilla.
- After infusing, use the homemade vanilla in your favorite recipes.
- Store the vanilla extract in a glass container in a cool, dark location. Vanilla extract can be stored indefinitely, but the flavor diminishes over time.
Nutrition
You May Also Like:
10 Cookie Mix in a Jar Recipes eBook
Homemade gifts are always appreciated because they come from the heart. Even if you are not crafty, you can give DIY gifts to your family and friends with these easy recipes for making cookie mix in a reusable jar.

